JSON’s had a tough life. Before I was all that attached with the bike I didn’t exactly treat it with same the respect I do today. It was just a cheap bike to get me from point A to point B. The more I rode it the more I fell in love with it. Combined with damage from the previous owner and other general wear and tear the frame was starting to show some signs of rusting.
The plan was to strip the bike of paint, then respray it. This wasn’t going to happen in our apartment, however an excuse to visit Mark in Adelaide presented itself. I took the bike across the border and over the period of several weeks redid the paint work.
Prep
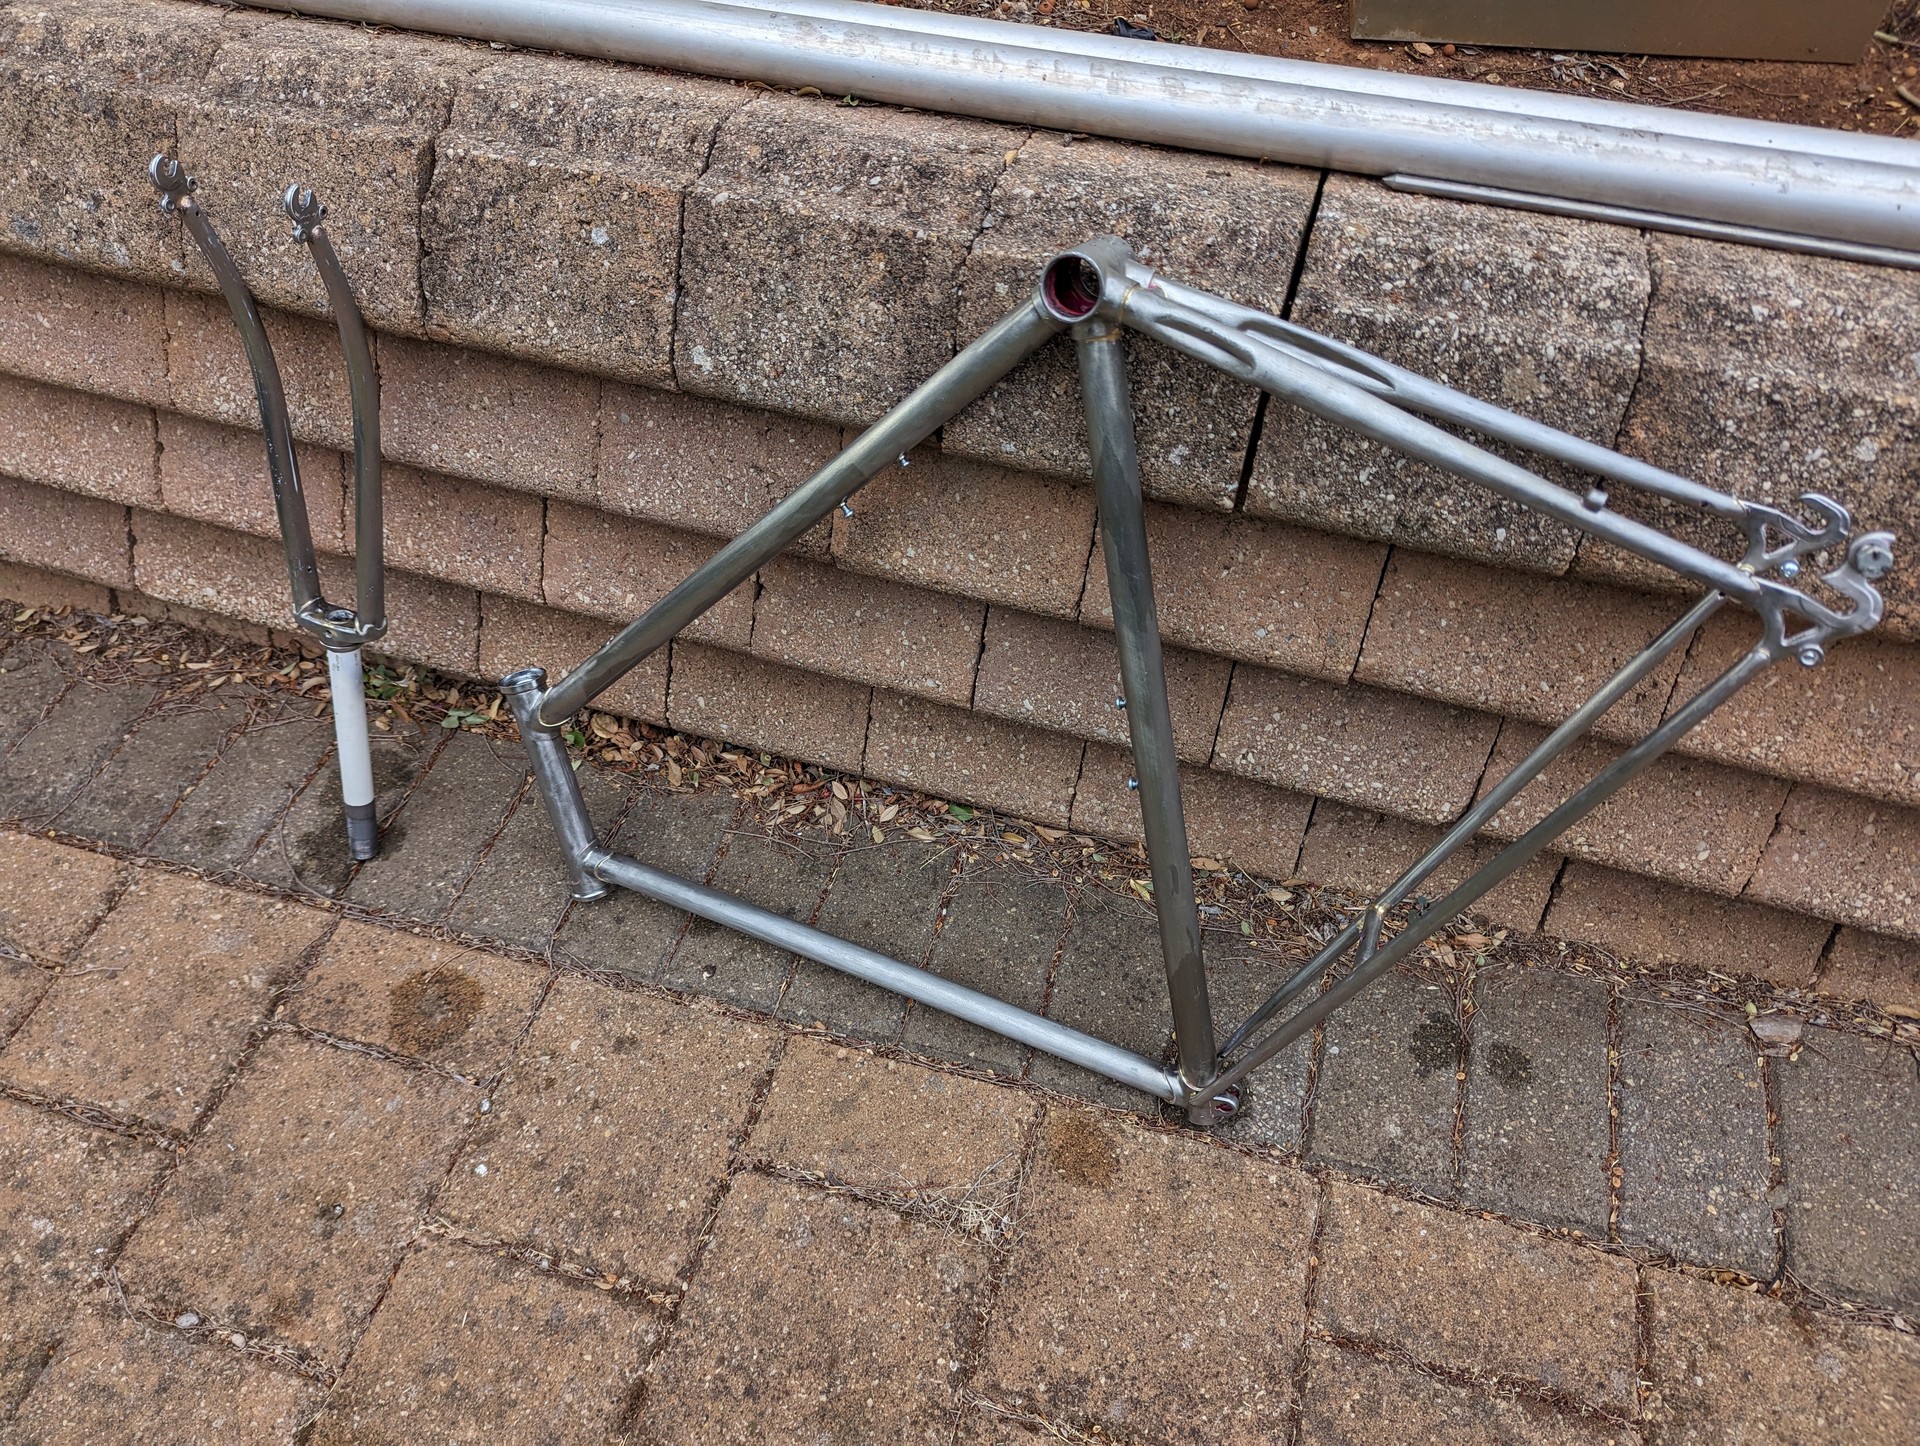
At this point I’d become pretty familiar with the process of removing every type of bike part on my bike. Within a few hours I had removed everything which left only the frame. If you are planning on embarking on this adventure and you are unfamiliar with removal of all your parts, get some help or do some research. Some parts can be fragile, some have reverse threads and some can be damaged if force is applied in the wrong spots. There’s also a bunch of tricks to learn for when things don’t go to plan.
An example is the quill stem - often on these bikes they become stuck. If you try to strike the stem directly you’ll likely either damage it or get it more stuck. While it doesn’t always work a good starting place is to leave the stem bolt in, but proud, then strike the bolt with a hammer - this will dislodge the wedge and hopefully allow removal of the stem.
After removing all the parts from the bike frame I decided to strip most of the paint off the bike. Now stripping the paint entirely off isn’t necessary. You only need to strip the paint back far enough for the new paint to stick, along with getting the surface finish to the quality you want it. I went for stripping it back entirely (there were a few bits I couldn’t easily get to so I just roughed these up as best I could). The reasoning for stripping back entirely was to ensure there was no hidden rust - along with removing a nasty paint run was present on the bike already.
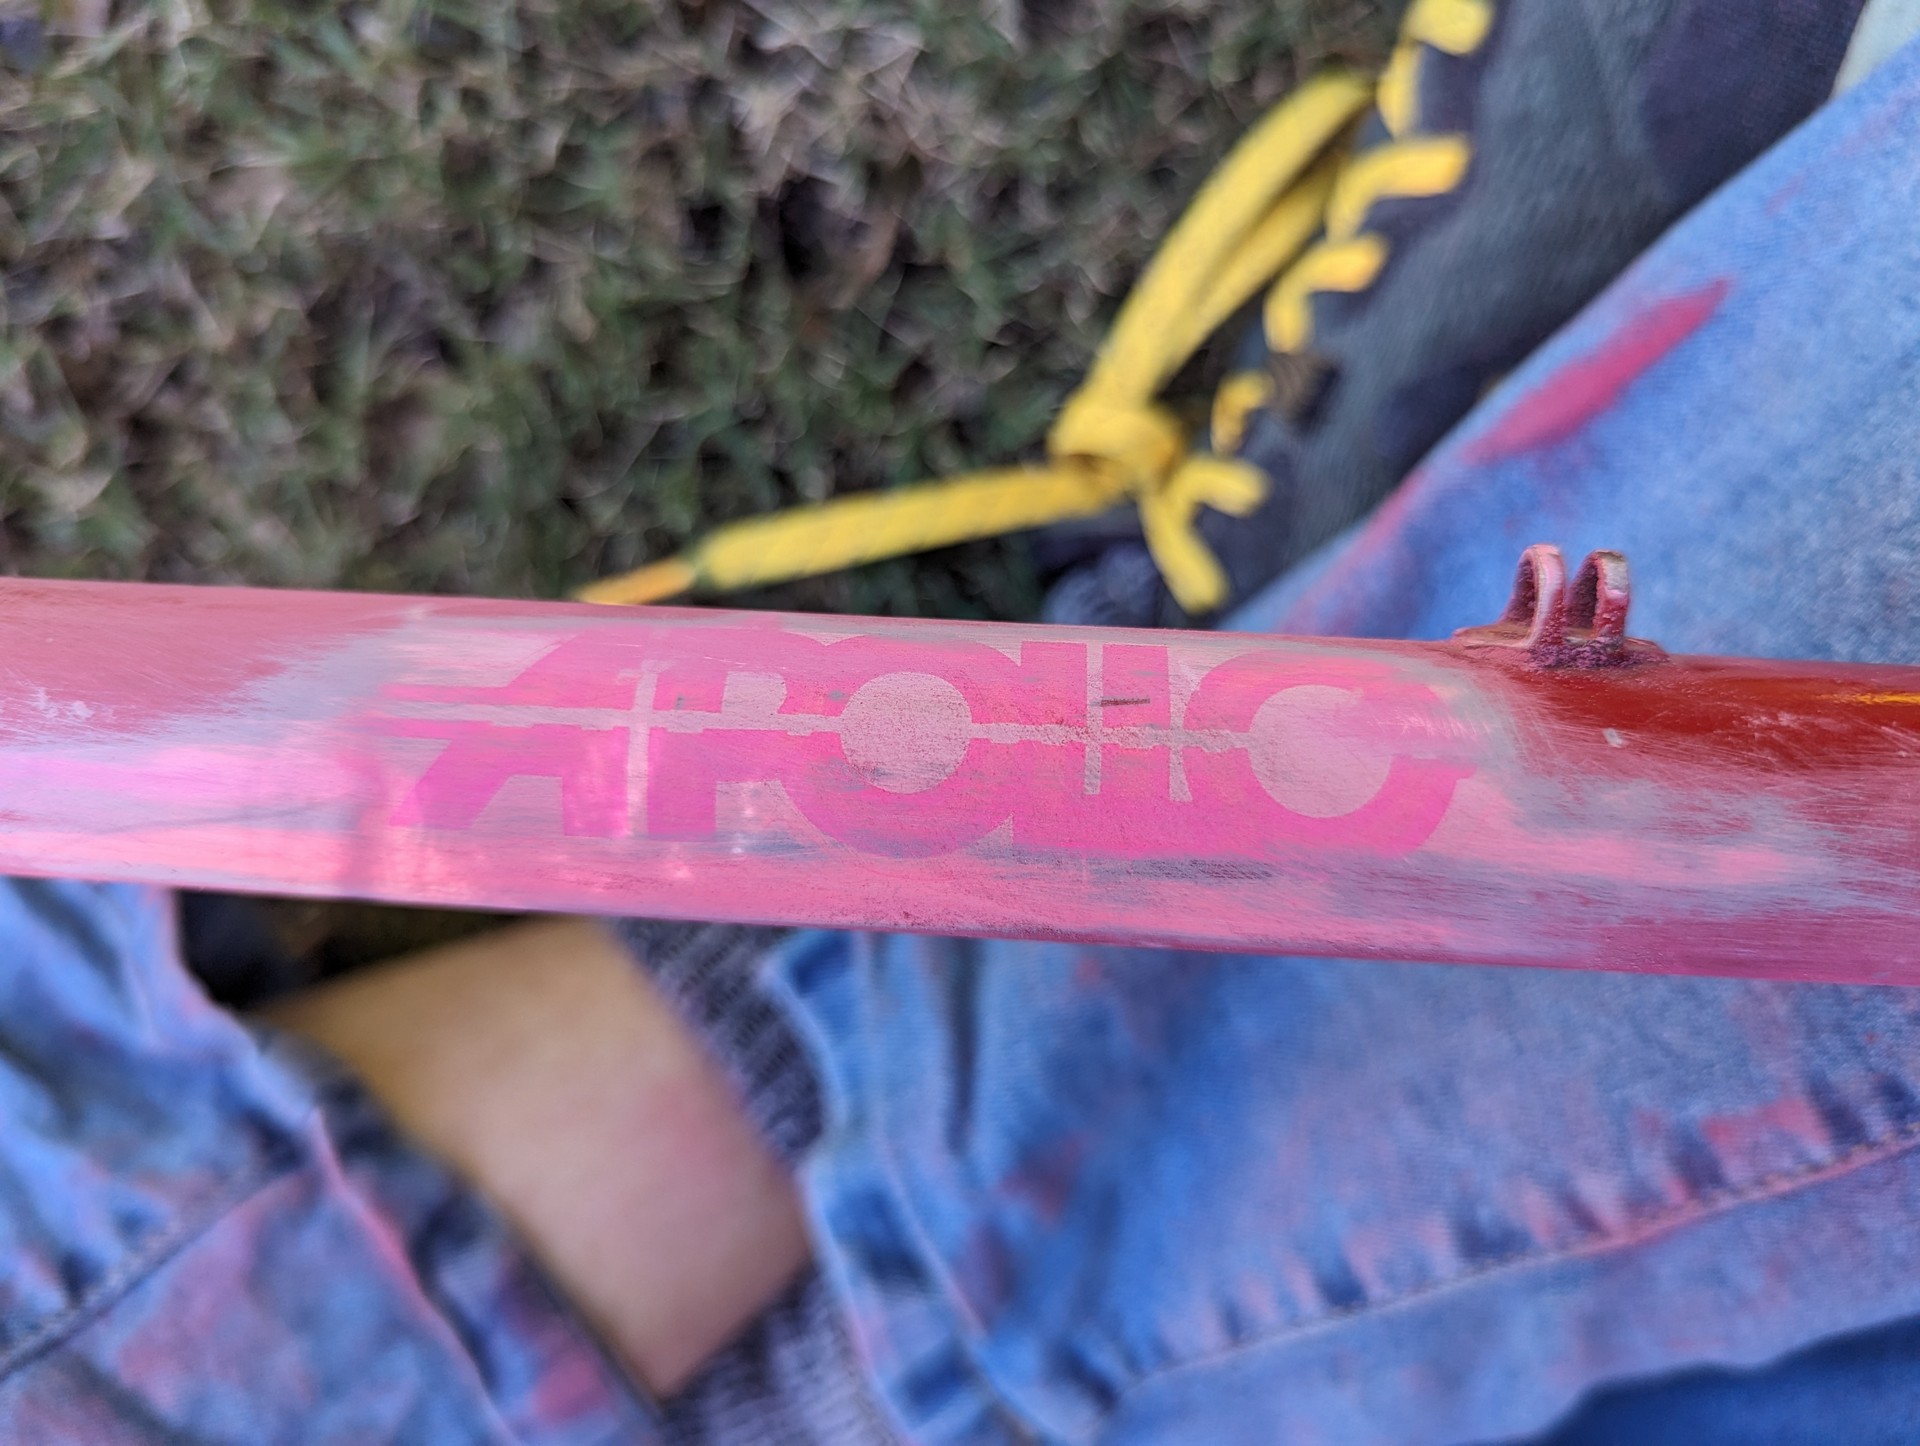
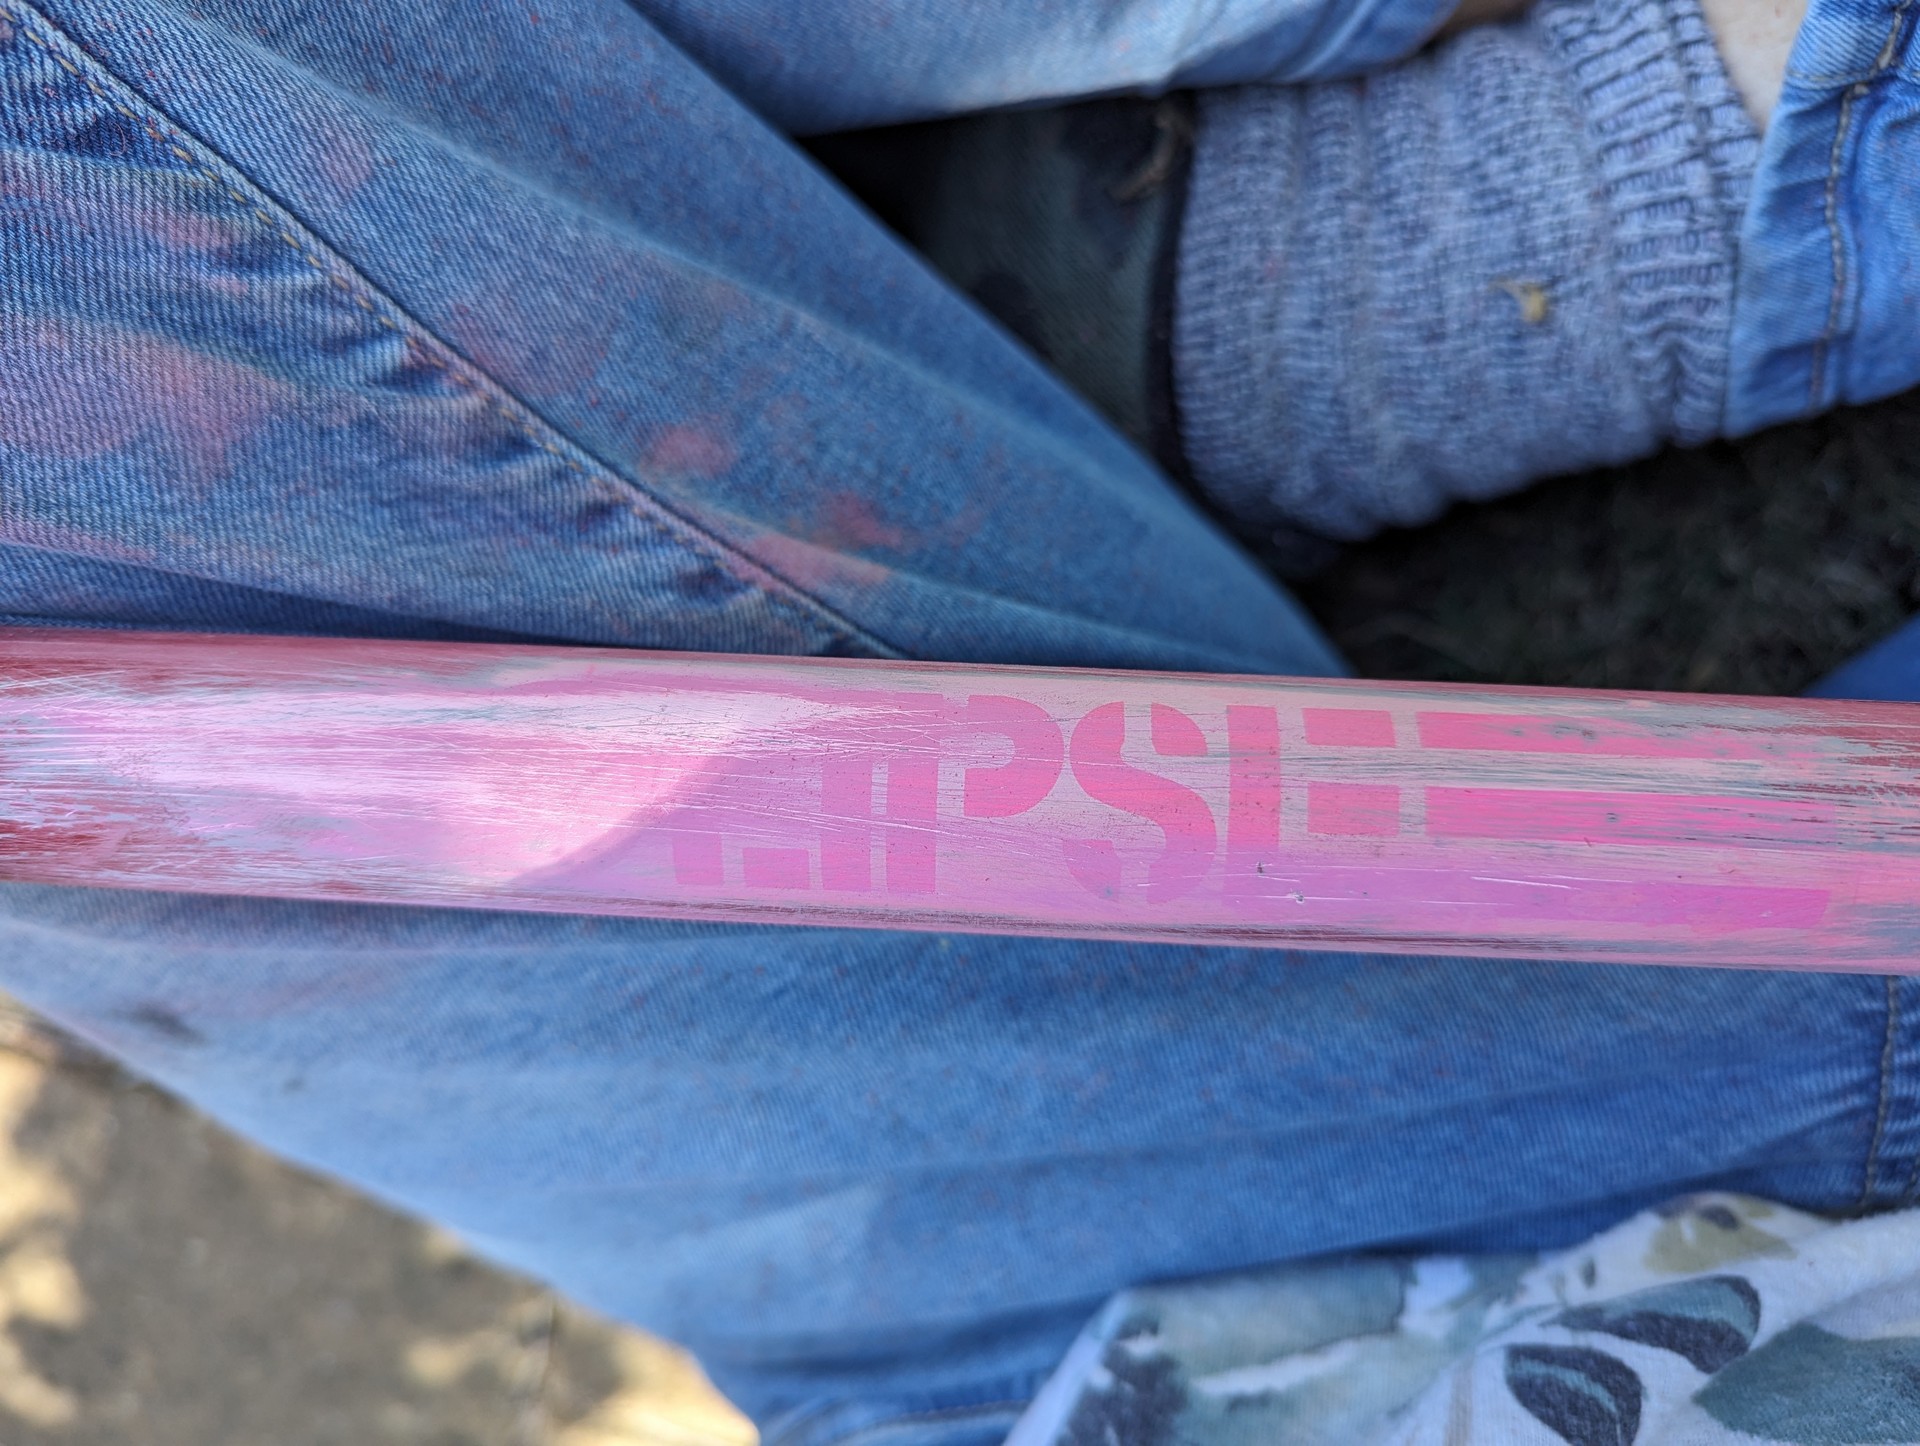
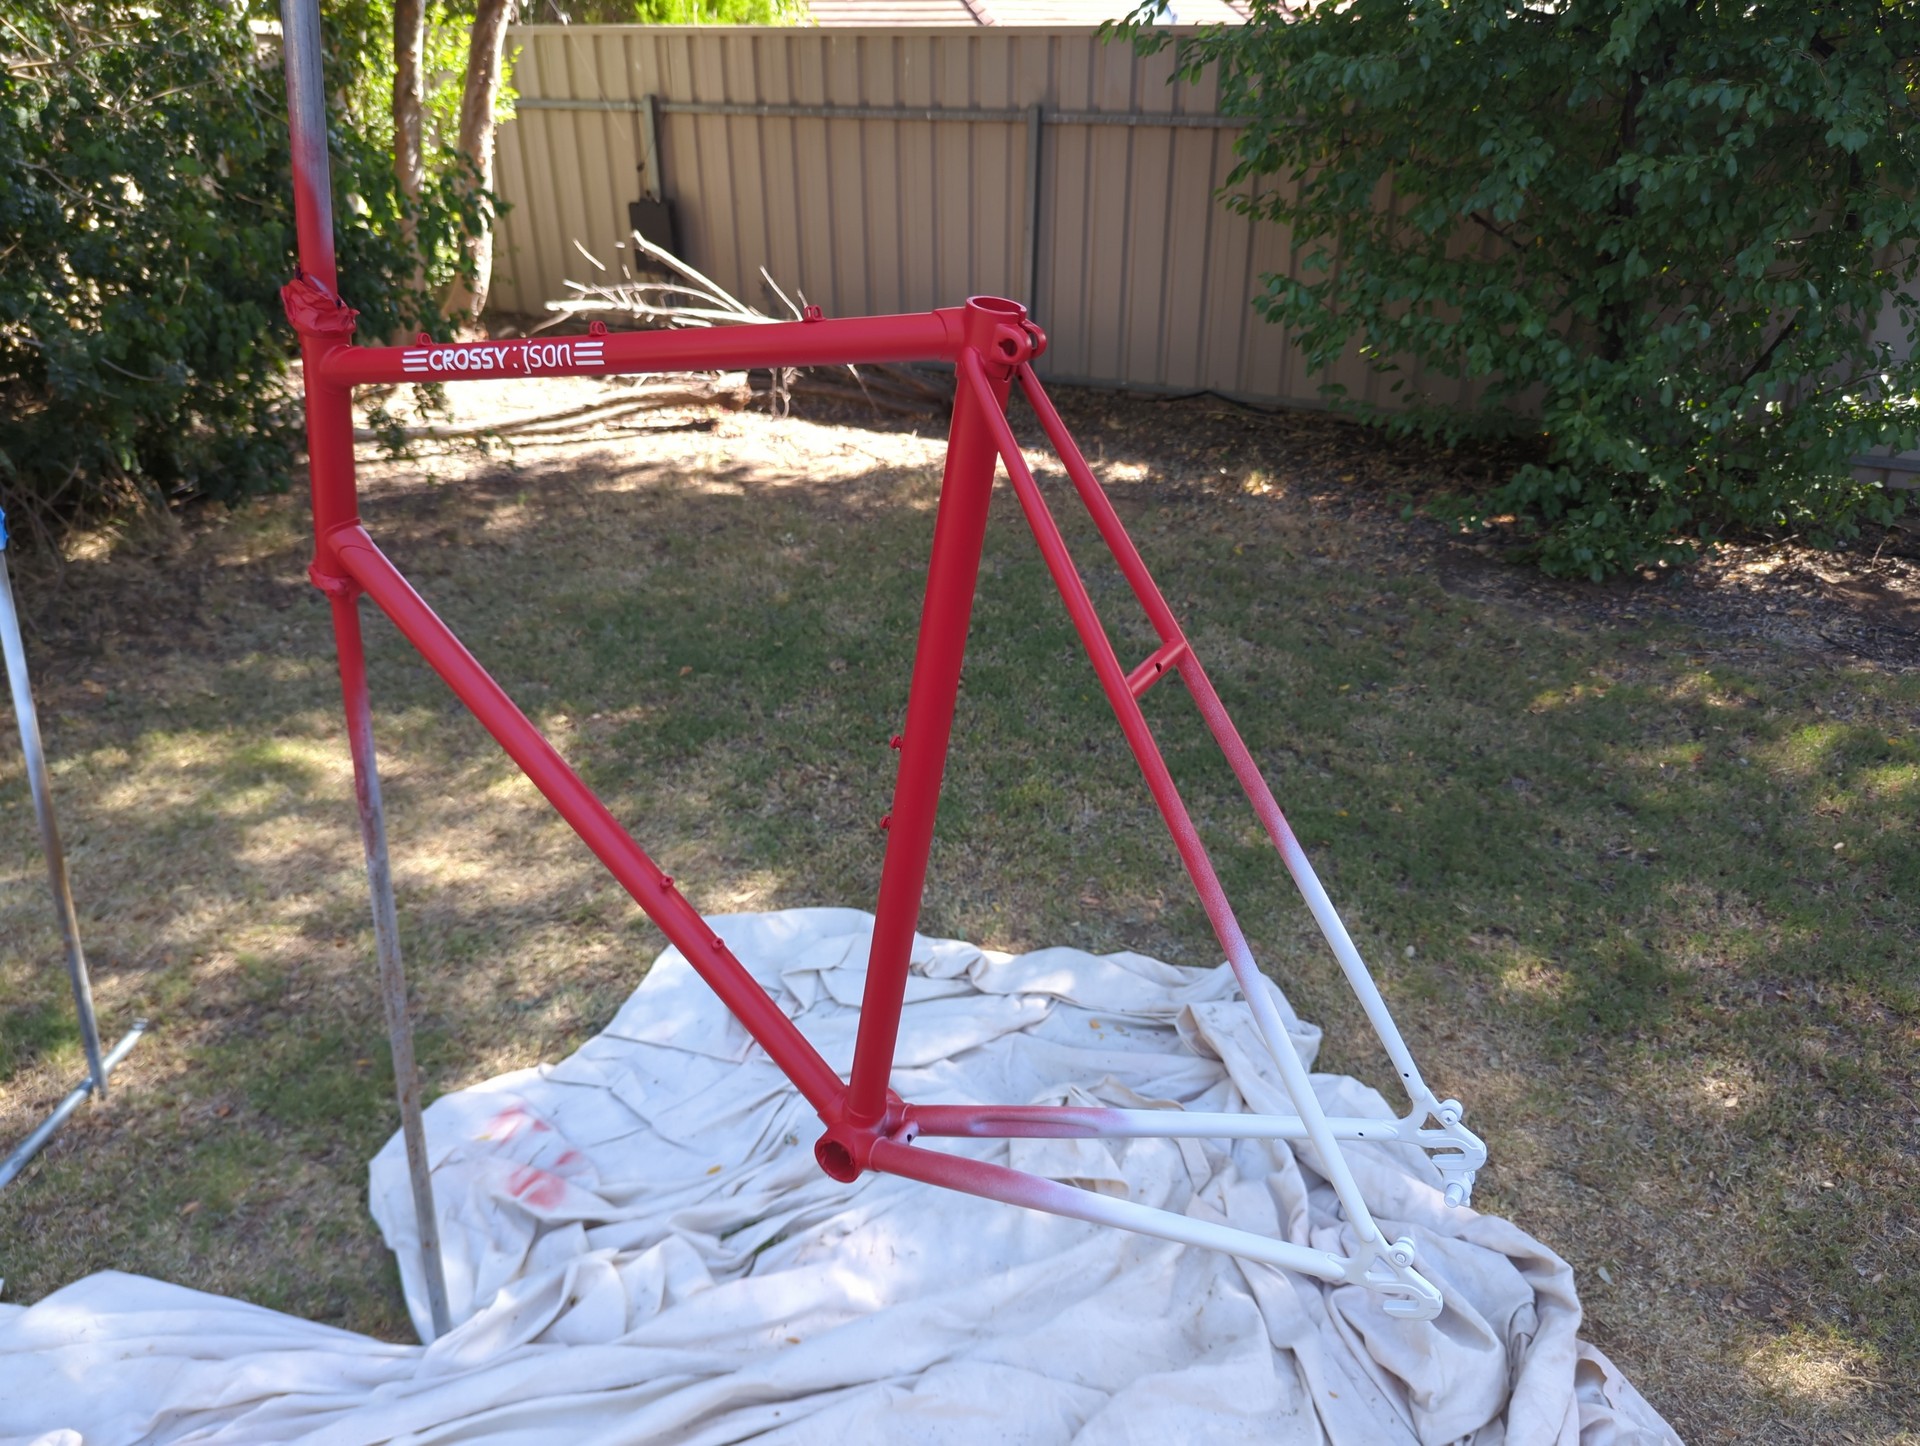
I’m really glad I did strip it all the way back during sanding I noticed some weird pattens forming, slowed down an used a higher grit sand paper. To my surprise the red and white paint scheme wasn’t original. I had suspected this given the paint run, however I could never confirm this. I never knew the make or model of the bike and by carefully sanding back the top layer it revealed a uv damaged outline of the original branding. An Apollo Eclipse. This would have been the pink and white model. For me the bike has always been red and white, that’s now part of its history. So while I could return it to original colours, they wouldn’t be original to me.
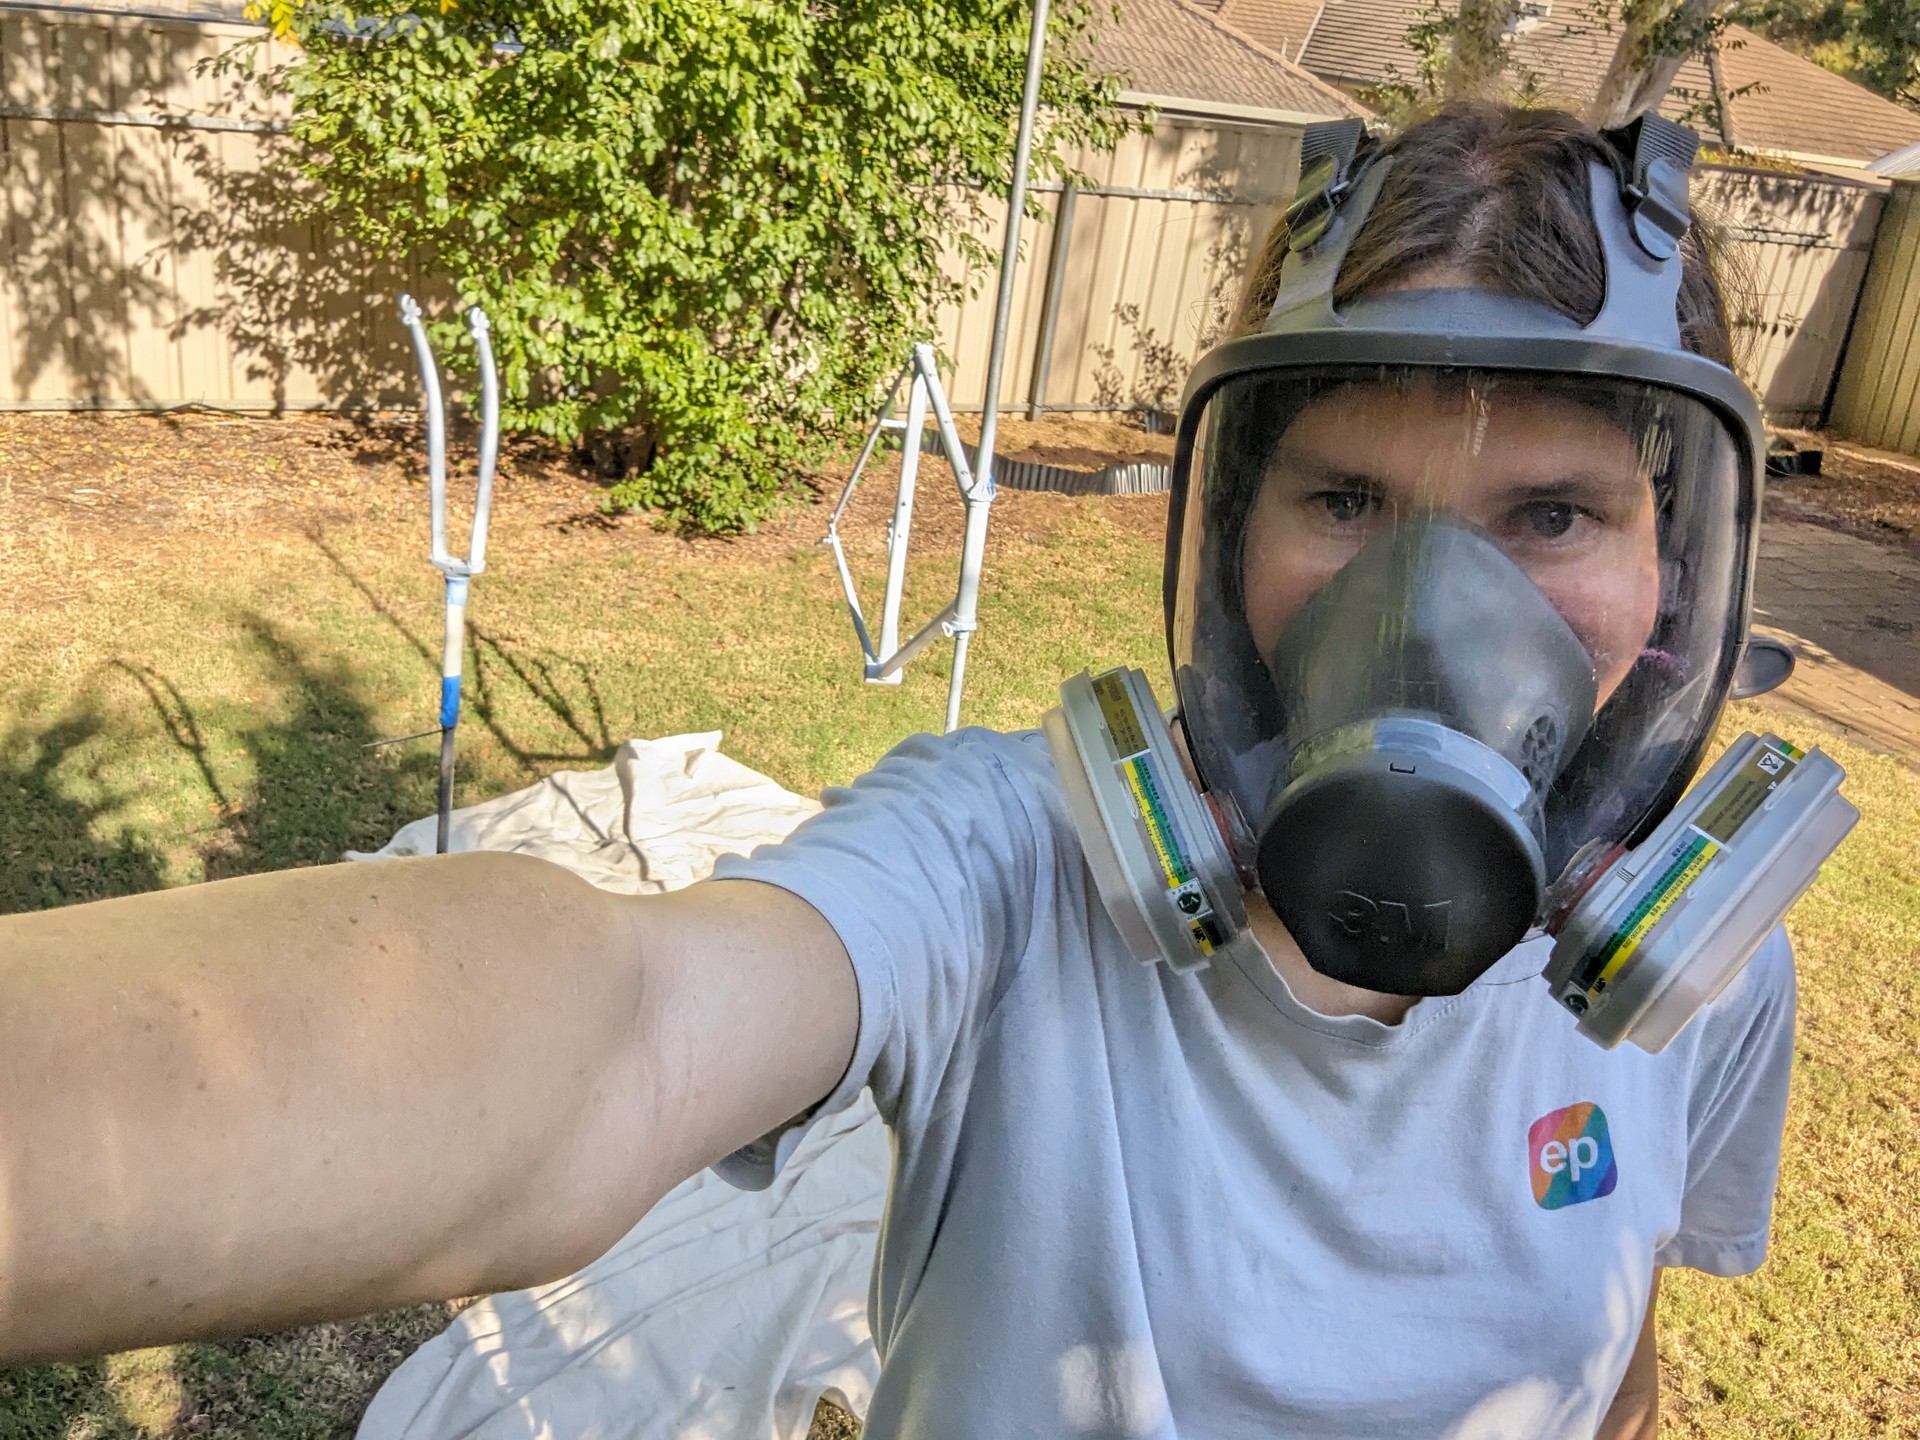
For the majority of stripping I used low grit sand paper however for the fiddly bits I restorted to wire wheel brushes on a cordless drill. Removing the paint is probably the hardest part, once its removed moving up in grit to make a smooth finish happens fairly easily. I went with the sanding approach because sand blasting seemed too expensive for this project and sanding didn’t seem like too much effort (it was a lot of work, don’t get me wrong, but it didn’t really take that long). I looked into chemical processes however youtube tutorials and reviews gave me the impression that it seemed more annoying than just sanding. Everyone has different advice on the process however I settled for about about 400 grit for the final sand working off the theory that while spray paint is thin, it still needs some roughness to the surface to stick well. I used higher grit sandpaper to touch up some parts during painting. If you want to take away anything from this blog post though, think PPE. Not just when spraying paint but when sanding. I generated so much dust when sanding back the frame.
Painting Rust
The next day with all the rust and paint sanded back I went to paint. I thought I’d be able to get away with a day of stripped bike frame in less than 20% humidity but flash rust struck. It wasn’t a big deal however, I was able to sand back the frame with high grit sandpaper again just prior to painting. I gave the frame a wipe down with some acetone to remove debris and now we were ready to paint.
Painting
I went with Rust-oleum 2X Primer and Custom Spray 5-in-1 for the paint. This was mostly because I’m familiar with how they spray and work. They probably aren’t the best choice for bike paint, however rattle cans in general aren’t good - this is because the layer of paint is so thin compared to other methods. Regardless it’s something that fit the budget, and that I could easily do.
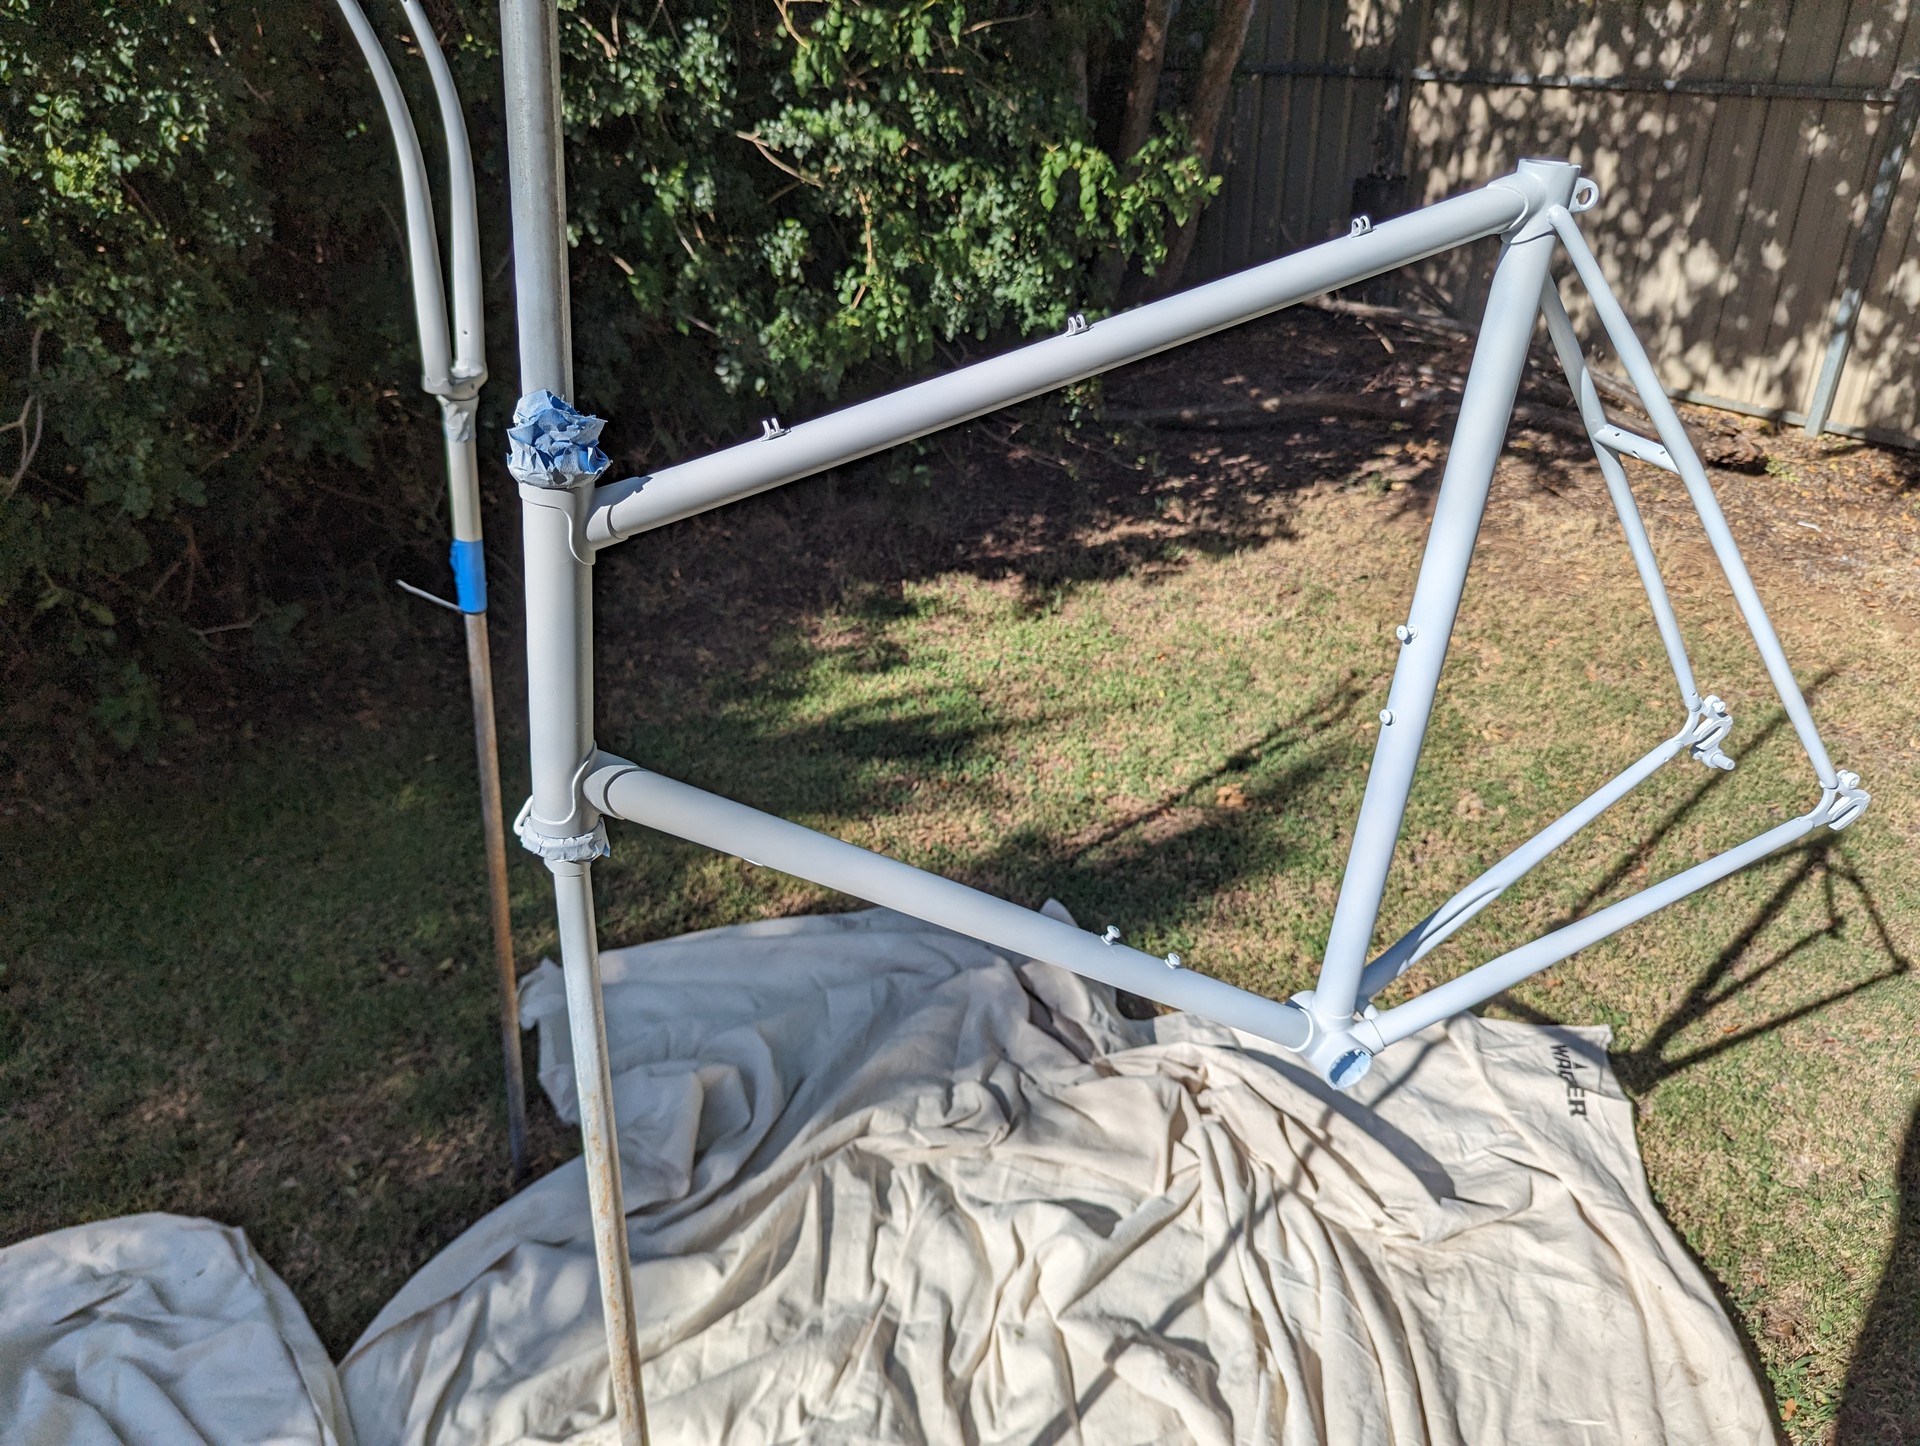
I actually reached out to Rust-oleum to confirm my planned process prior to painting and they were able to provide a bunch of nice details and provide confidence. First up was priming. The Rust-oleum paints allow re-coat anytime within 1 hour and they recommend coats 15 minutes apart. I setup the forks and main frame near each other so I could do them at the same time. This allowed me to switch between each while waiting. I was able to get 4 coats onto each within the window. The usual rattle can advice applies - thin coats. Sicne the frame is so large I applied thin coats and moved around the frame, usually doing 3 coverages every time I did a coat. Priming was probably the hardest part not to get runs on I got a slight run during this and sanded it back prior to the top coats.
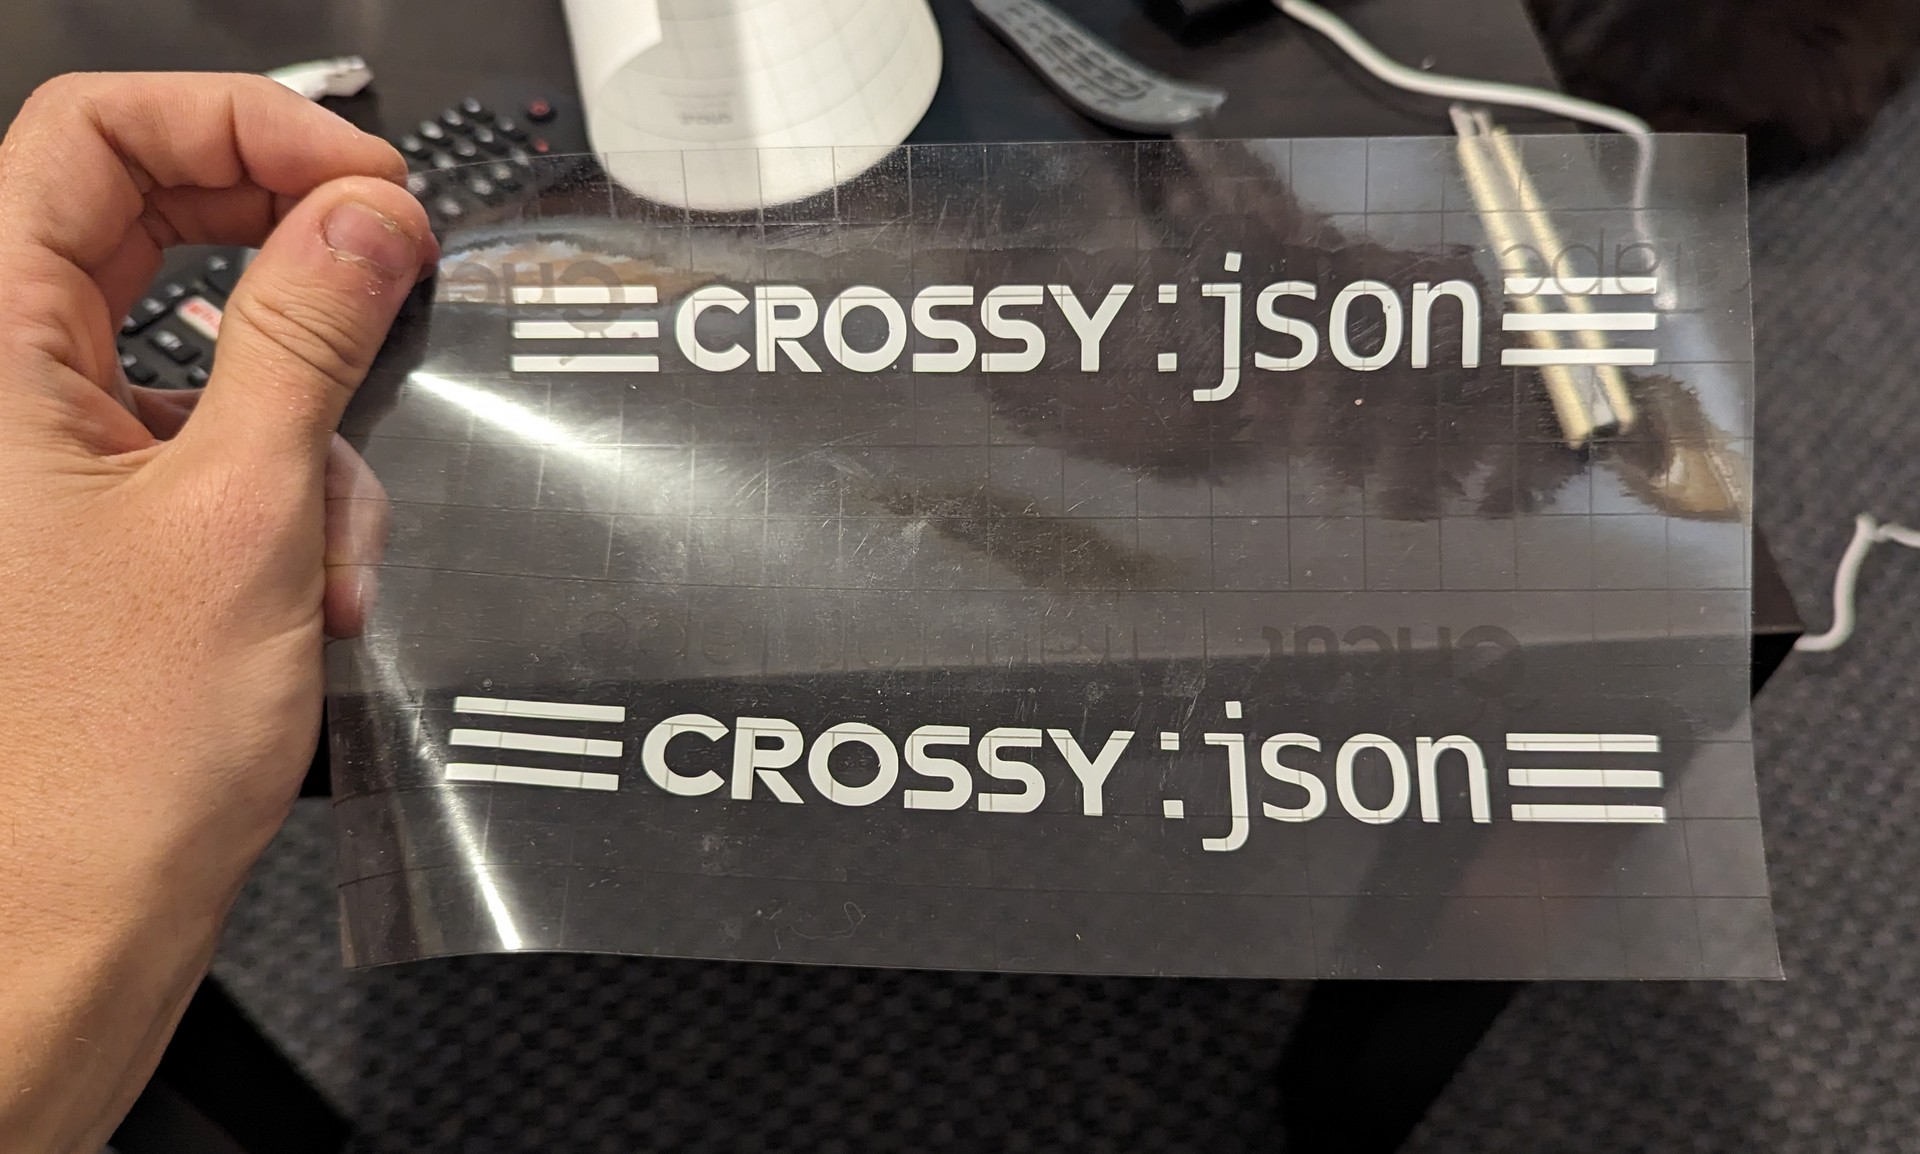
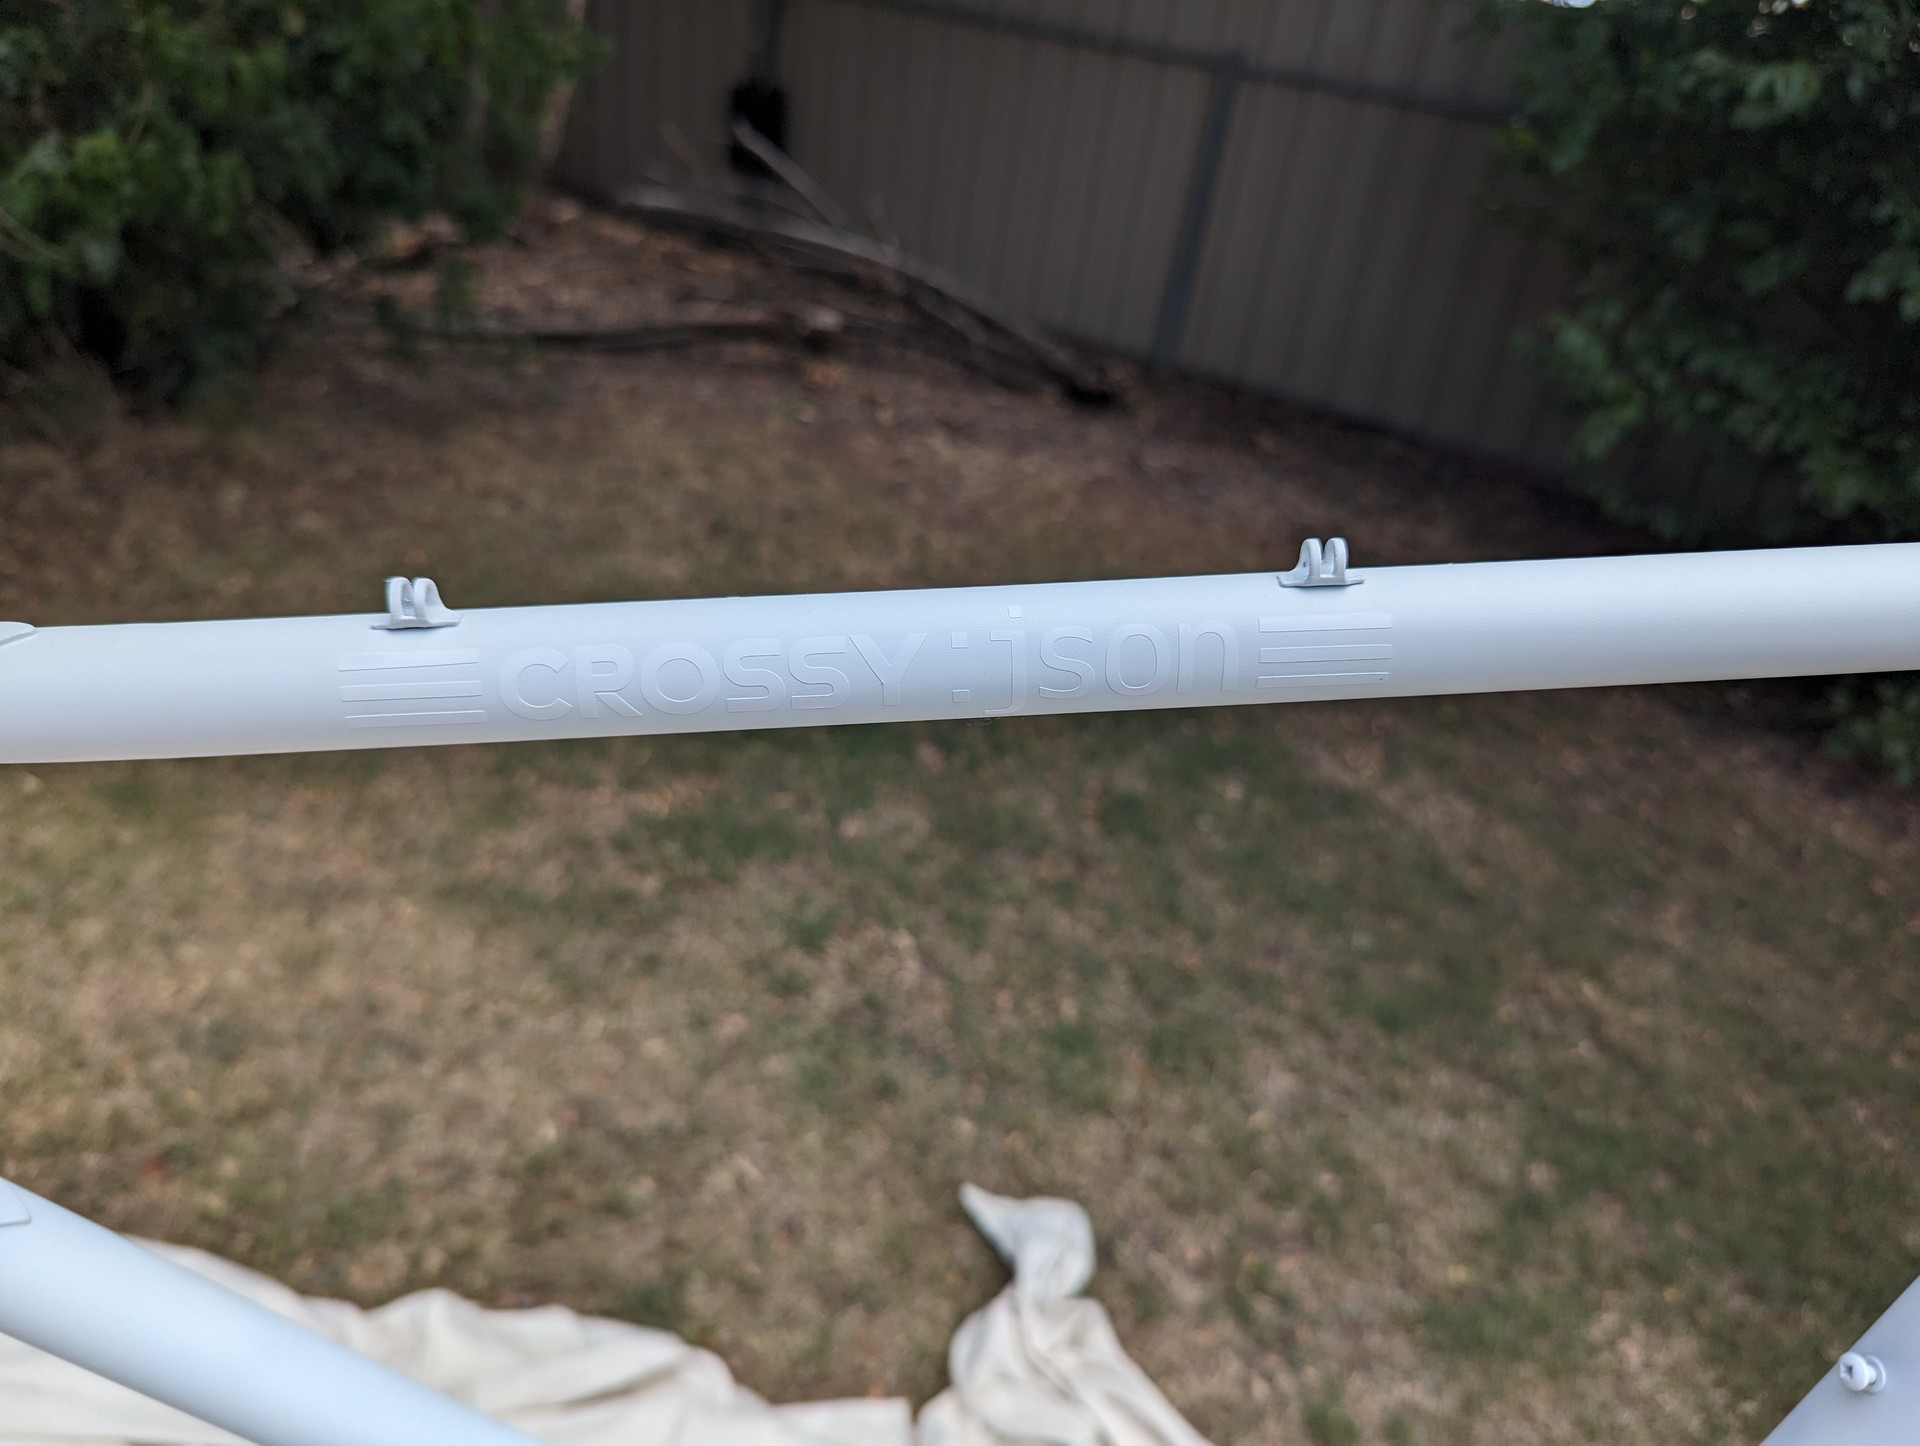
Since the bike was lacking any sort of branding, I wanted to give it some. I had a original plan for that - Crossy JSON - however since I now knew the make, model and what the original decals looked like I incorporated some of the design into my plans. There was the option of simply making some decals and slapping it onto the bike afterwards, but I really wanted to try using the decals as mask. I cut out some new decals for a mask and applied them careful. This meant that prior to the decals being applied I had to do some extra top coats in the masked off colour.
Some red coats went on. The Custom 5-in-1 cans low output mode really helped prevent any runs. I got a slight run where the rear brake sits but it was easily fixed up. The tricky part however was replicating the “original” white gradient on the dropouts. I did a few practice sprays for this to get an idea of what I was doing along with masking off everything that wouldn’t be part of the gradient and in the end it turned out great - I feel like its better than the previous gradient.
The masked off sections were removed prior to the clear coat. This is where I learnt that my masking approach was probably wrong. A negative mask would have been easier to remove (I created a bunch of damage to the paint getting each piece off) and would have made the painting process easier. Regardless I’m happy with the results given it was my first time doing this sort of thing.
I was originally concerned about runs on the clear coat - because that could have caused disaster, however even on high output mode I couldn’t have made a run if I wanted to. I’m sure the temperature helped but I feel like the chemical composition just makes it really hard to run with that paint. One approach for painting bikes it to actually not worry about clear coats, just make the top coat as thick as possible. I however wanted the finish that the clear coat provided.
Post
Prior to reassembling the bike I decided to give its internals a blast of cavity wax. This is intended to prevent rust from the inside. An idea I picked up from Croker vs ROVER. Most of the internals have drainage holes that the applicator can be fed through.
Pre-sequel
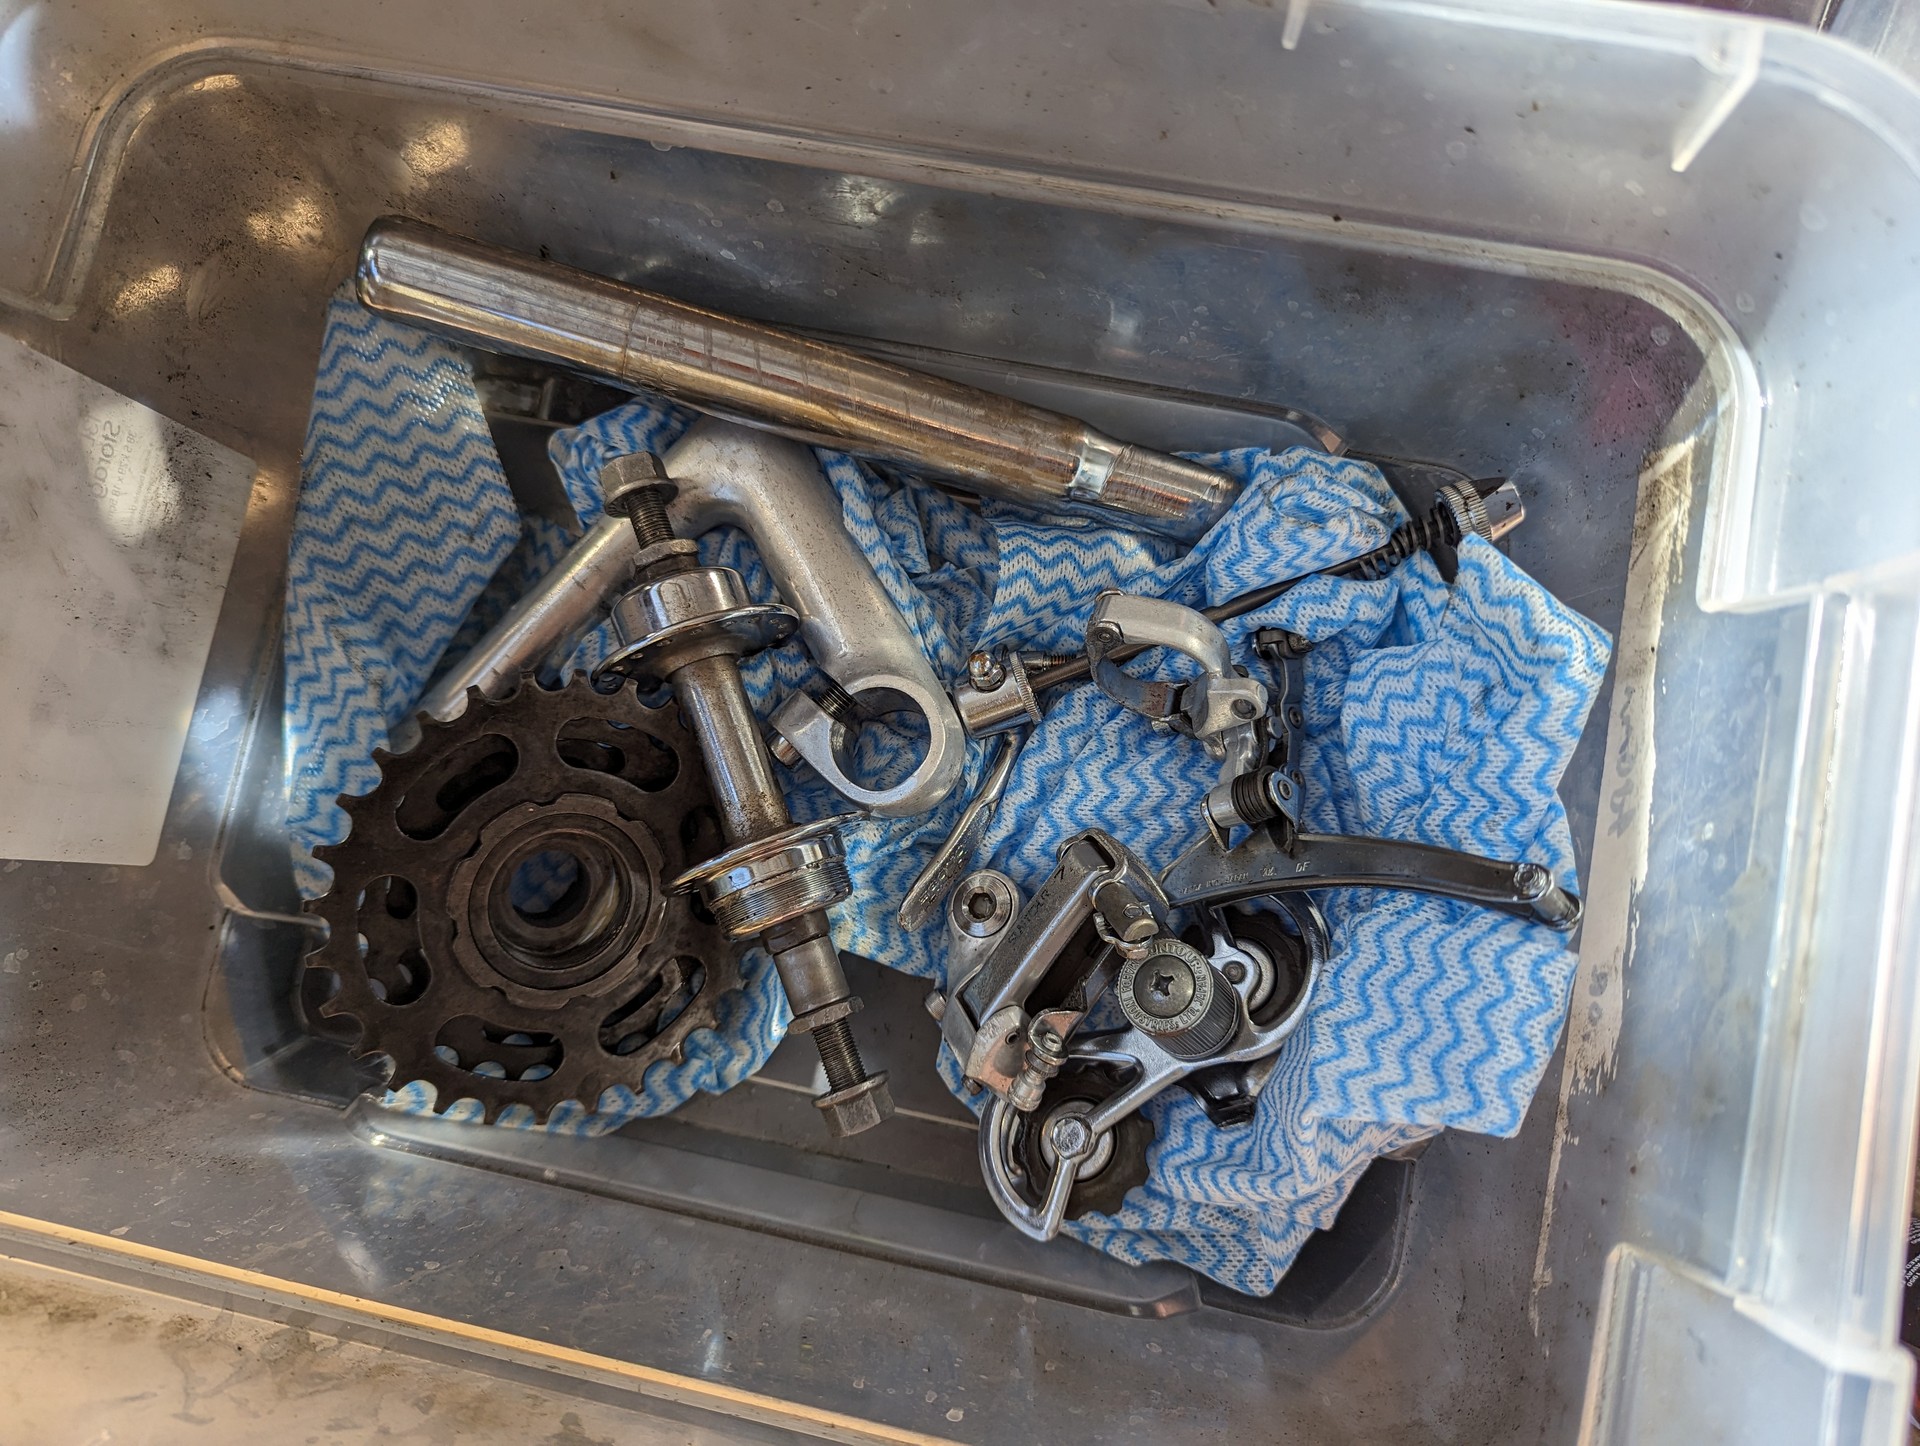
During painting I throughly washed all the parts, rebuilt bearings and placed everything in Evaporust. The Evaporust worked a treat, however flash rust struck again leaving me to have to repeat the process for many parts. The problem is that with the rust removed, washing with water just creates the perfect surface for more rust. I think the solution to this varies per part, varying from an aciditic bath, zinc plating and painting. However for the time being I went with a light coating of WD-40 (which is apparently the original purpose of WD-40). I think if I do this again I’ll have a think about how I deal with this.
I also found that many parts on my bike were broken. I ordered a replacement seat as the plastic holding it together had cracked. A spoke was broken on one of the wheels. The new spokes that I ordered were too long (they must of been the perfect size before, as the new ones were less than 2mm longer than the old) so I’ve reconfigured the wheel for a 4 cross spoke pattern.
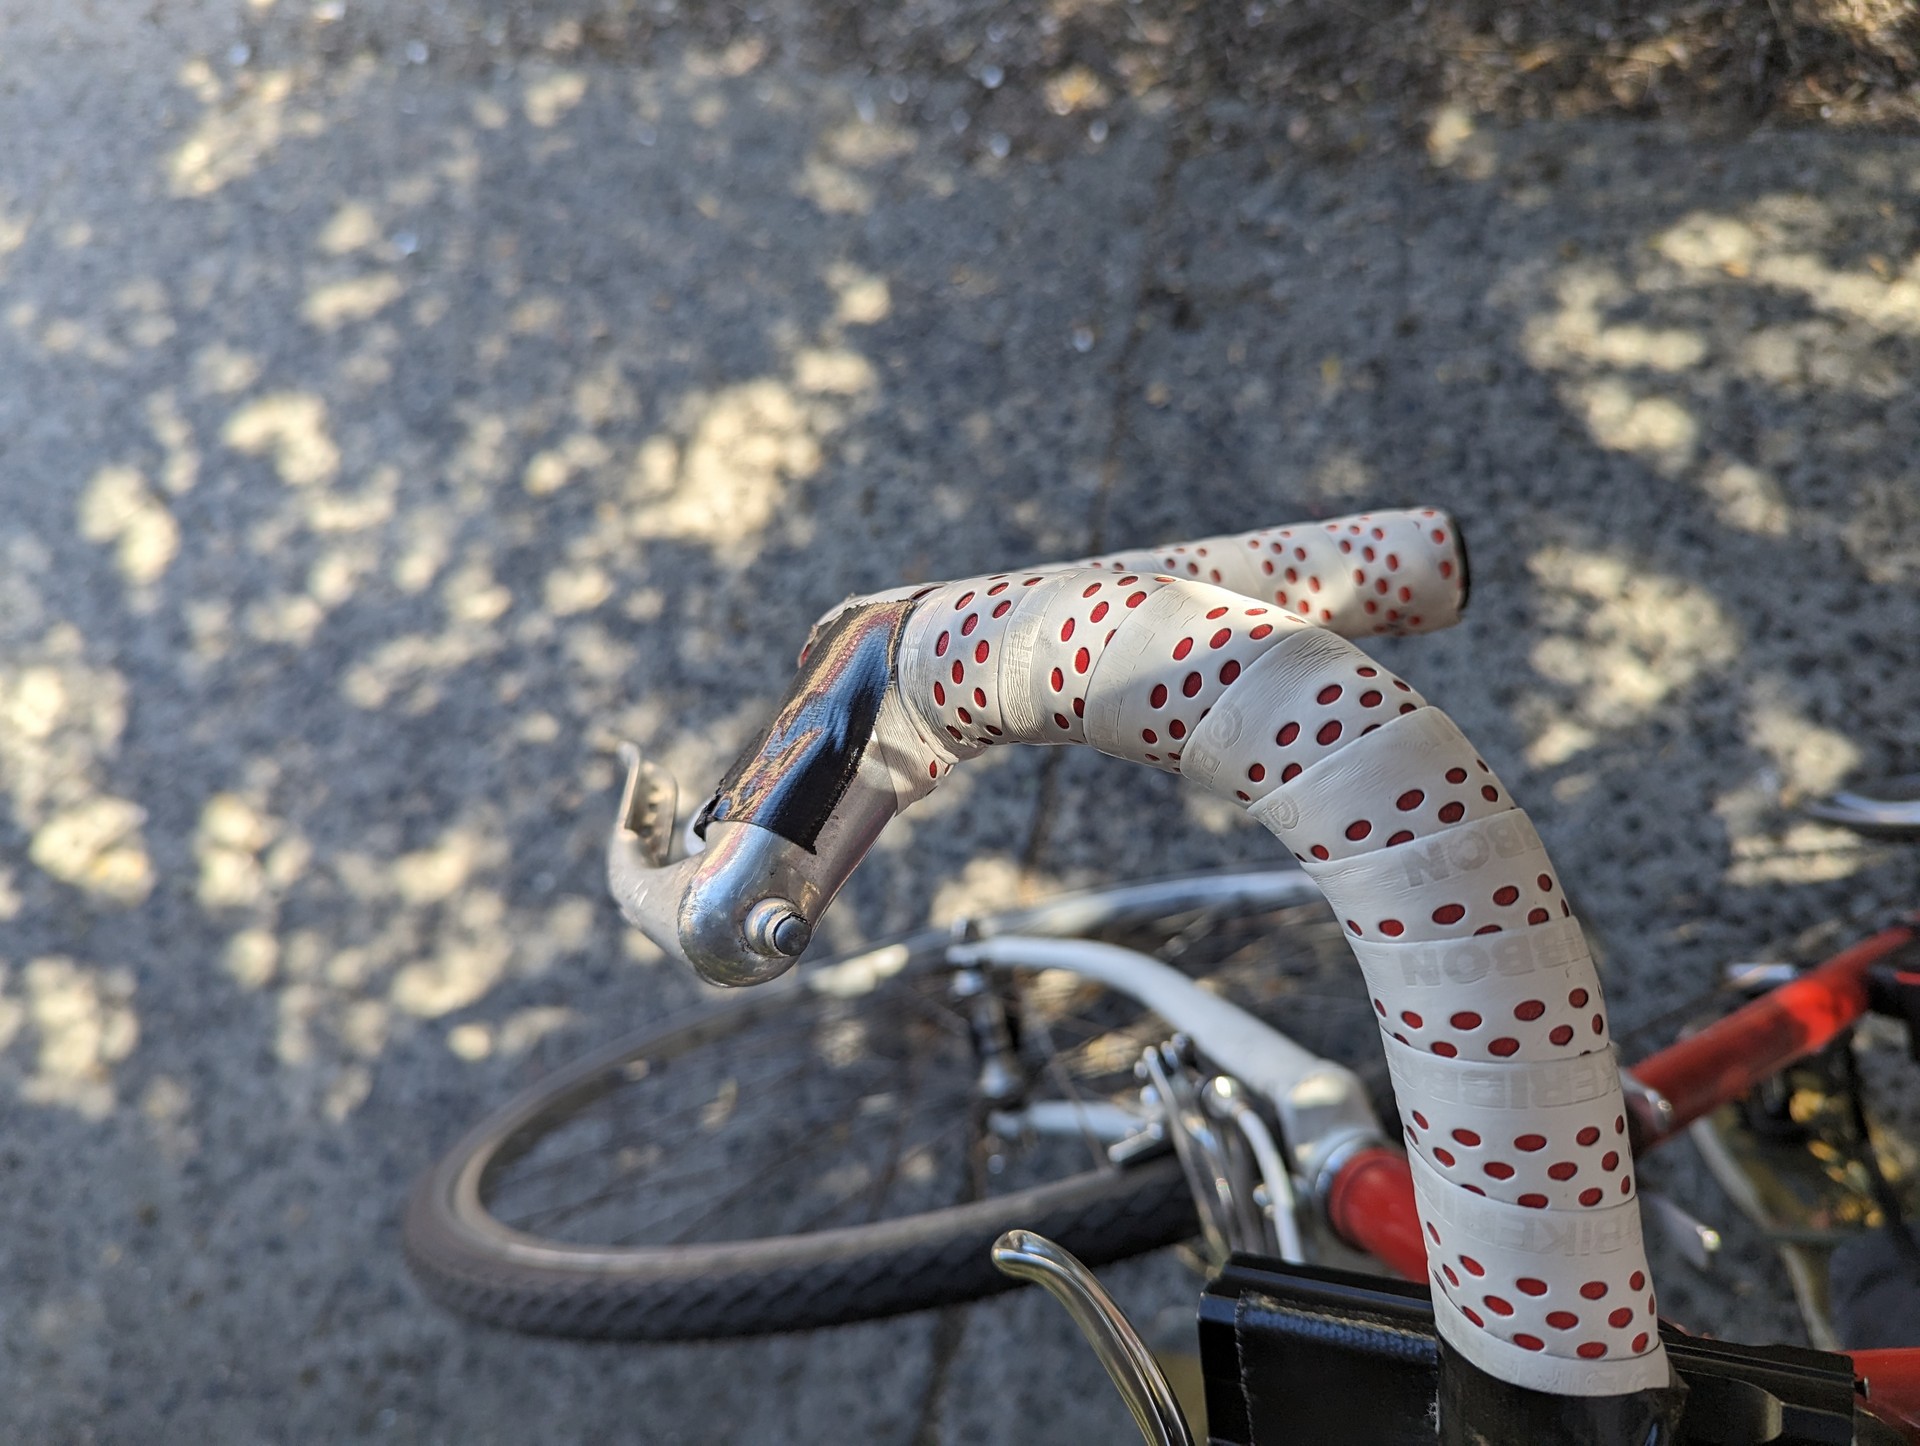
The chain, bell, and cabling were all replaced. Along with the handlebar tape.
Finally
While the bike is mostly done now I still need to true the wheels a little better, along with draw up some of the spoke tension. I’m pretty happy with the results. There’s some bits that I messed up or could do better but for my first attempt I think I did well. It’s certainly better than when I started which is the key thing.
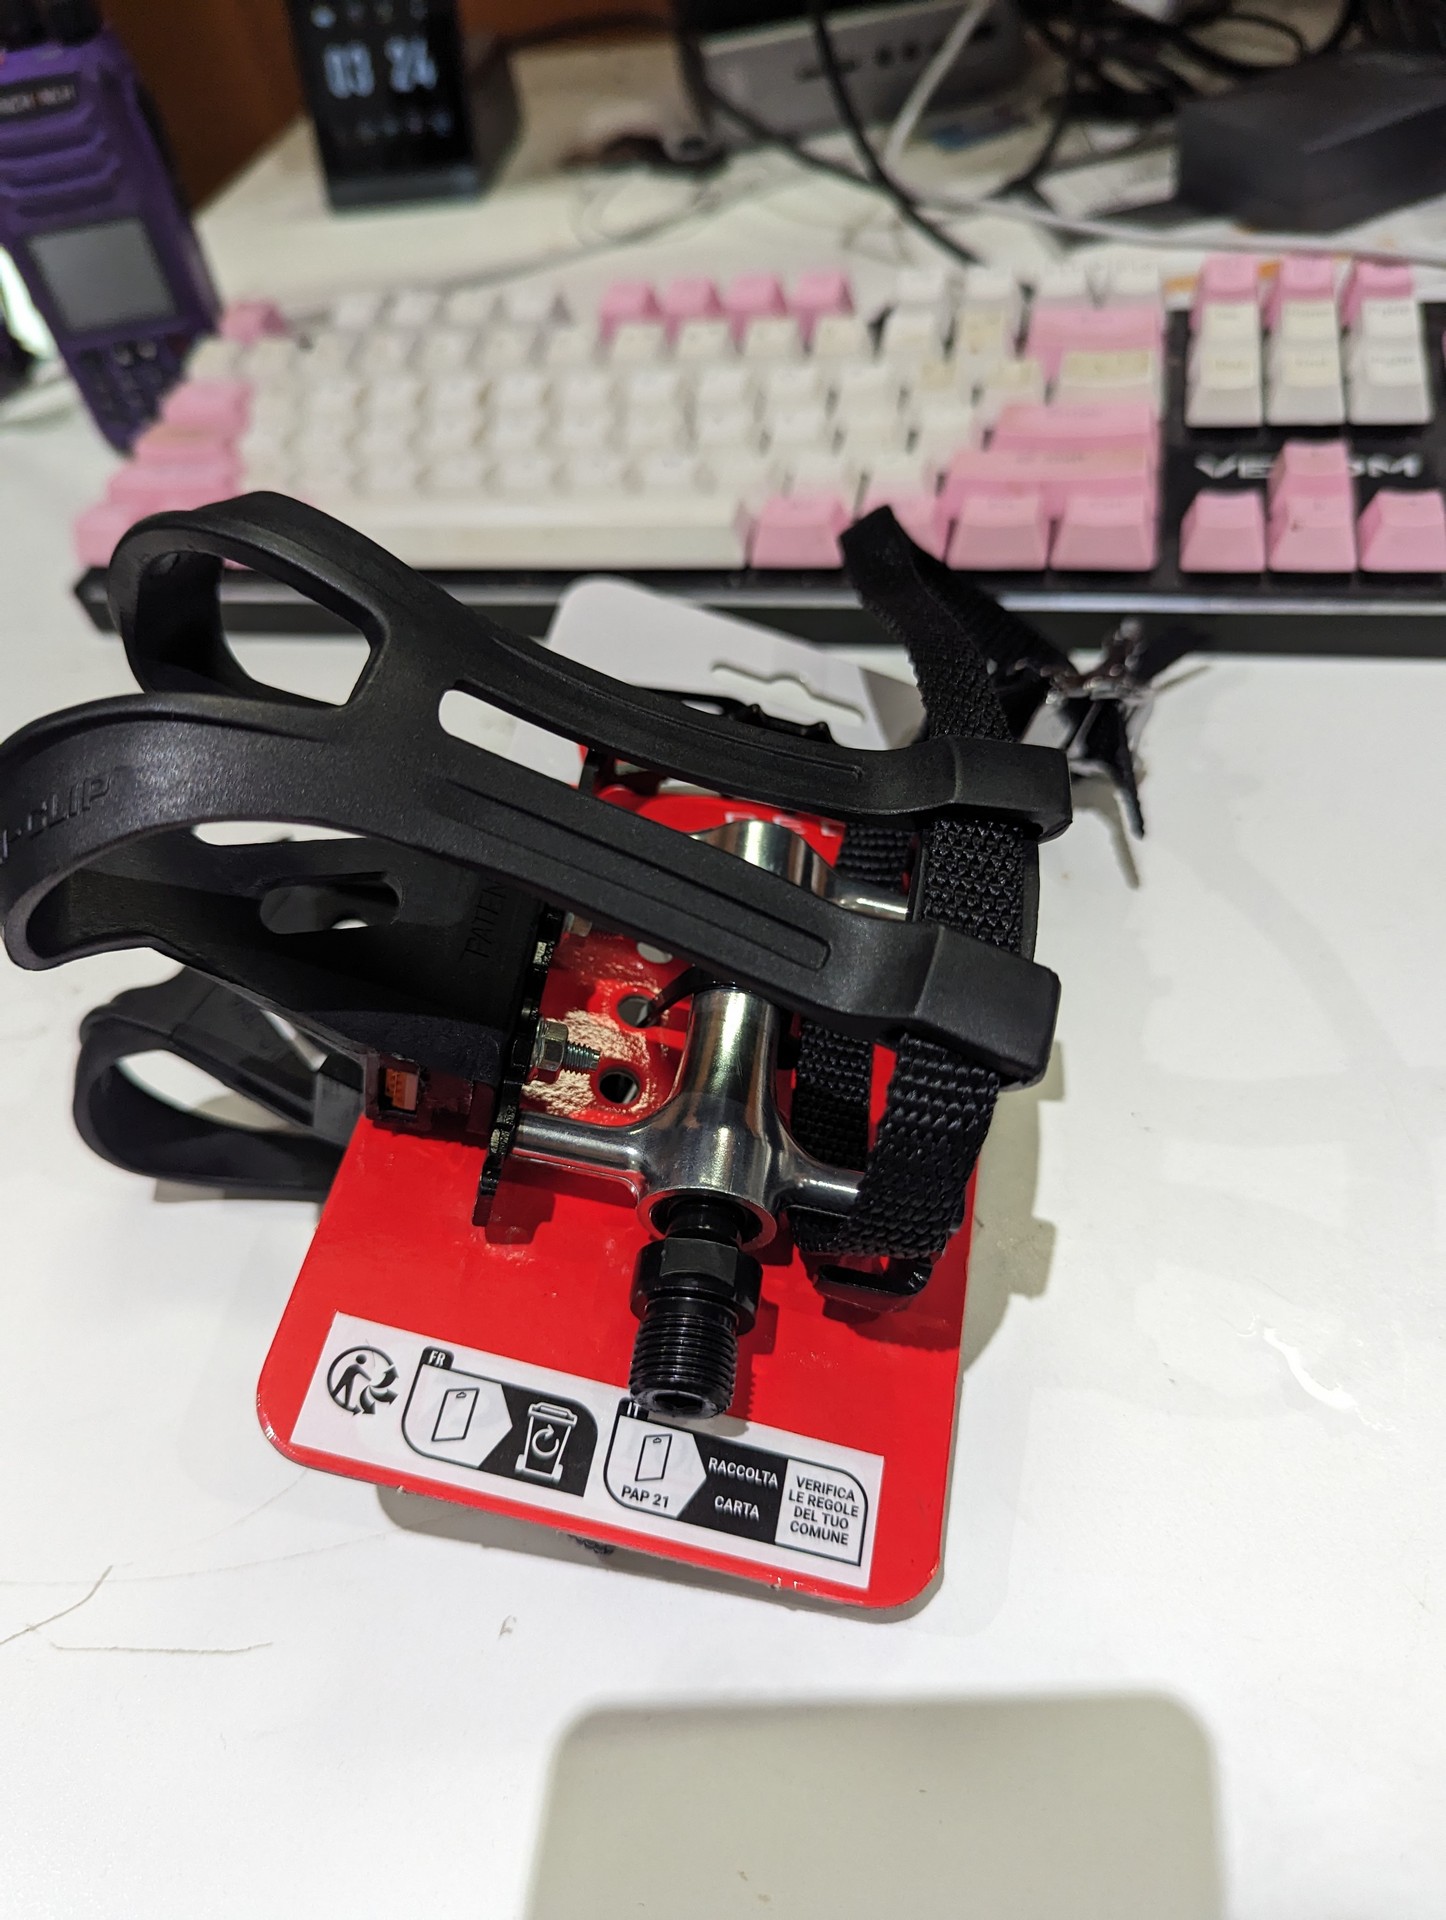
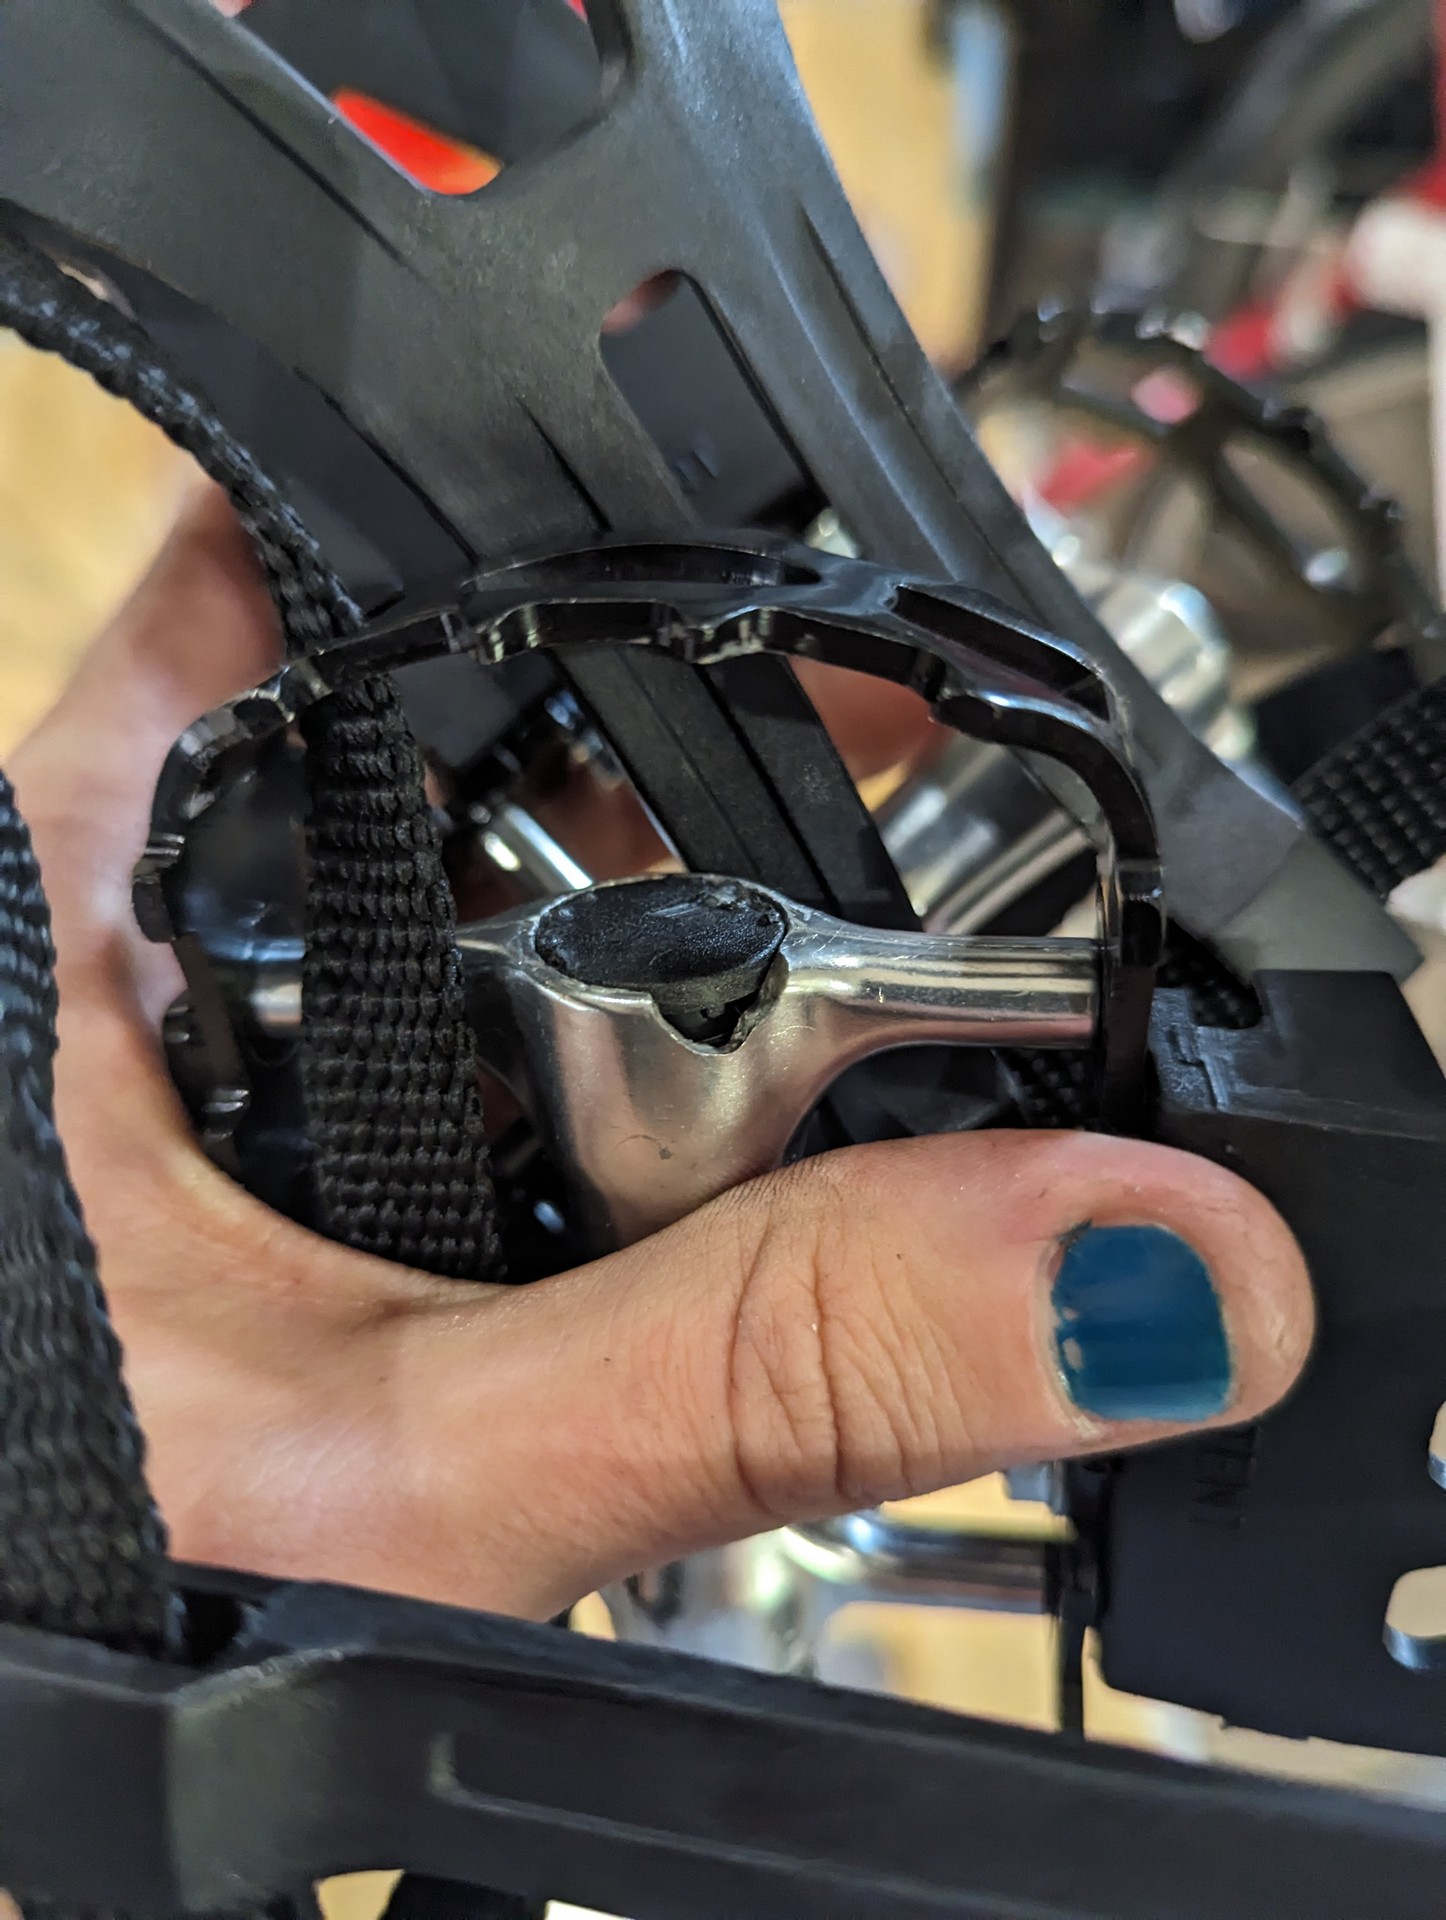
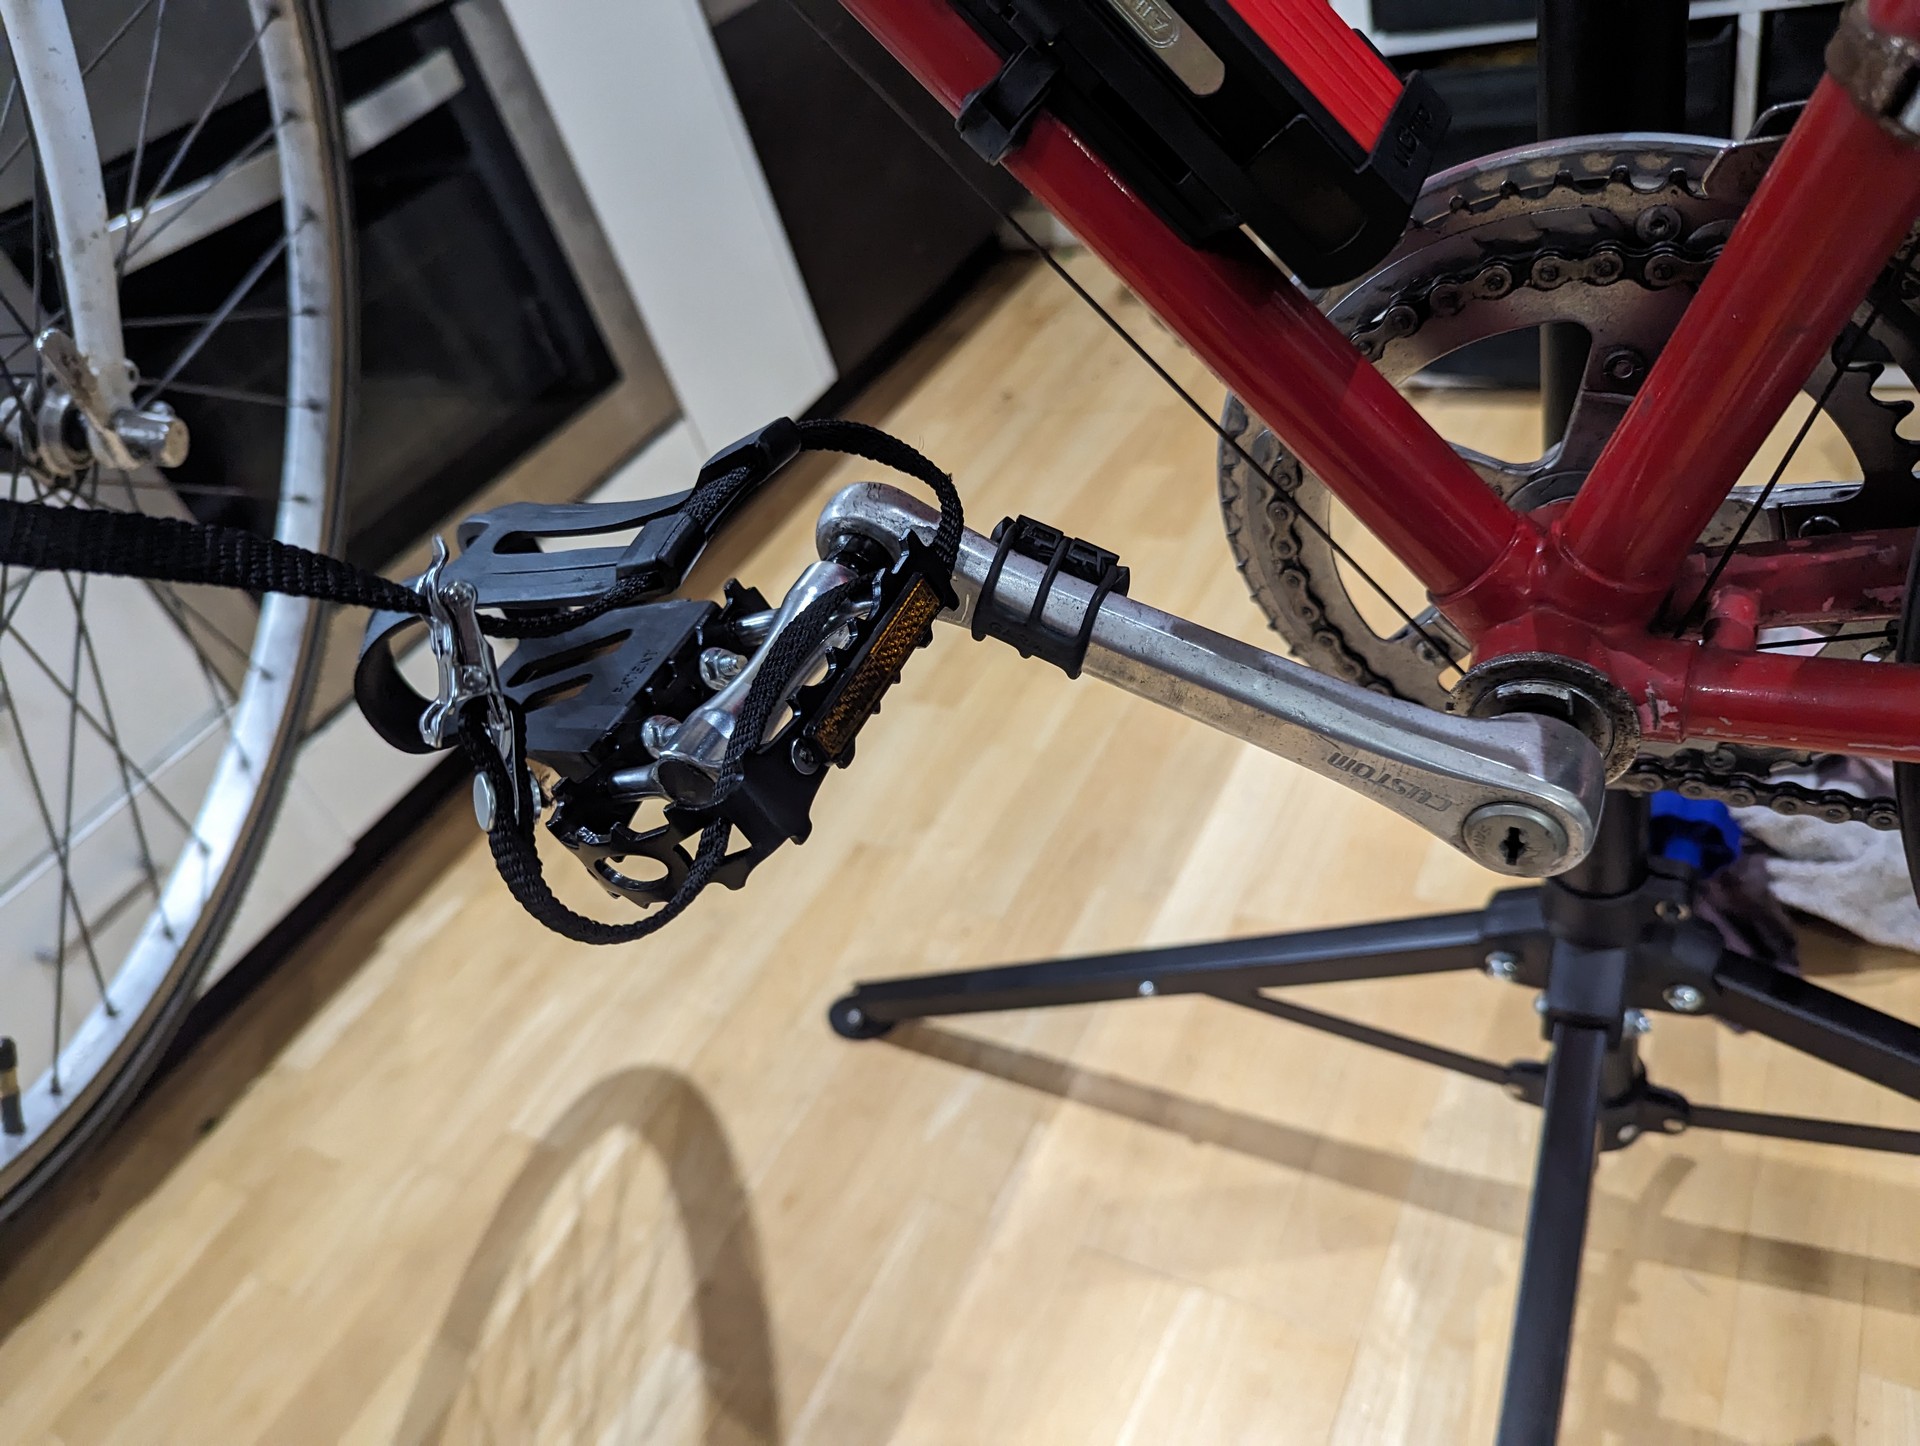
I ordered some old style bicycle pedals for my bike, JSON. These have a black outer body and a silver shaft assembly. They really suit the bike well and come with toe clips which match the pedals of the bike when I originally received it.
Unfortunately when I received the pedals I noticed the shafts didn’t spin very freely and I could feel the bearings biting. These wouldn’t be suitable to ride on. My theory at this point is that these were new old stock and the grease had gone bad. If I could sneak some oil in there maybe they would be fine. There was two problems with this theory - it wasn’t just a grease problem (I should have known this, I think it was just wishful thinking), and removing the dust cover to get to the bearings was a challenging task. The cap was so tightly held in that I ended up breaking the metal body when trying to remove it.
I was going to give up at that point however Alex suggested that I should probably ask the store if they would still warranty it. An email was sent apologising for damaging while trying to repair them and I asked if they would still be ok with processing a warranty. They agreed and asked if I wanted a replacement or a refund.
This was a surprisingly difficult question to answer. I wanted this style of pedal, but if all the pedals had the same fault what was I to do?
Searching various places selling these style pedals new they all seemed to share common reviews:
No bearing - only plastic bushing - broke quickly
Bearing doesn’t spin freely or is seized
Pedal broke after short amount of time
I also had a look at eBay for used pedals that would fit my needs. The problem I found was the total shipped price was prohibitively expensive and even if I paid that, there was no guarantee that the bearing races haven’t been badly pitted.
Looking careful I could determine that most of the new products sold likely all come from the same manufacturer with different brands painted on the side. Some models had bearings that didn’t work, some had plastic bushings and some had weak body.
It seems like the pedals I bought fit into the bearings that didn’t work category. Now I don’t know if its because these are old stock and age has gotten to them, or if the manufacturing process is really poor but the bearings out of the box are certainly not fit for purpose.
After a lot of internal debating I ended up with a plan - I would ask for a replacement and attempt to rebuild the bearings.
Rebuild time
The first step was removing the pesky dust cover. This time I took the approach of removing everything from the pedal assembly first. The rear reflectors can be pushed and levered off while the toe cage can be removed by sliding the reflector out and undoing the two bolts. This making it much easier to work on - plus as I was doing a full rebuild I would need access anyway. It’s a good idea to do one pedal at a time so you have a reference pedal.
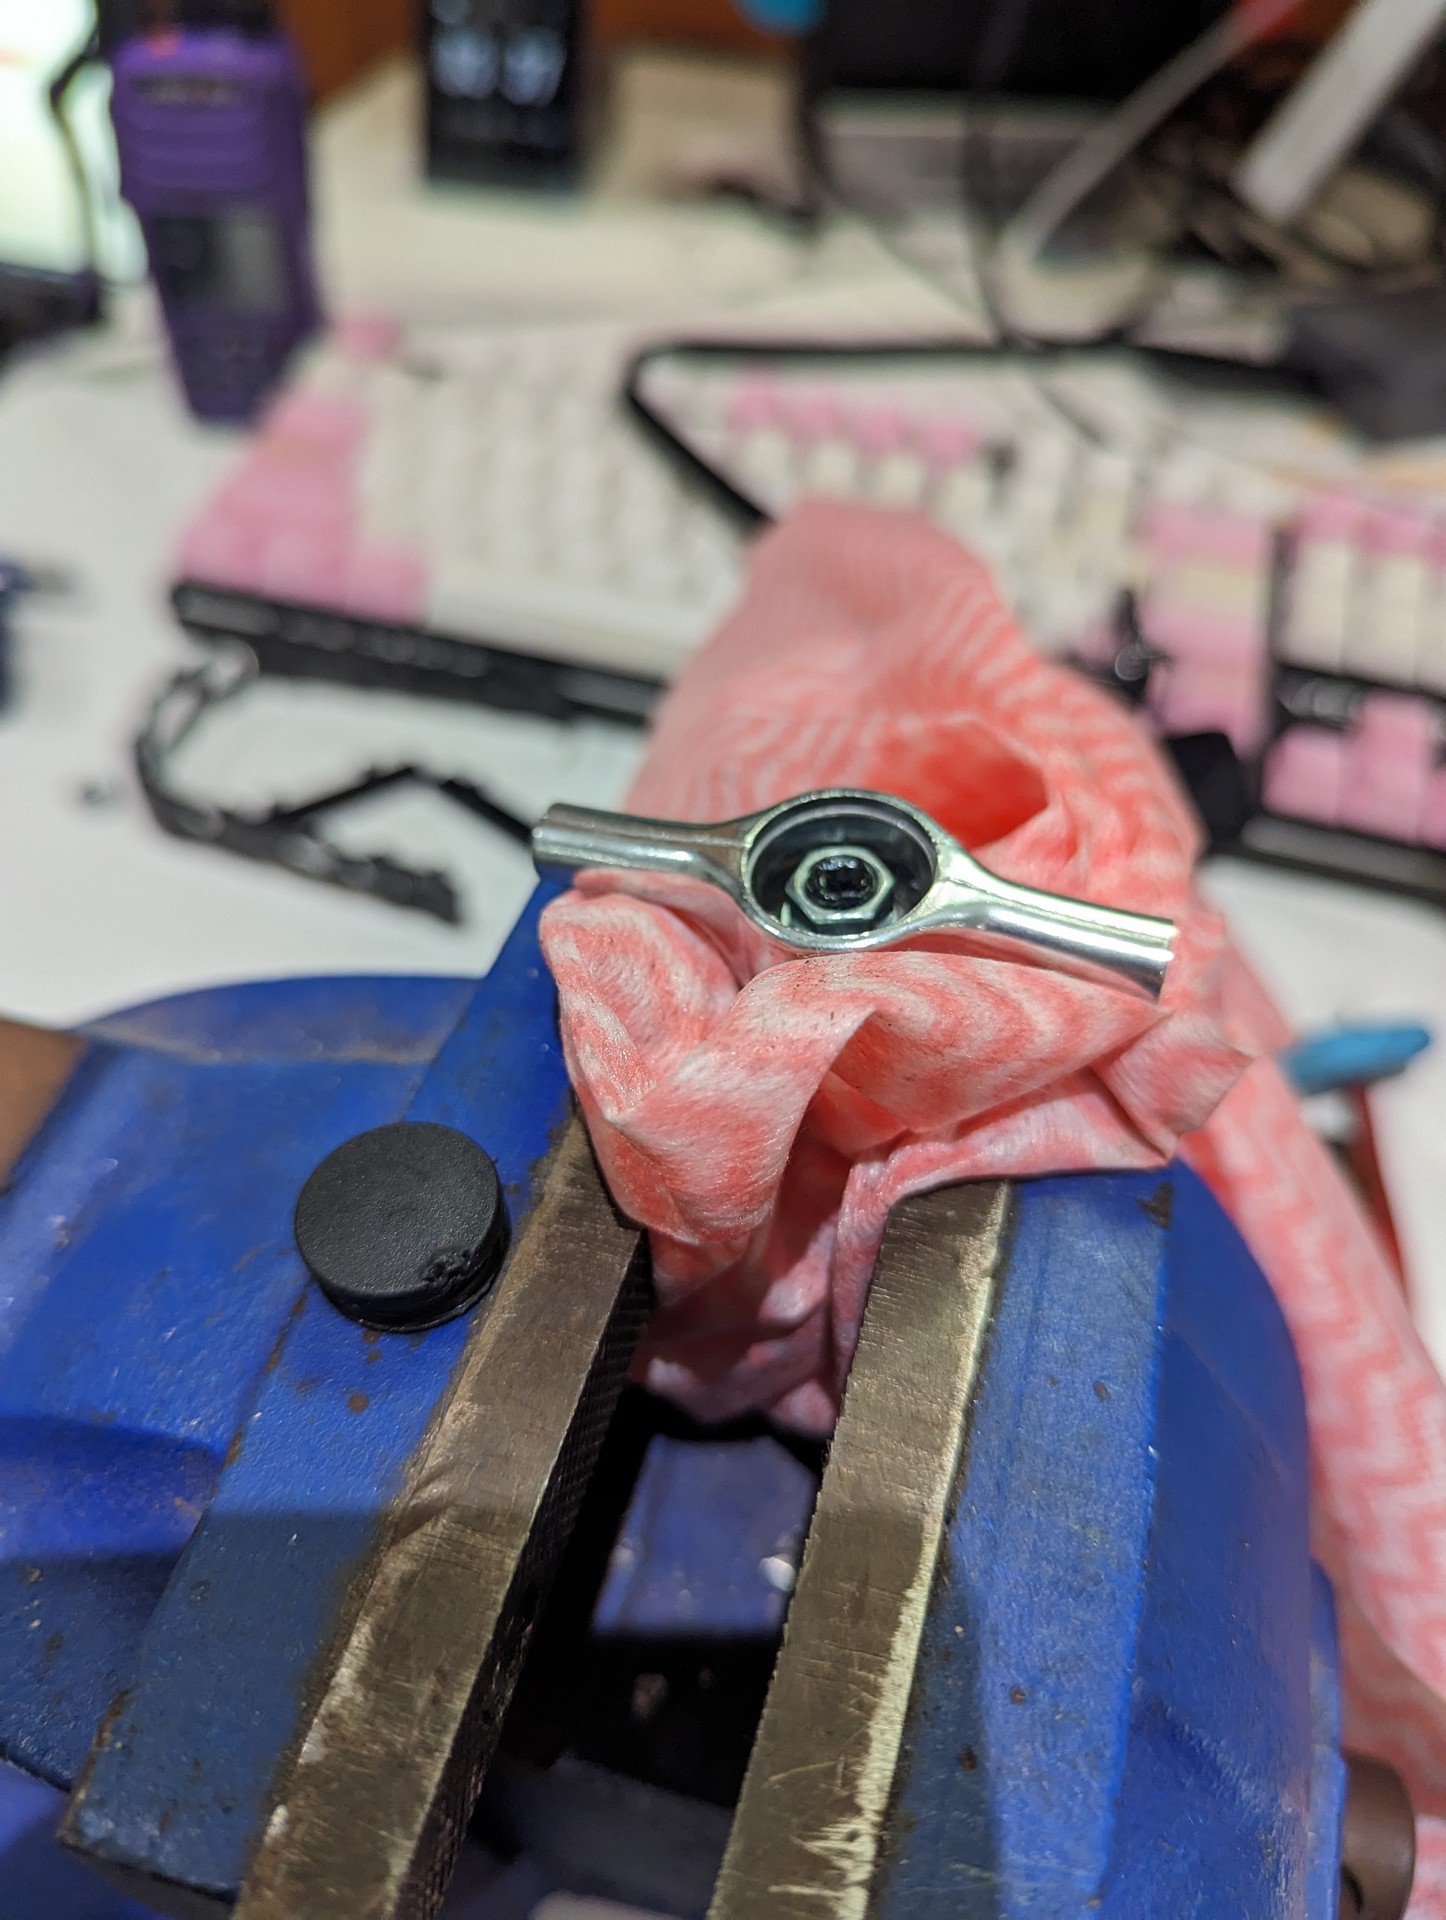
I placed the main body into a vice and tightened it softly - the point here was just to have something holding the assembly, so it doesn’t have to be super tight. I then used some very small side cutters edge to slide/cut into the side. Because of the tight circular shape things like screwdrivers don’t work very well here. The sharp point on the side cutter allowed me to get inside and then I could lever it out. It took a few goes, and does slightly damage the cap - however it’s the least damaged from all the tools I’ve tried so far. Other pedal designs usually have a grove you can use a screwdriver with - these do not.
If you are trying to get these kind of cheap new(ish) pedals working you actually have a bit of a choice here. I found there to be two problems with my pedals - the grease wasn’t great and the bearing preload was set wrong. You can choose not to do a full rebuild if you are happy with the grease provided - you can just set the preload. This is the easiest option and probably fine for most people. If this is the case - skip to the section labelled “preload”.
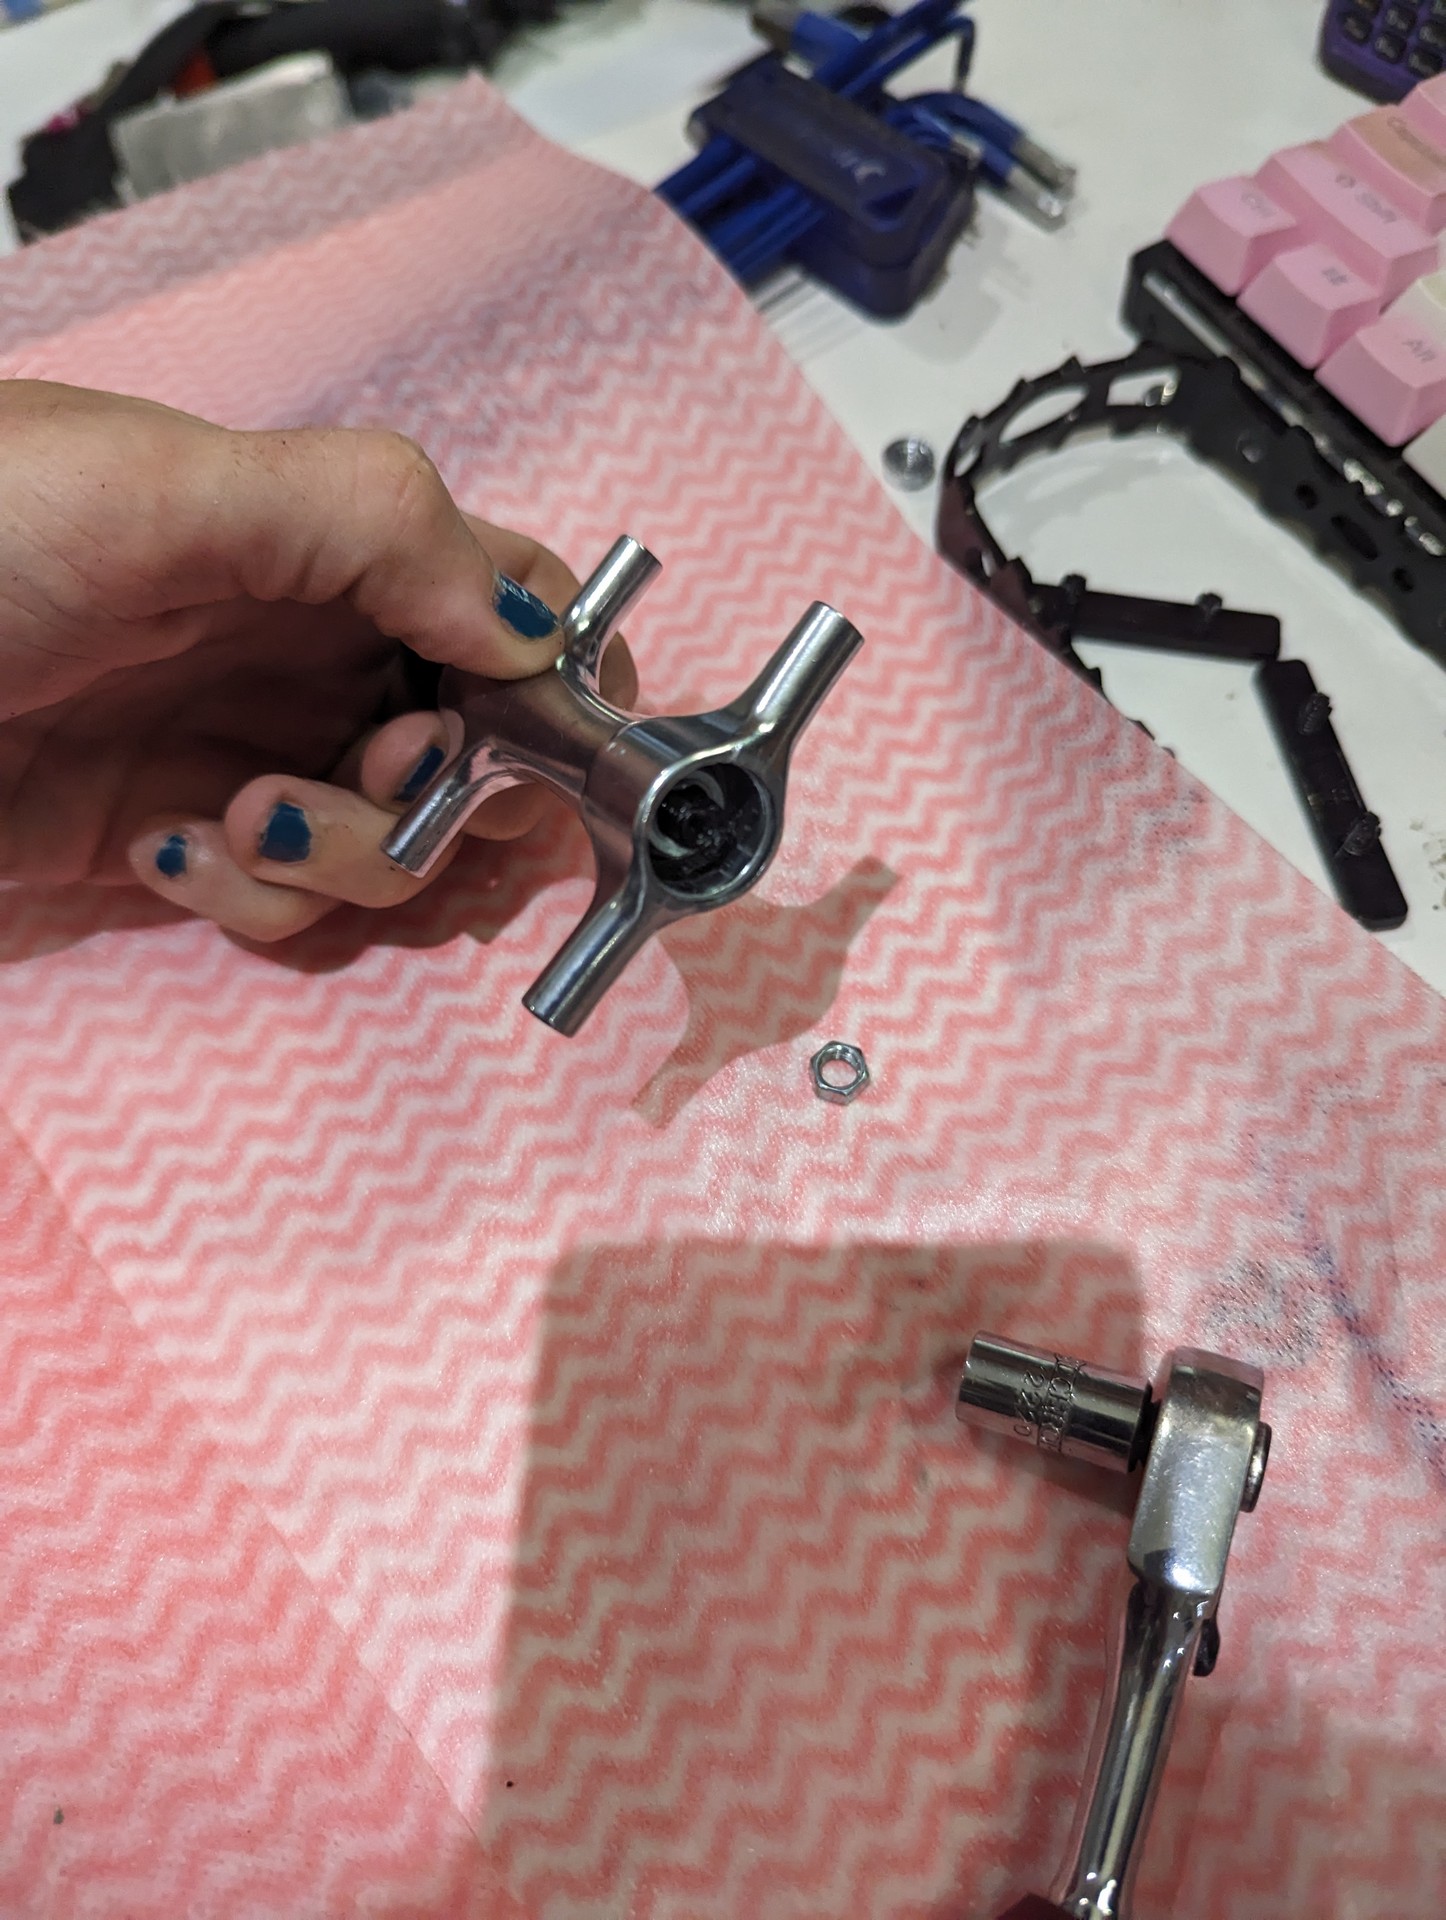
At this point, lay down a towel or a rag. Something that will stop ball bearings from rolling away. Using a 9mm socket and a spanner or shifter on the other end, undo the locking nut.
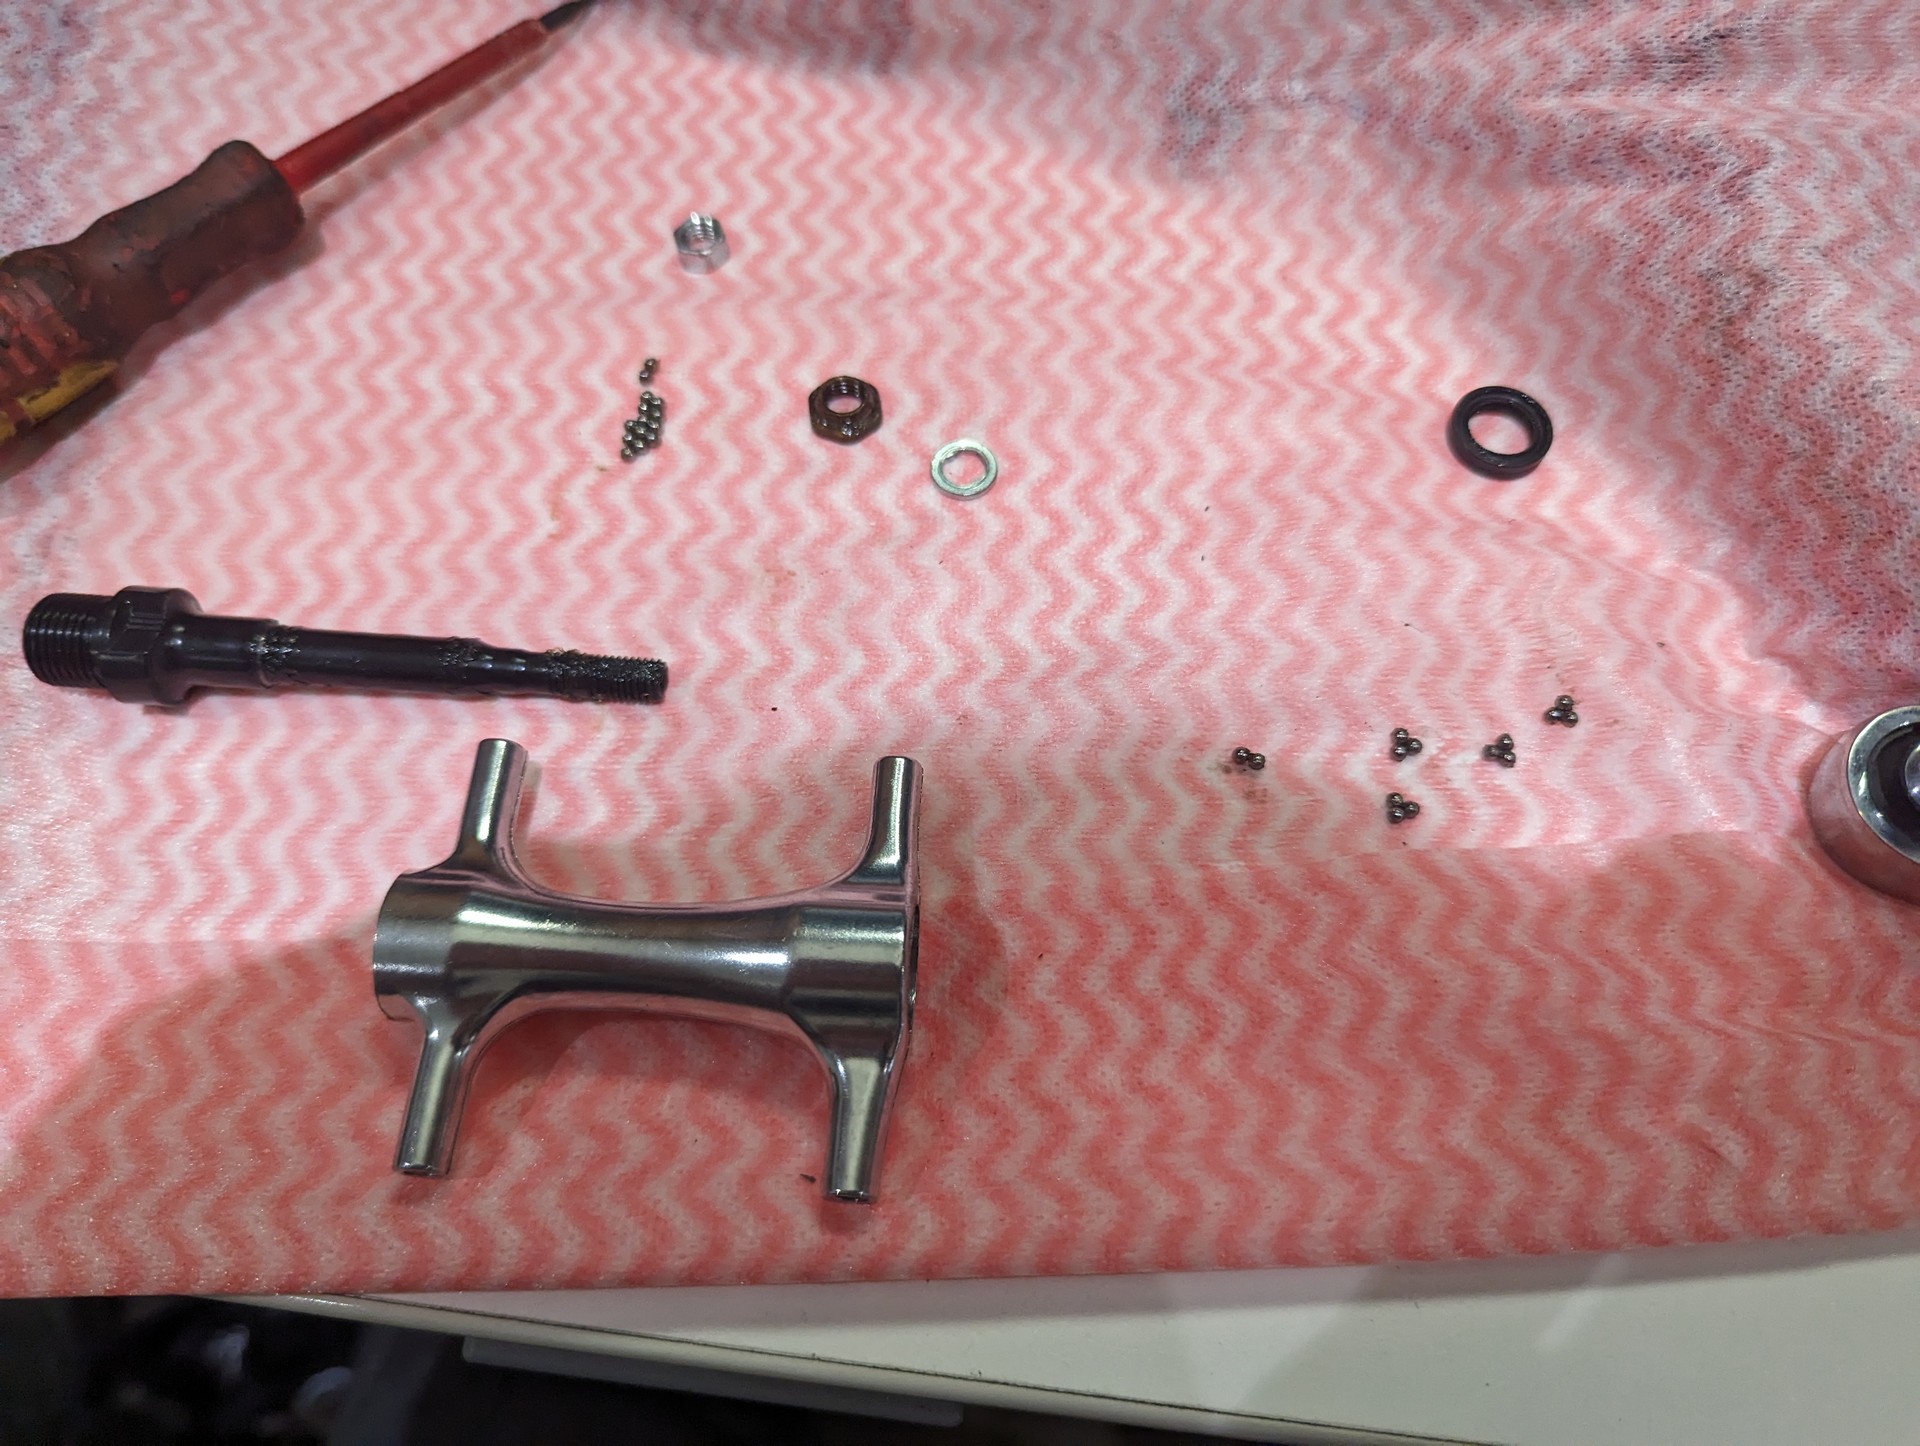
Inside the shaft will a slotted washer followed by another thin nut/bearing race. I didn’t have any thin walled socket that would fit down there, however since the assembly isn’t under any load this nut should be fairly loose. You should be able to use a pair of tweezers to undo this nut. At this point be careful though as you’ll be freeing the bearings. Sit the shaft upright so that the end that usually attaches to the bike is on the table when removing this nut, otherwise the body can slide off the shaft and drop bearings everywhere.
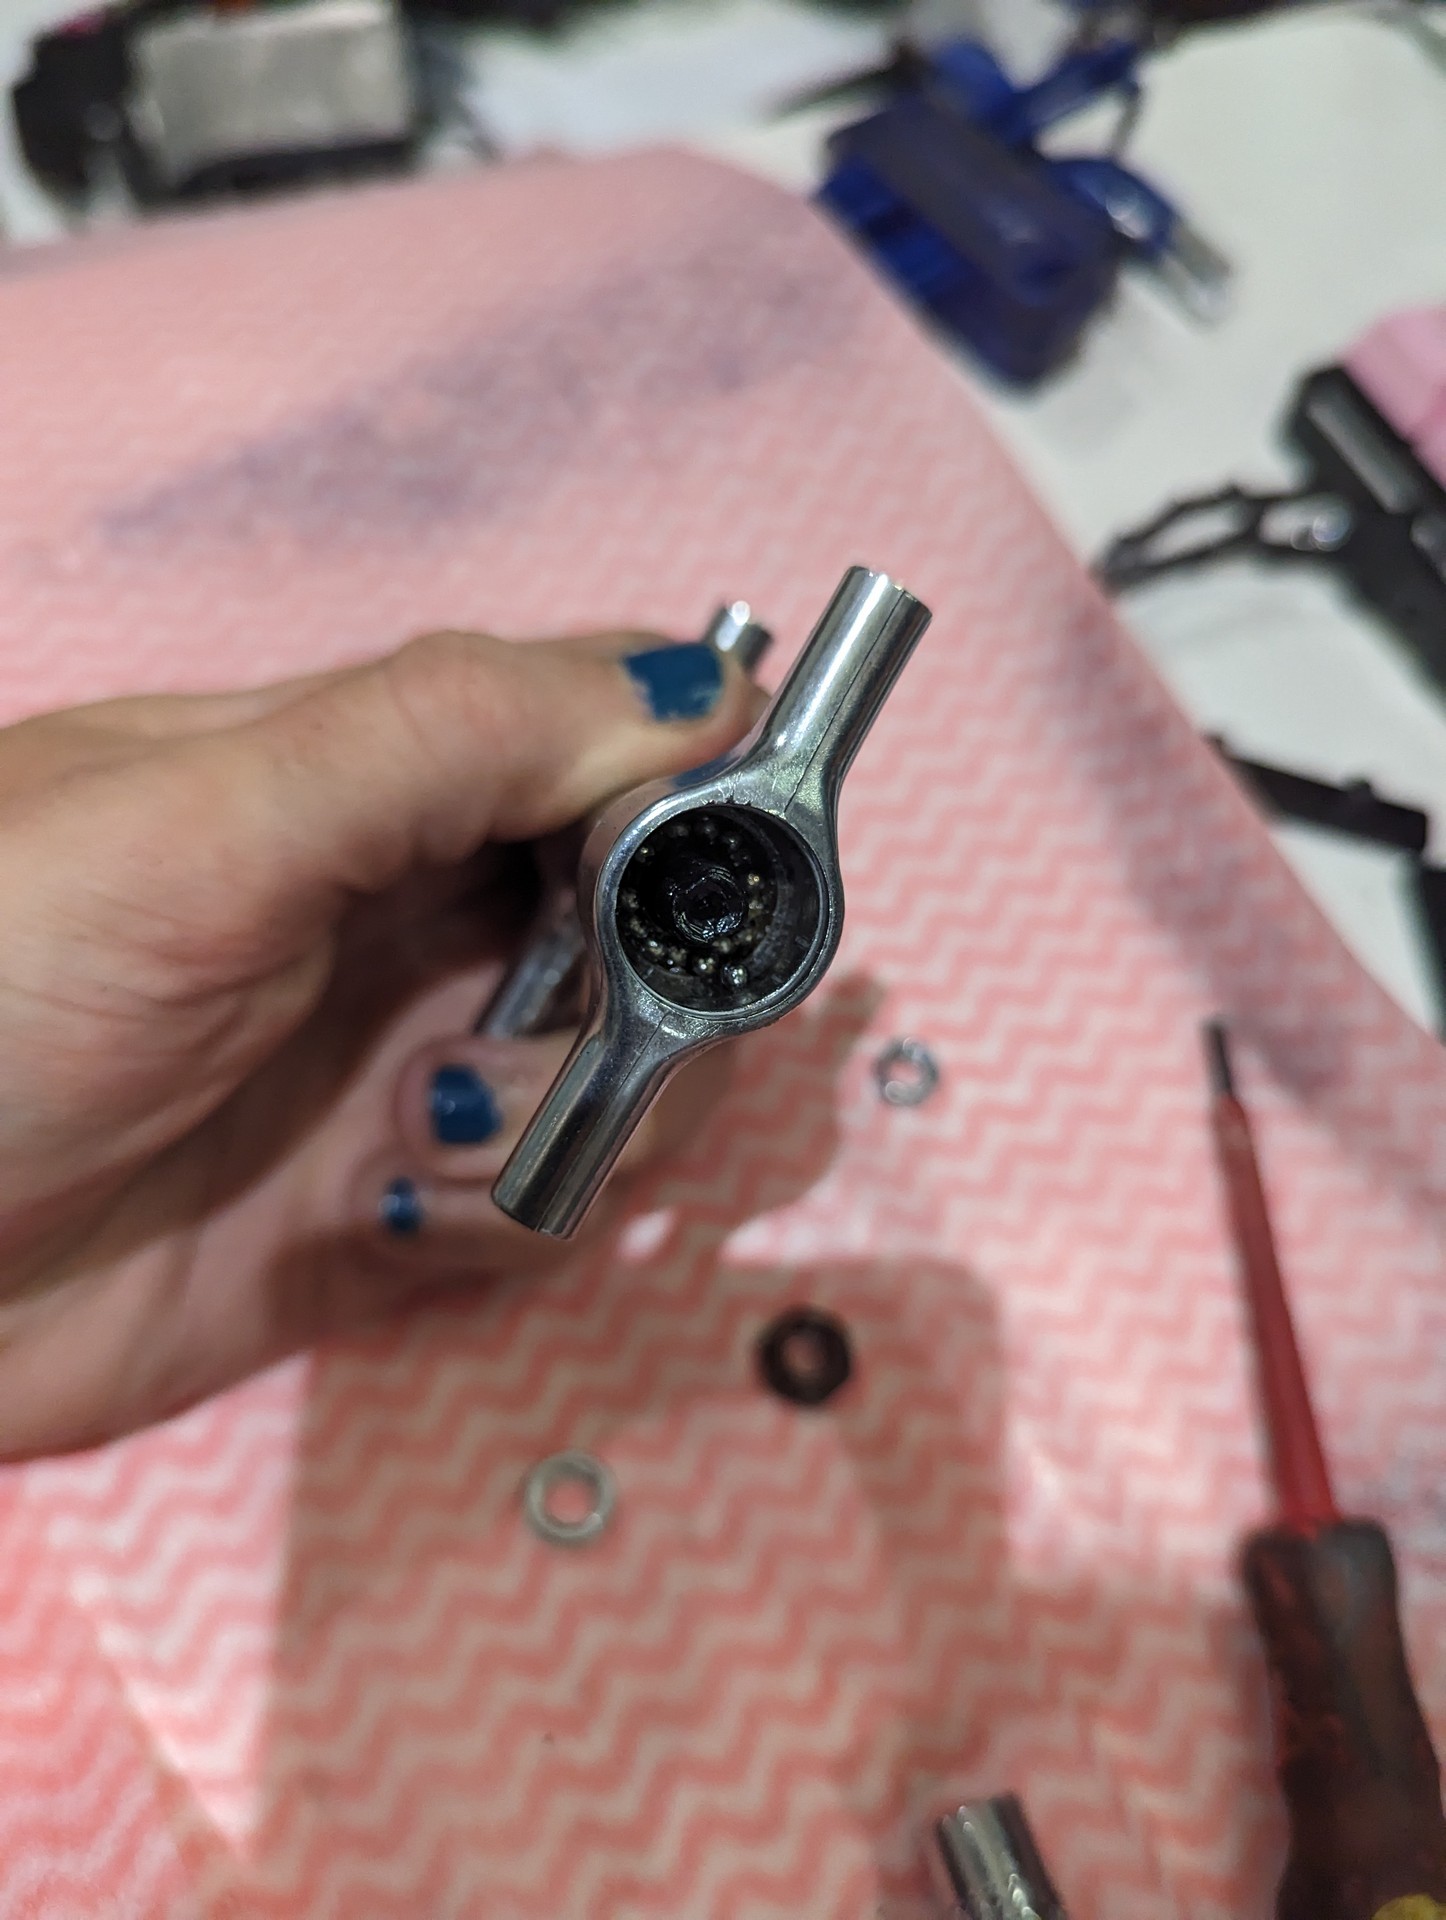
At this point you should be able to see the bearings. Now is a great time to count them, or at least take a picture. We’ll want to make sure we put the right amount back in. I removed all the bearings with tweezers and put them into a nice little pile. For me there was 14 on both sides of the shaft. There might be bearings stuck of the bearing race/nut that we removed.
After those bearings are removed I suggest flipping the pedal over and carefully remove the shaft. Mine has a rubber seal on the bike end. Once again remove the bearings.
Clean all the grease off the bearings, clean the shaft and housings. Once everything is cleaned the assembly process is much the same as the disassembly process. I used red truck and farm grease. It’s probably fine. Spread grease into the bearing races to hold the bearings in place. Make sure you count the bearings to ensure none are missing or you haven’t put too many in. Remember to install the race/nut the correct way, followed by the washer and locking nut - don’t tighten all the way yet. Just enough to keep the bearings from falling out.
Preload
Getting bearing preload right is critical, and it can sometimes be the most time consuming part of this process. At both ends of the shaft is a effectively a cup and a cone. By tightening up the nut/race we are removing some of the space the bearings have to wobble around.
Ideally we want there to be no wobble or play. However if we tighten up the assembly too far the bearings will be pressing into the metal, causing a lot of friction and preventing the shaft from spinning. Too tight will cause damage to the bearings and the races. The goal here is to have the assembly as tight as possible without impacting the friction of the bearings.
Tighten up the race/nut with the tweezers. I suggest tightening this up until the shaft doesn’t spin freely anymore. At that point back it off until the shaft spins freely again. Now with the 9mm socket, tighten up the locking nut. When you do this, additional pressure will be added to the race. It’s likely the shaft might have too much friction at this point. Undo the locking nut again, and adjust the race/nut to loosen the race. I was doing probably 1/16 turns when I was adjusting mine, so very small adjustments everytime. Check for play as your doing this. The shaft shouldn’t move in or out, and there should be so side to side wobble.
It’s sometimes hard to strike a good balance. I would favour a bit of play over additional friction on the bearings if thats the only choice.
Reinstall the dust cover. I found it quite hard to put in and resorted to the vice. I didn’t want to use the vice as it’ll be putting pressure on the bearings and shaft but I found it the only suitable way to get the cover in. Reassemble the outer body, straps and reflectors.
Results
Was it worth it? Well they certainly spin more freely on my desk, but I’ll have to have them on the road for quite a bit before I can give a final verdict.
In the meantime, here’s my partner comparing one I rebuilt vs the original.
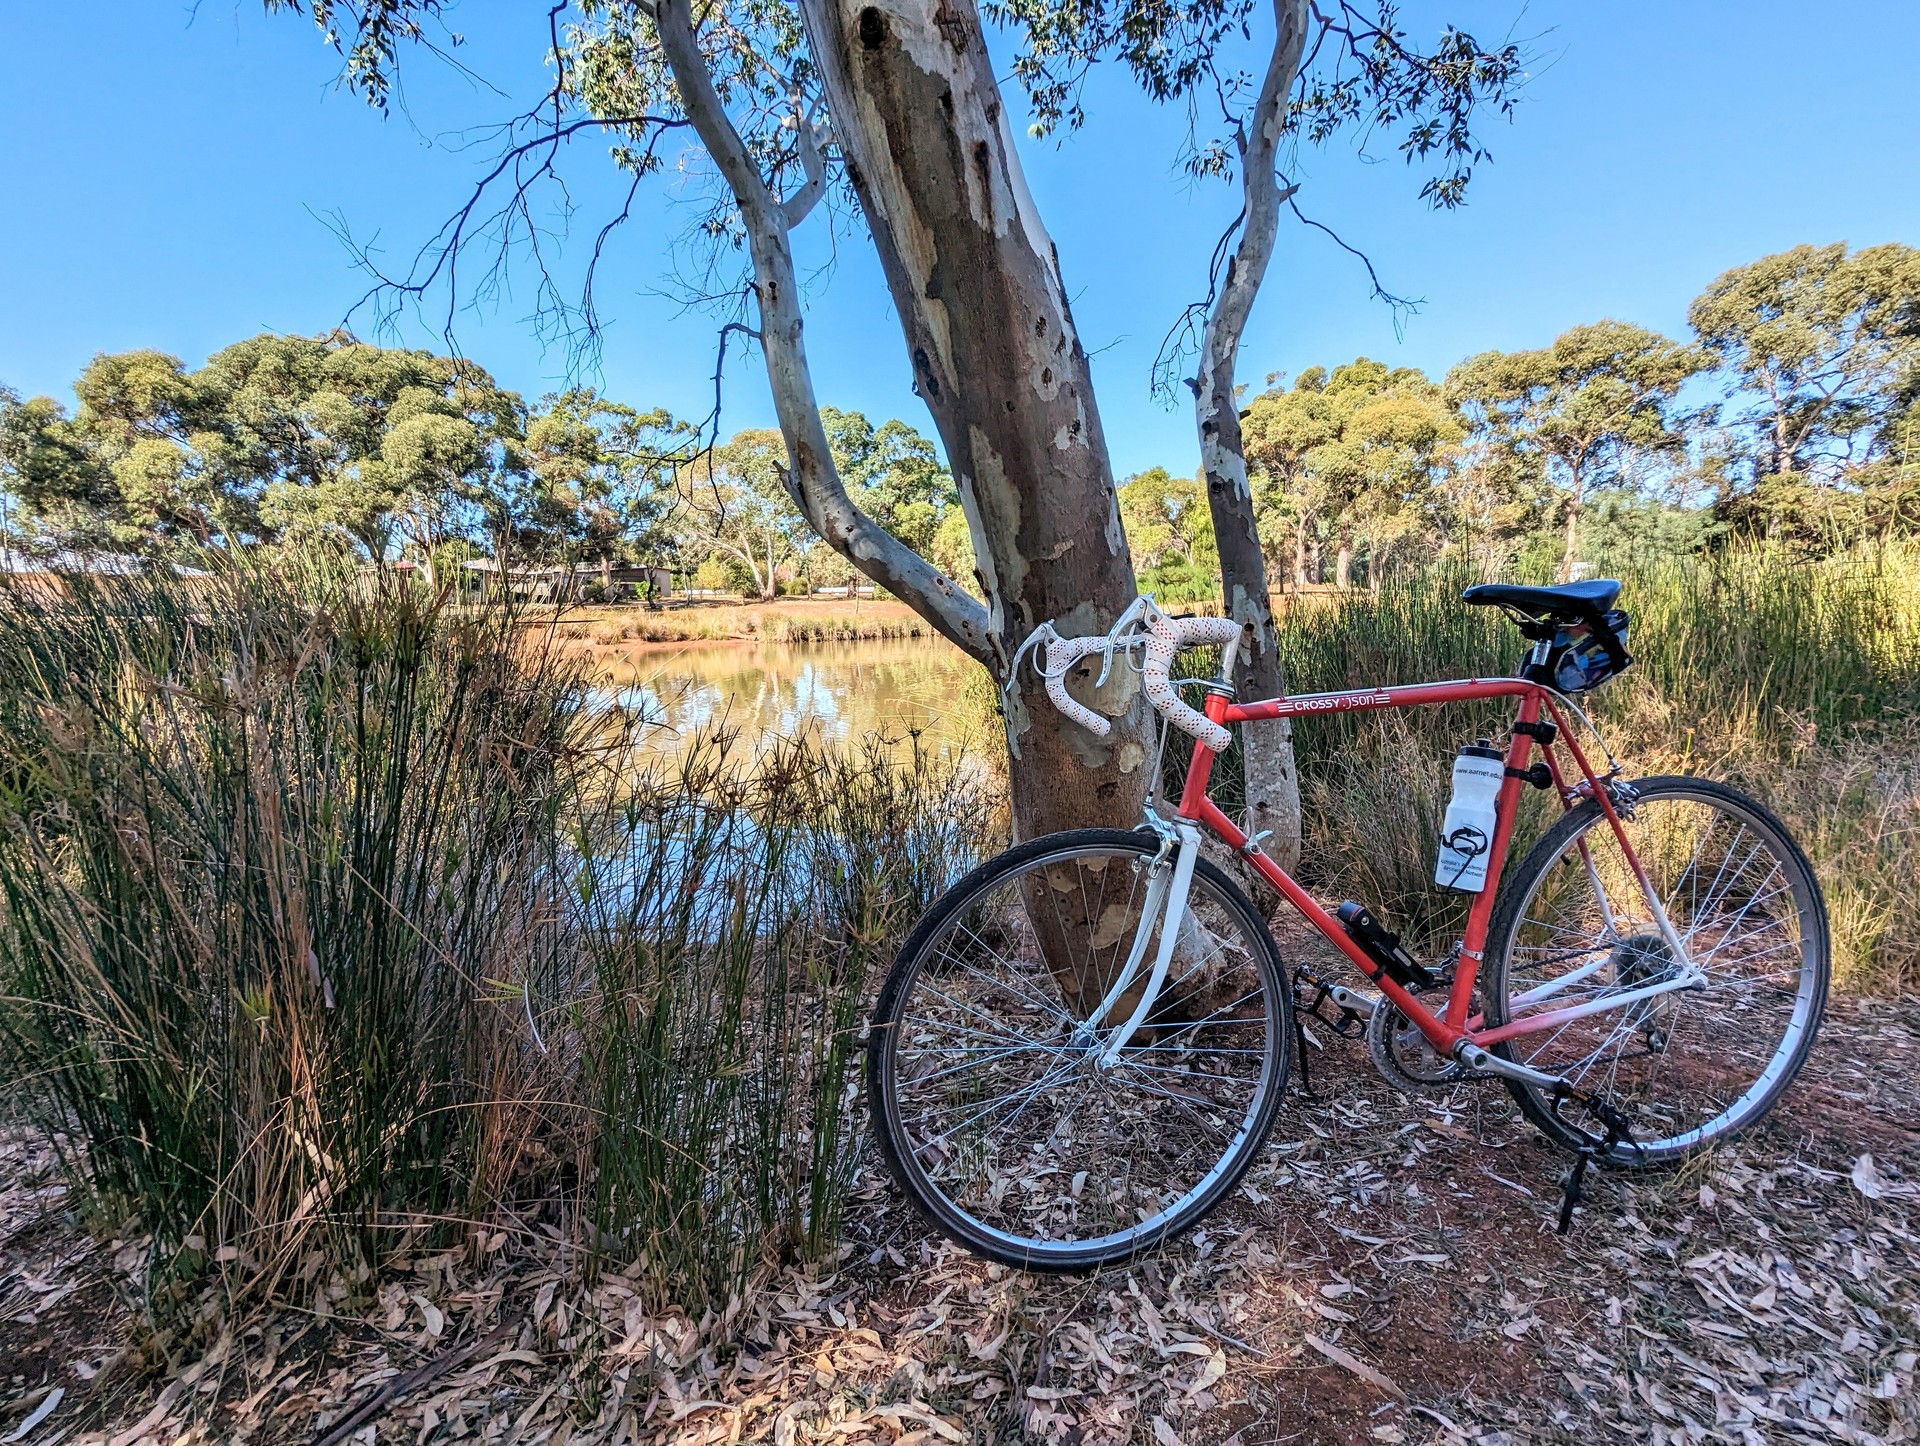
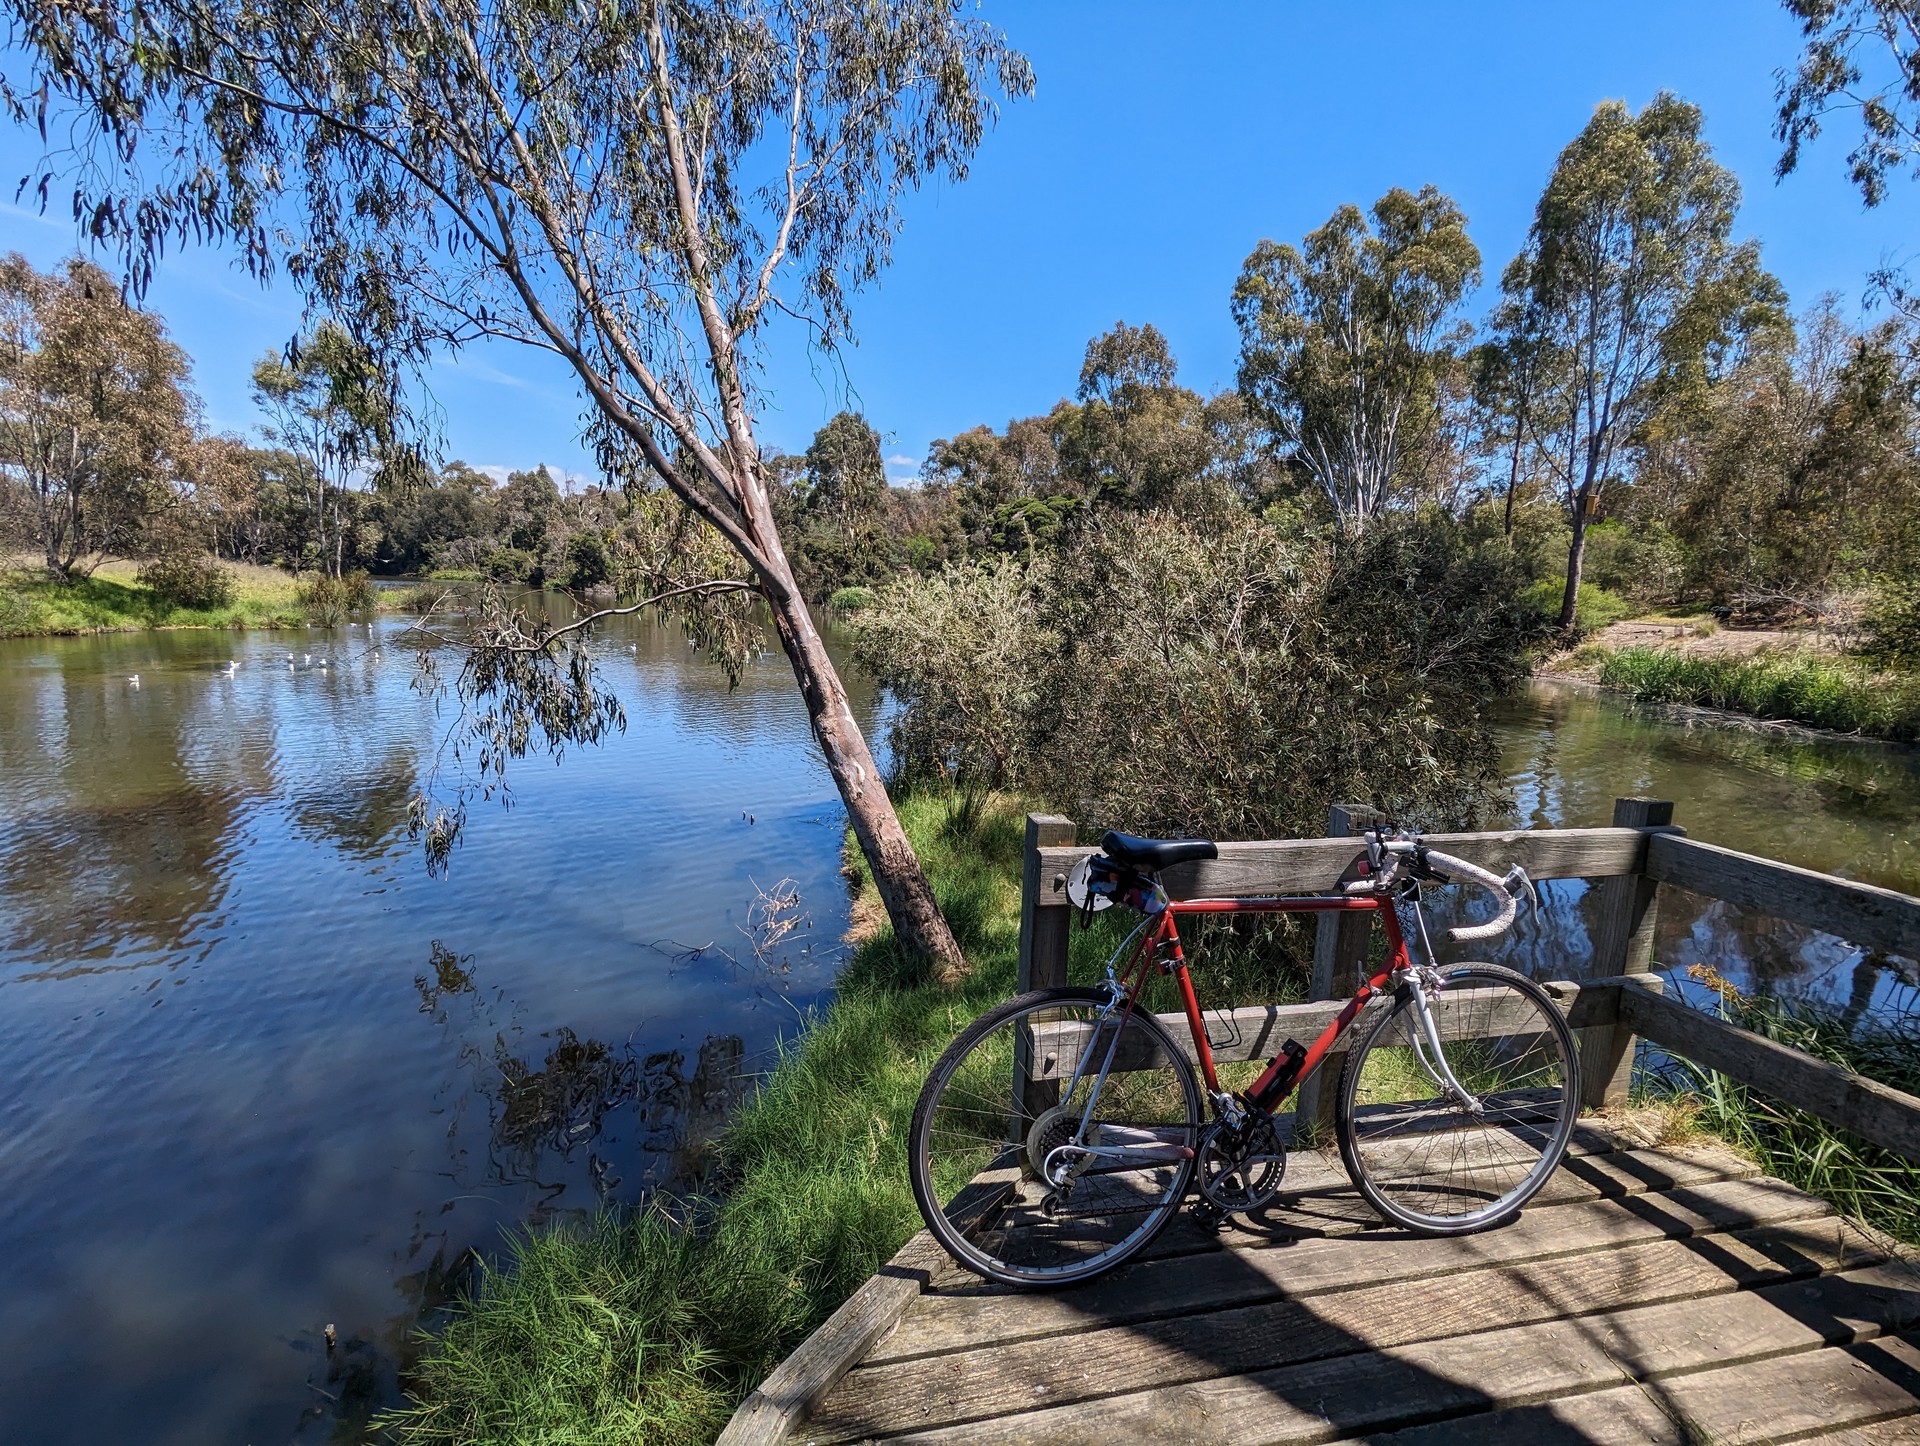
So my next blog post was meant to be on how the brake install went. The good news is the brakes work great - I’ll get into more details on that later. HOWEVER while riding out to somewhere nice where I intended to take some nice picture I had a bit of an incident - so lets talk about that first.
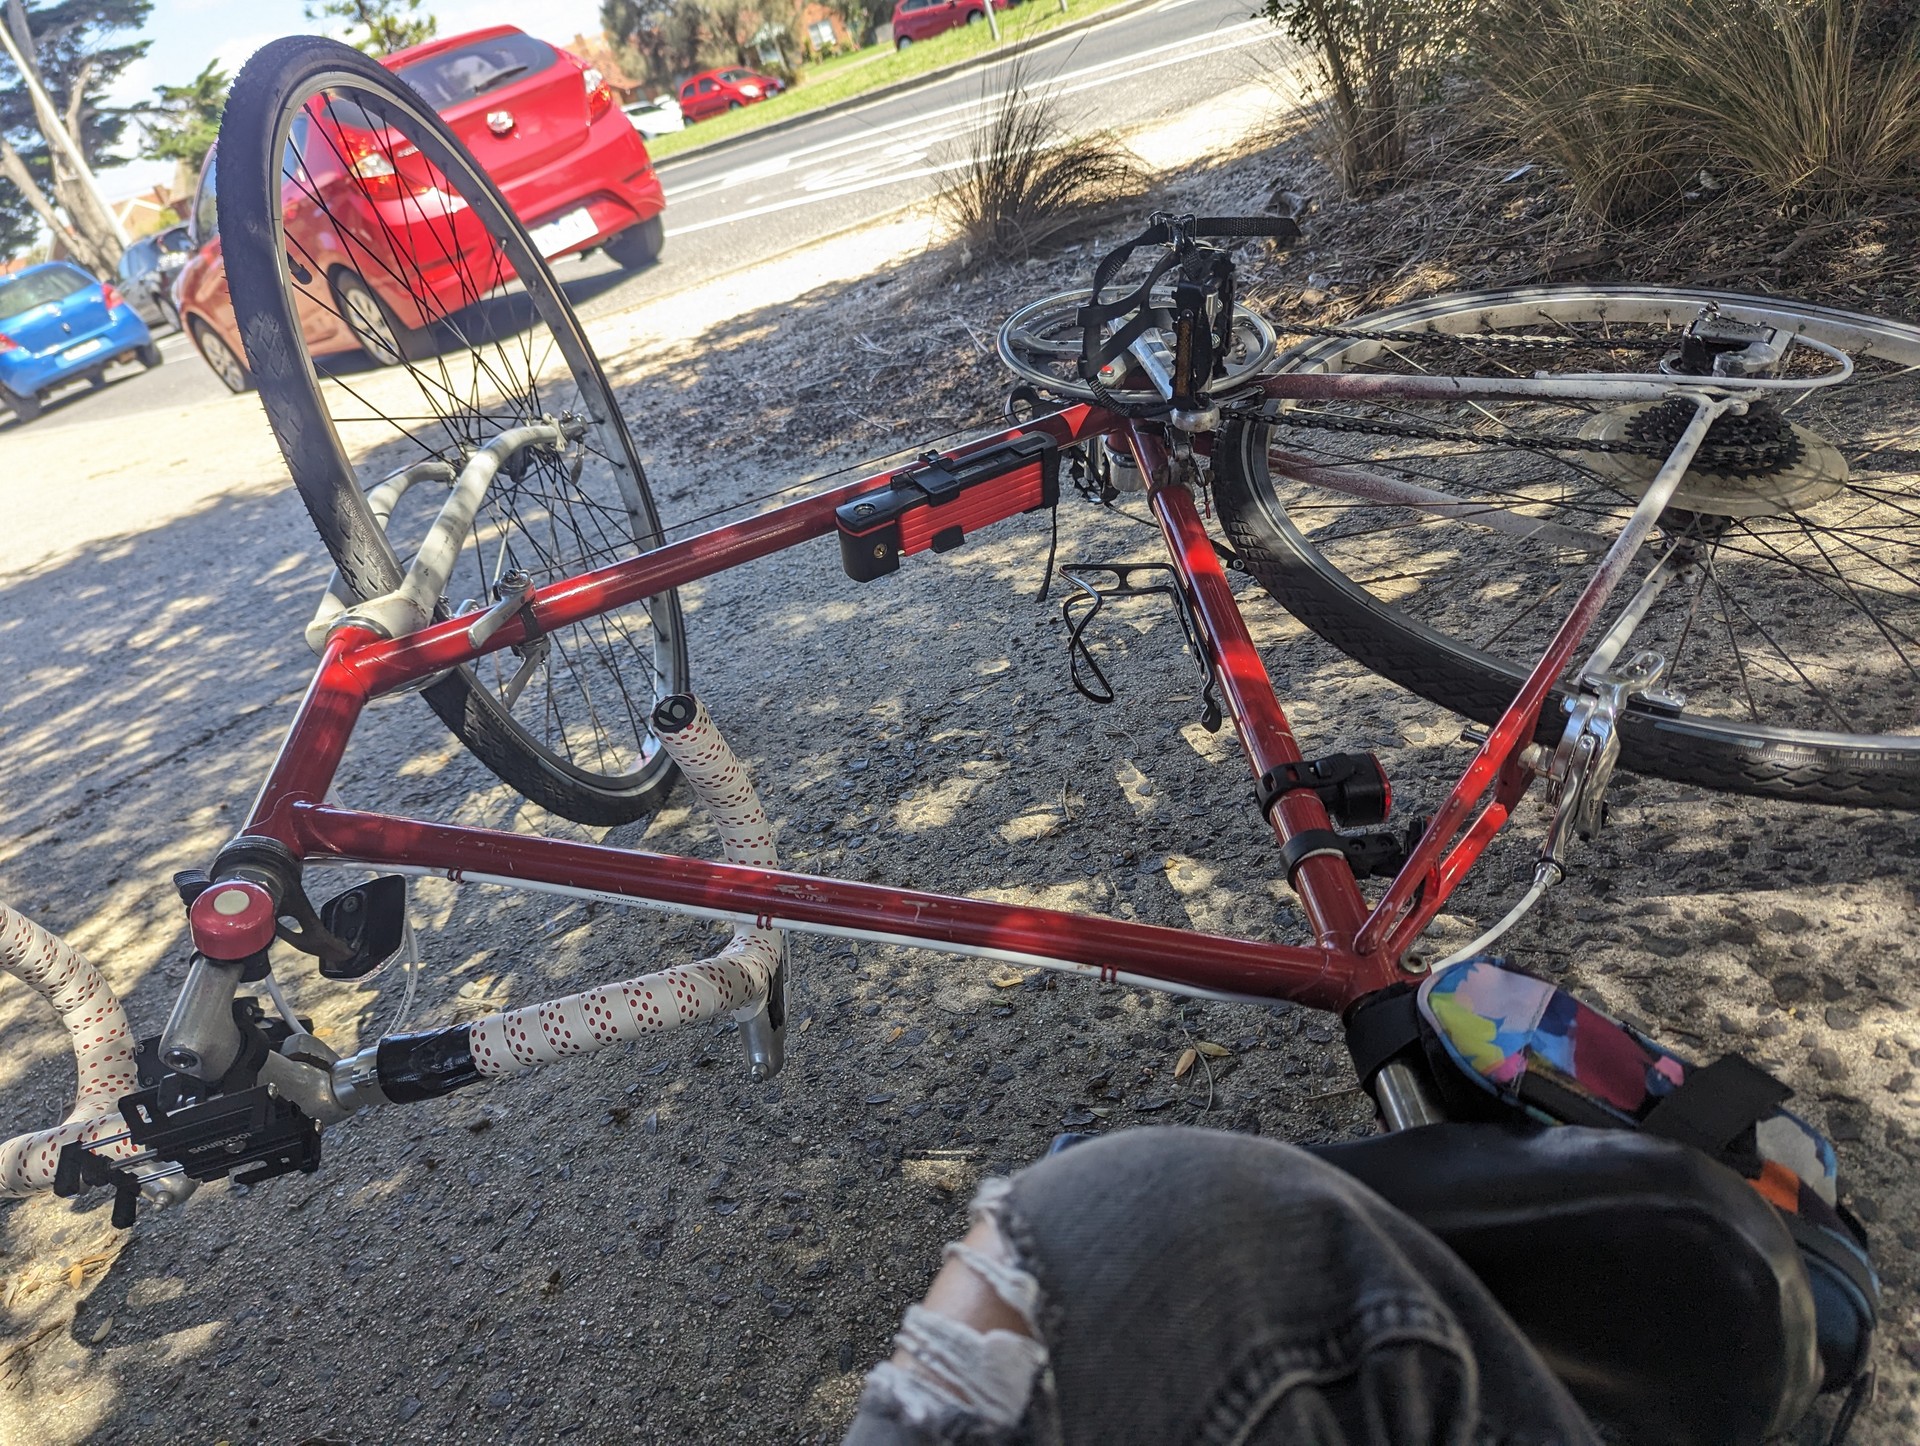
I split off the Bay trail to grab some coffee, eat some food and slap on some sun screen. While attempting to rejoin the bay trail I found myself a little bit confused as to the route and ended up on a footpath rather than a shared path. I spotted where my turn was meant to be and while focused on that it hit me. Well more specifically I hit it. A low hanging branch.
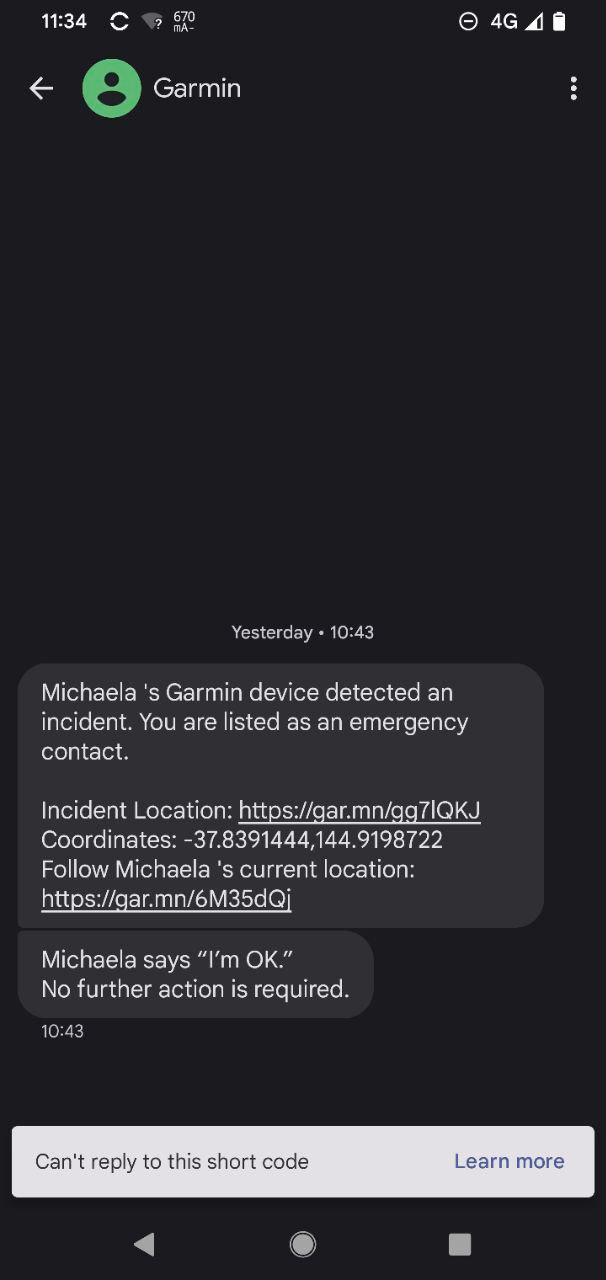
I’m not sure if I didn’t see it, correctly identify it’s height, or if I stood up to ride, but I hit it - likely at around 12km/hr. Lucky I wasn’t going faster. Next thing I know I was on the ground wondering wtf just happened. I remember seeing my Garmin count down from 6 seconds (I believe it starts at 30 seconds so there’s 24 seconds somewhat unaccounted for). Since I was on the ground, still processing everything and unsure if I was ok I let the timer count down.
This triggered an SMS with location details and starts live location sharing with my partner. After I had worked out that I was somewhat ok I stopped the incident on Garmin, and sent a message to say I was fine.
Since I’ve had my Garmin Fenix 6S Pro I’ve recorded 585 activities and only 2 other times have I had incident detection trigger when I was fine. One time was when my watch band broke, and the other was mounting a curb and coming to a hard stop. Both of these are some what reasonable that incident detection triggered.
I am very glad for this system, as had I passed out it would have been over half an hour before someone would otherwise notice (this is the time I sat next to my bike recovering)
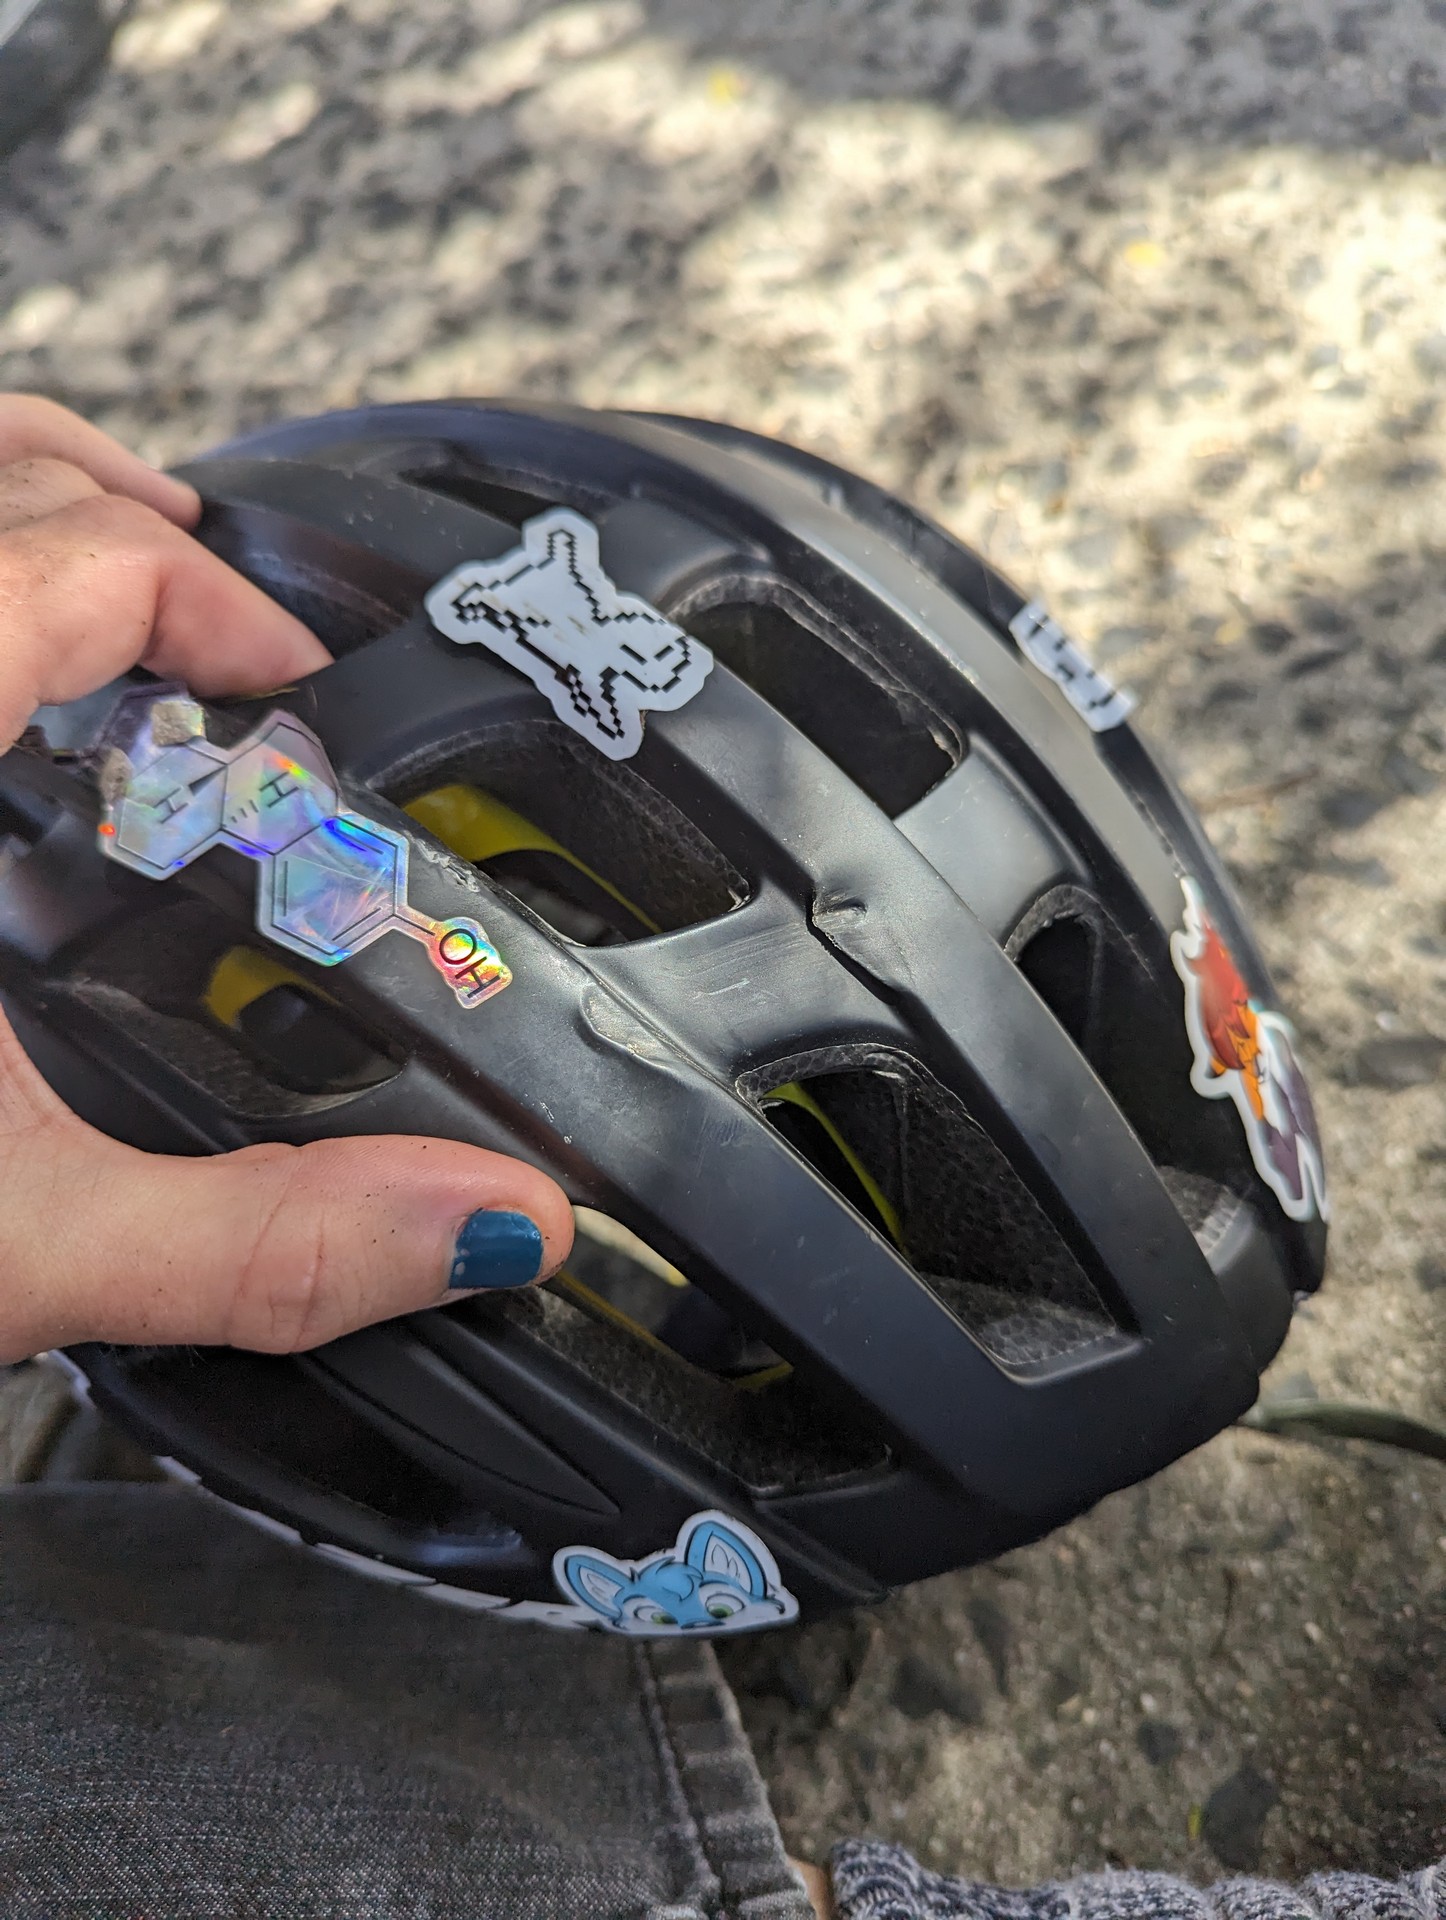
Unlike myself the bike only received a small amount of damage. Brake lever scratched and rotated in and handlebar alignment off. Brake callipers needed adjusting but otherwise everything seems fine. After doing some field repairs I eventually made it to the park I was aiming for.
I even rode home the route I planned, however I was feeling very sore when I got home. I’ve got some scratches and bruises but I think I’ll be fine in a few days.
Given I was riding as an alternative to running for recovery purposes I’m not happy about the incident.
So with that out of the way, let’s talk brakes.
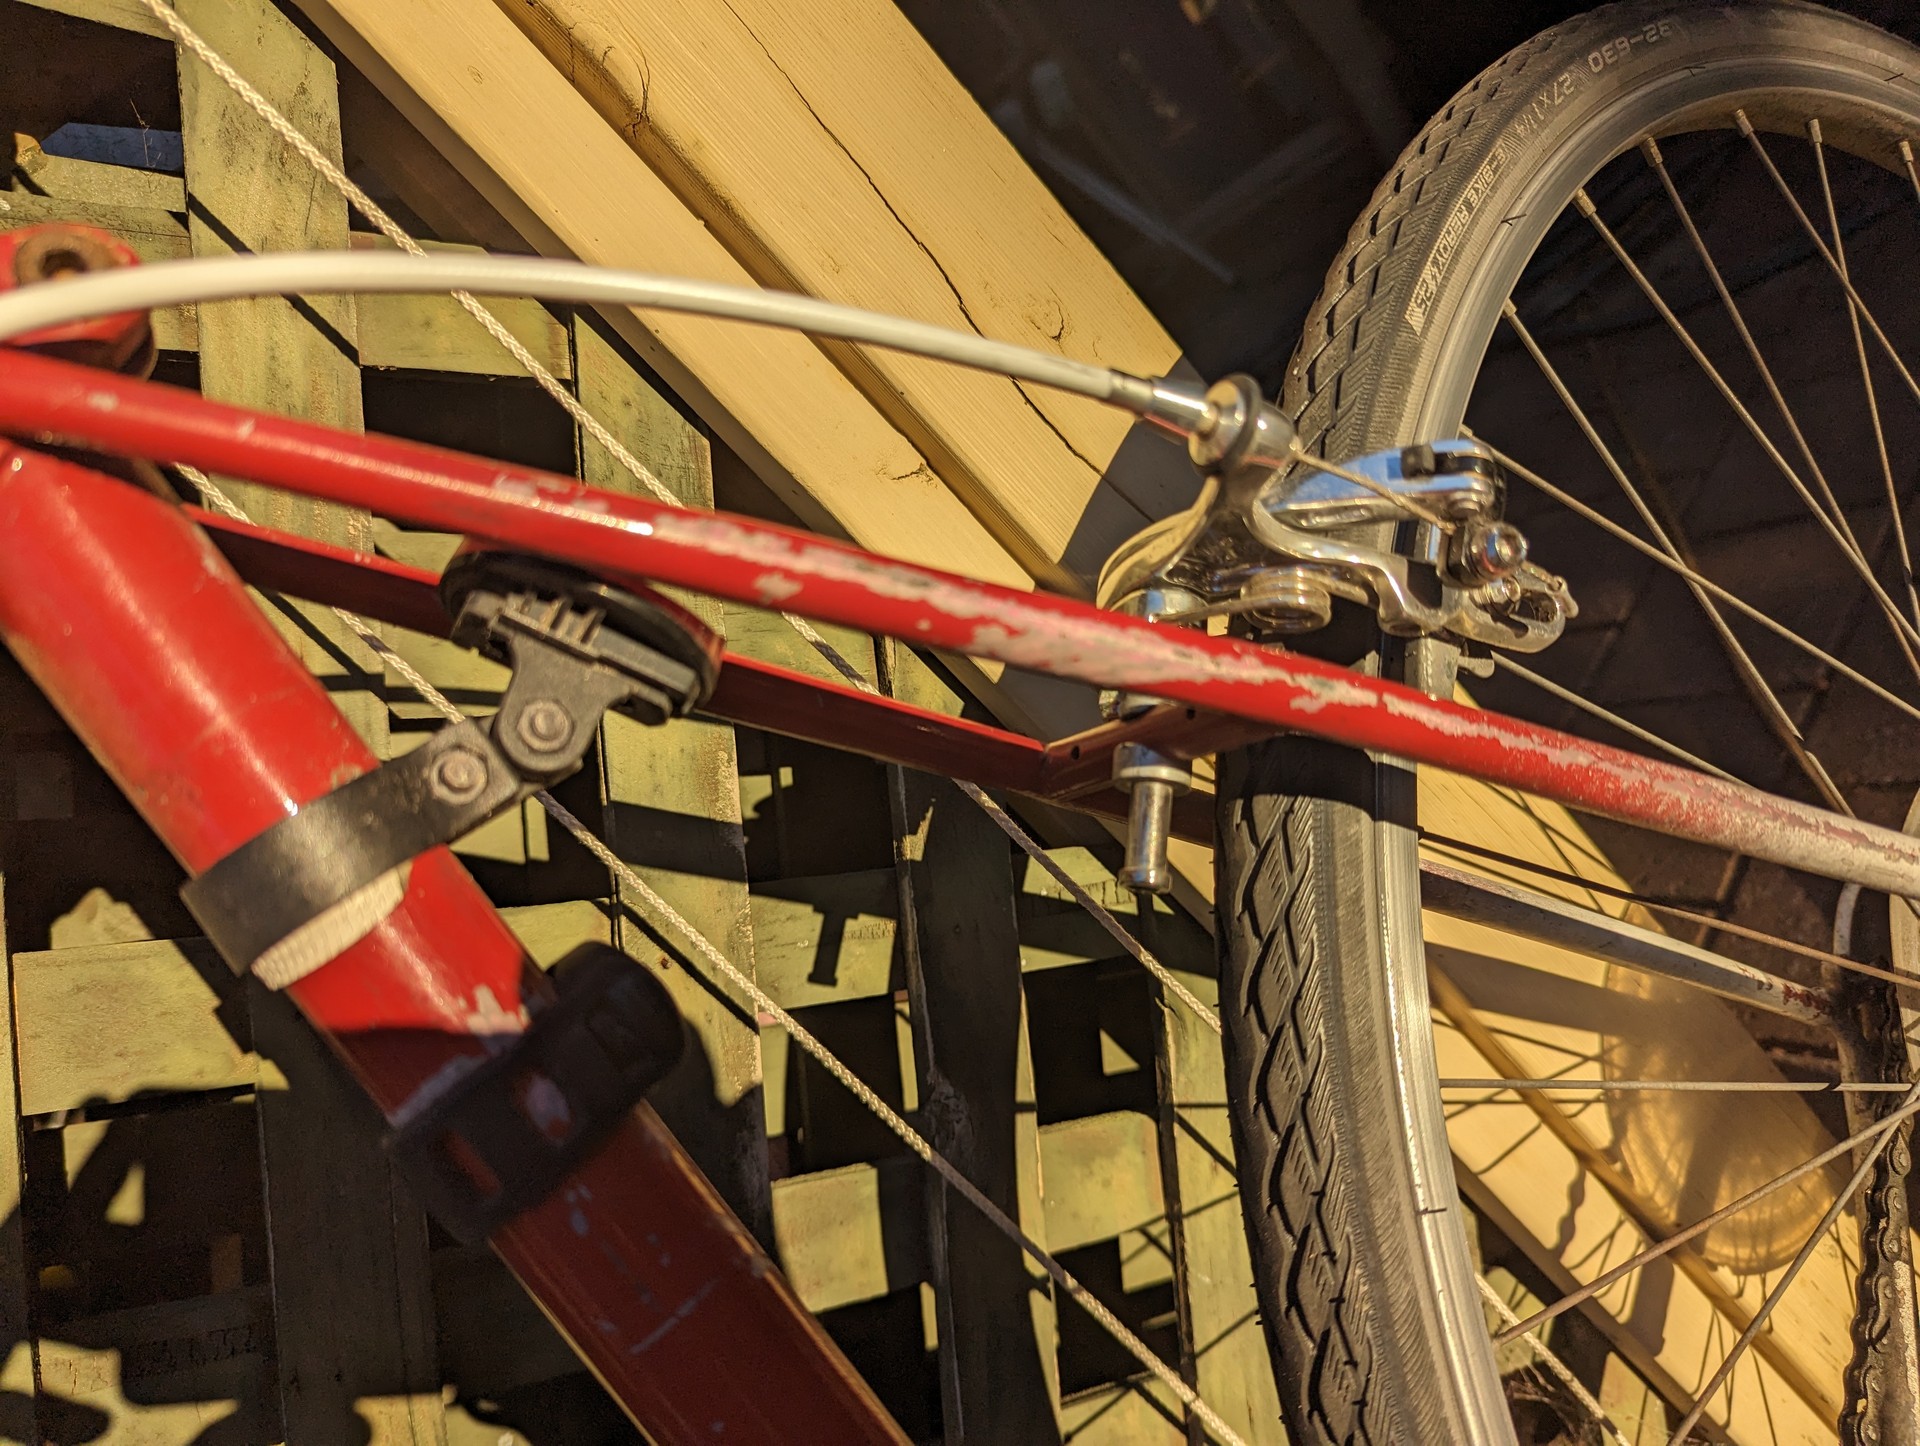
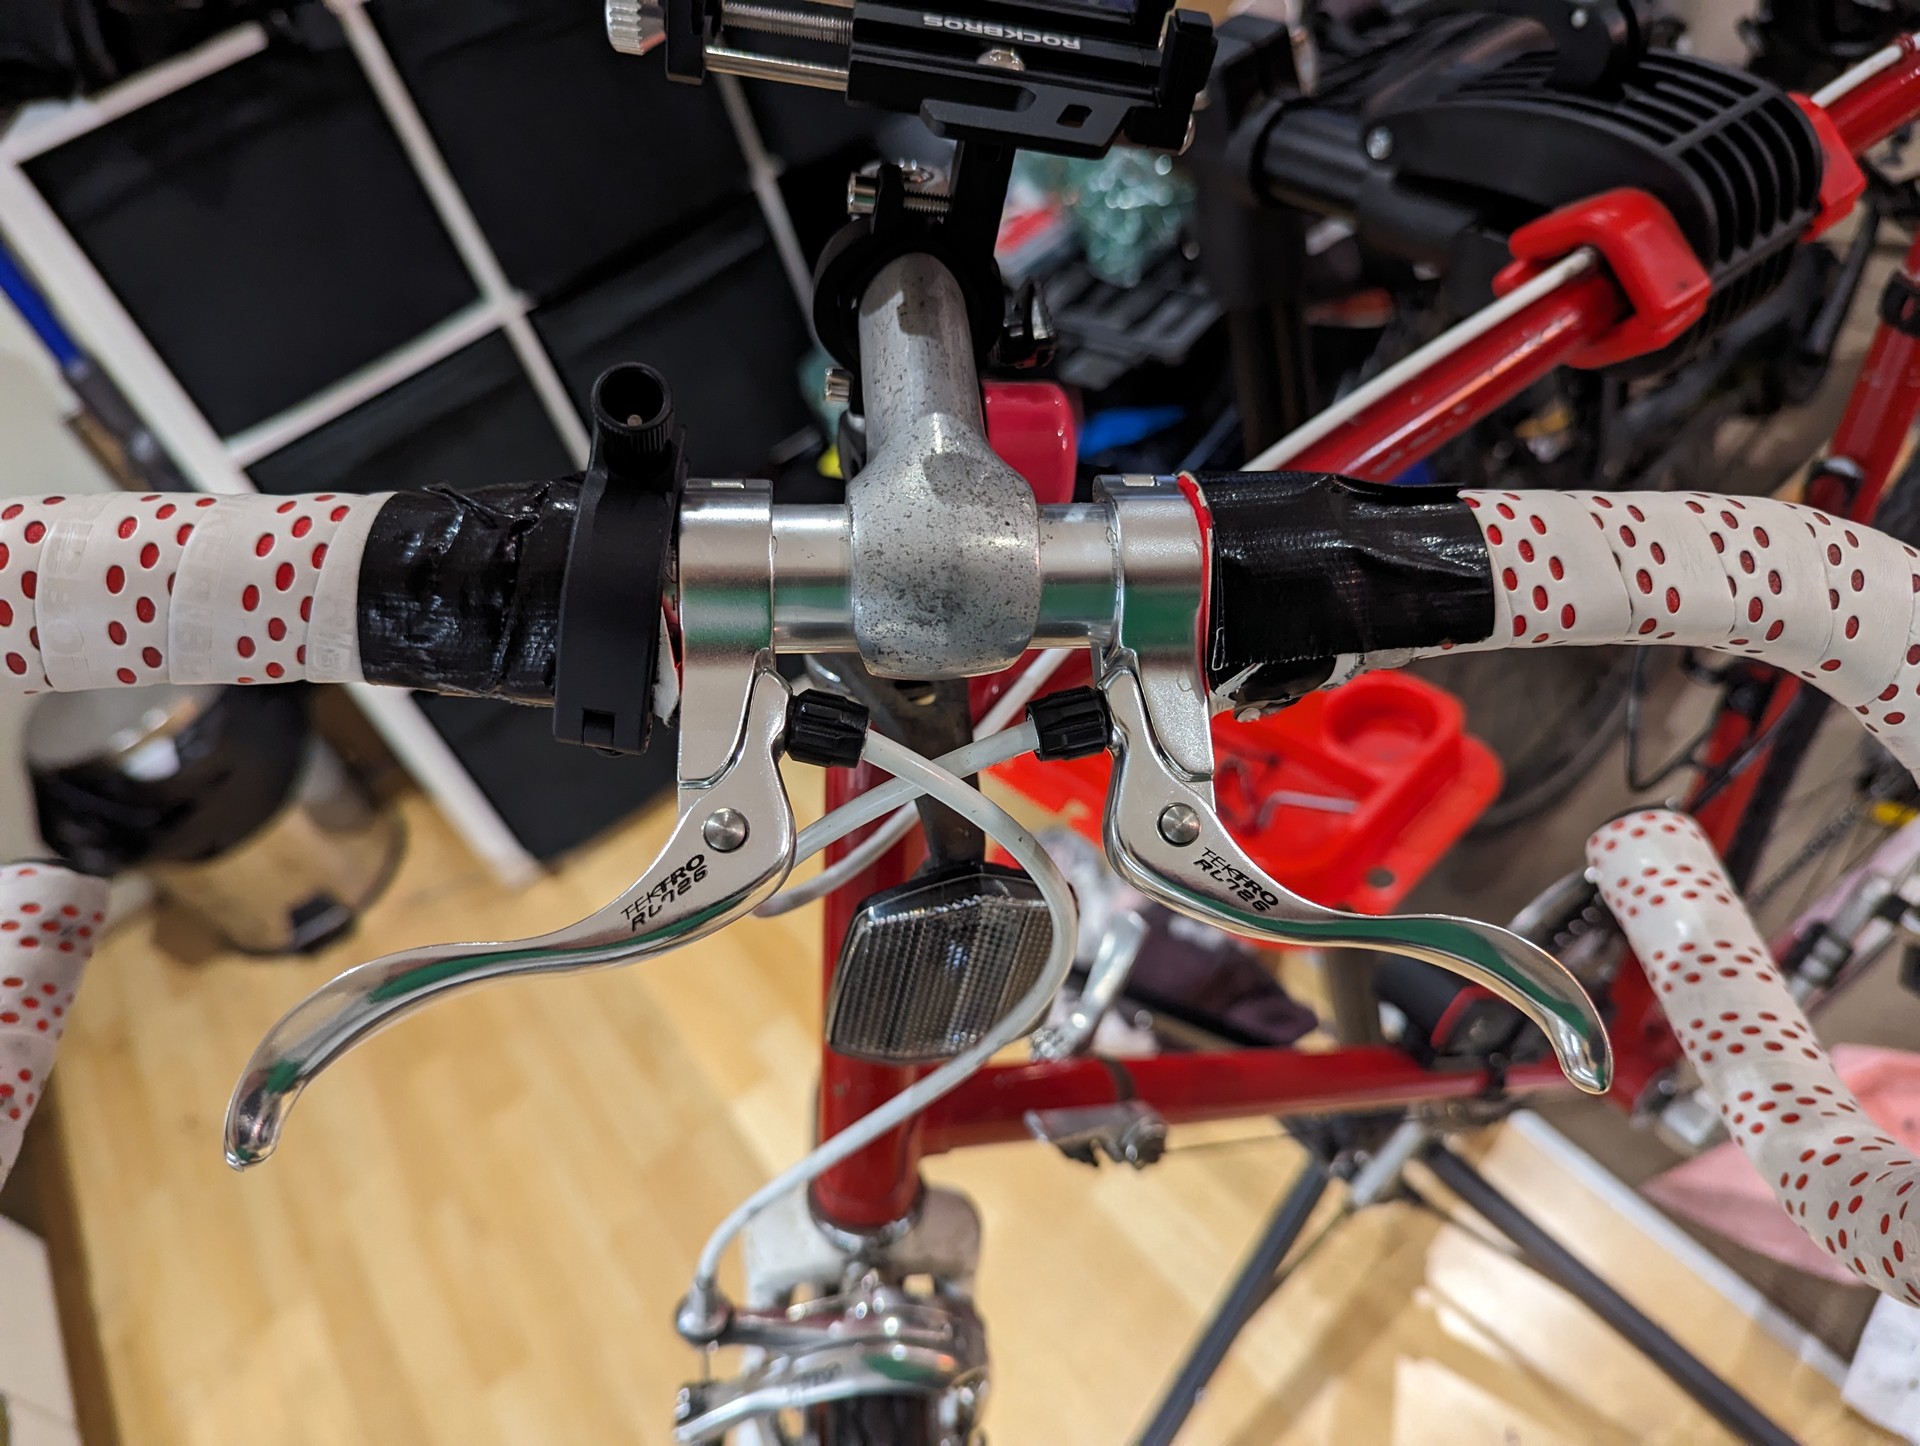
Inline brakes
These were a breeze to install. I’m missing some end caps here and the grip tape ends is a temporary thing while I work everything out. The hardest part was working out how to mount my light given all the space is taken now by the brakes. I have end caps in storage but I wanted to test everything out first.
First off, the myth that inline brakes make the system spongy is clearly false. If you go back to part 1 of this series you’ll see that the brake cable is uninterrupted for inline brakes. There is no reason why adding inline brakes would make the system worse. My suspicion is that people think that inline brakes are spongy is that they are often installed on brake systems that are already spongy. The inline brakes themselves have a lot of pull - keep this in mind.
While I still haven’t gotten used to their presence, I have already adjusted my riding style. I’m sitting in a much more comfortable position while casually riding and not having to get into the drops to slow down. This is great in the city. I still find myself sometimes moving my right hand down to the original lever out of habit, but a lot less now. Tight corners are now much easier to manage.
And the back brake is getting a lot more use now - since I don’t have to get into the drops I now apply a lot more even braking. Where this is extremely useful is red lights and other stops. Previously I would brake to slow down, stop braking, move my hand to the gear lever to move into the lowest gear, then move my hand back to brakes to come to a complete stop. Now I can use my rear inline brake while changing gears with my other hand and perform the action all at once.
Dual pivot brakes
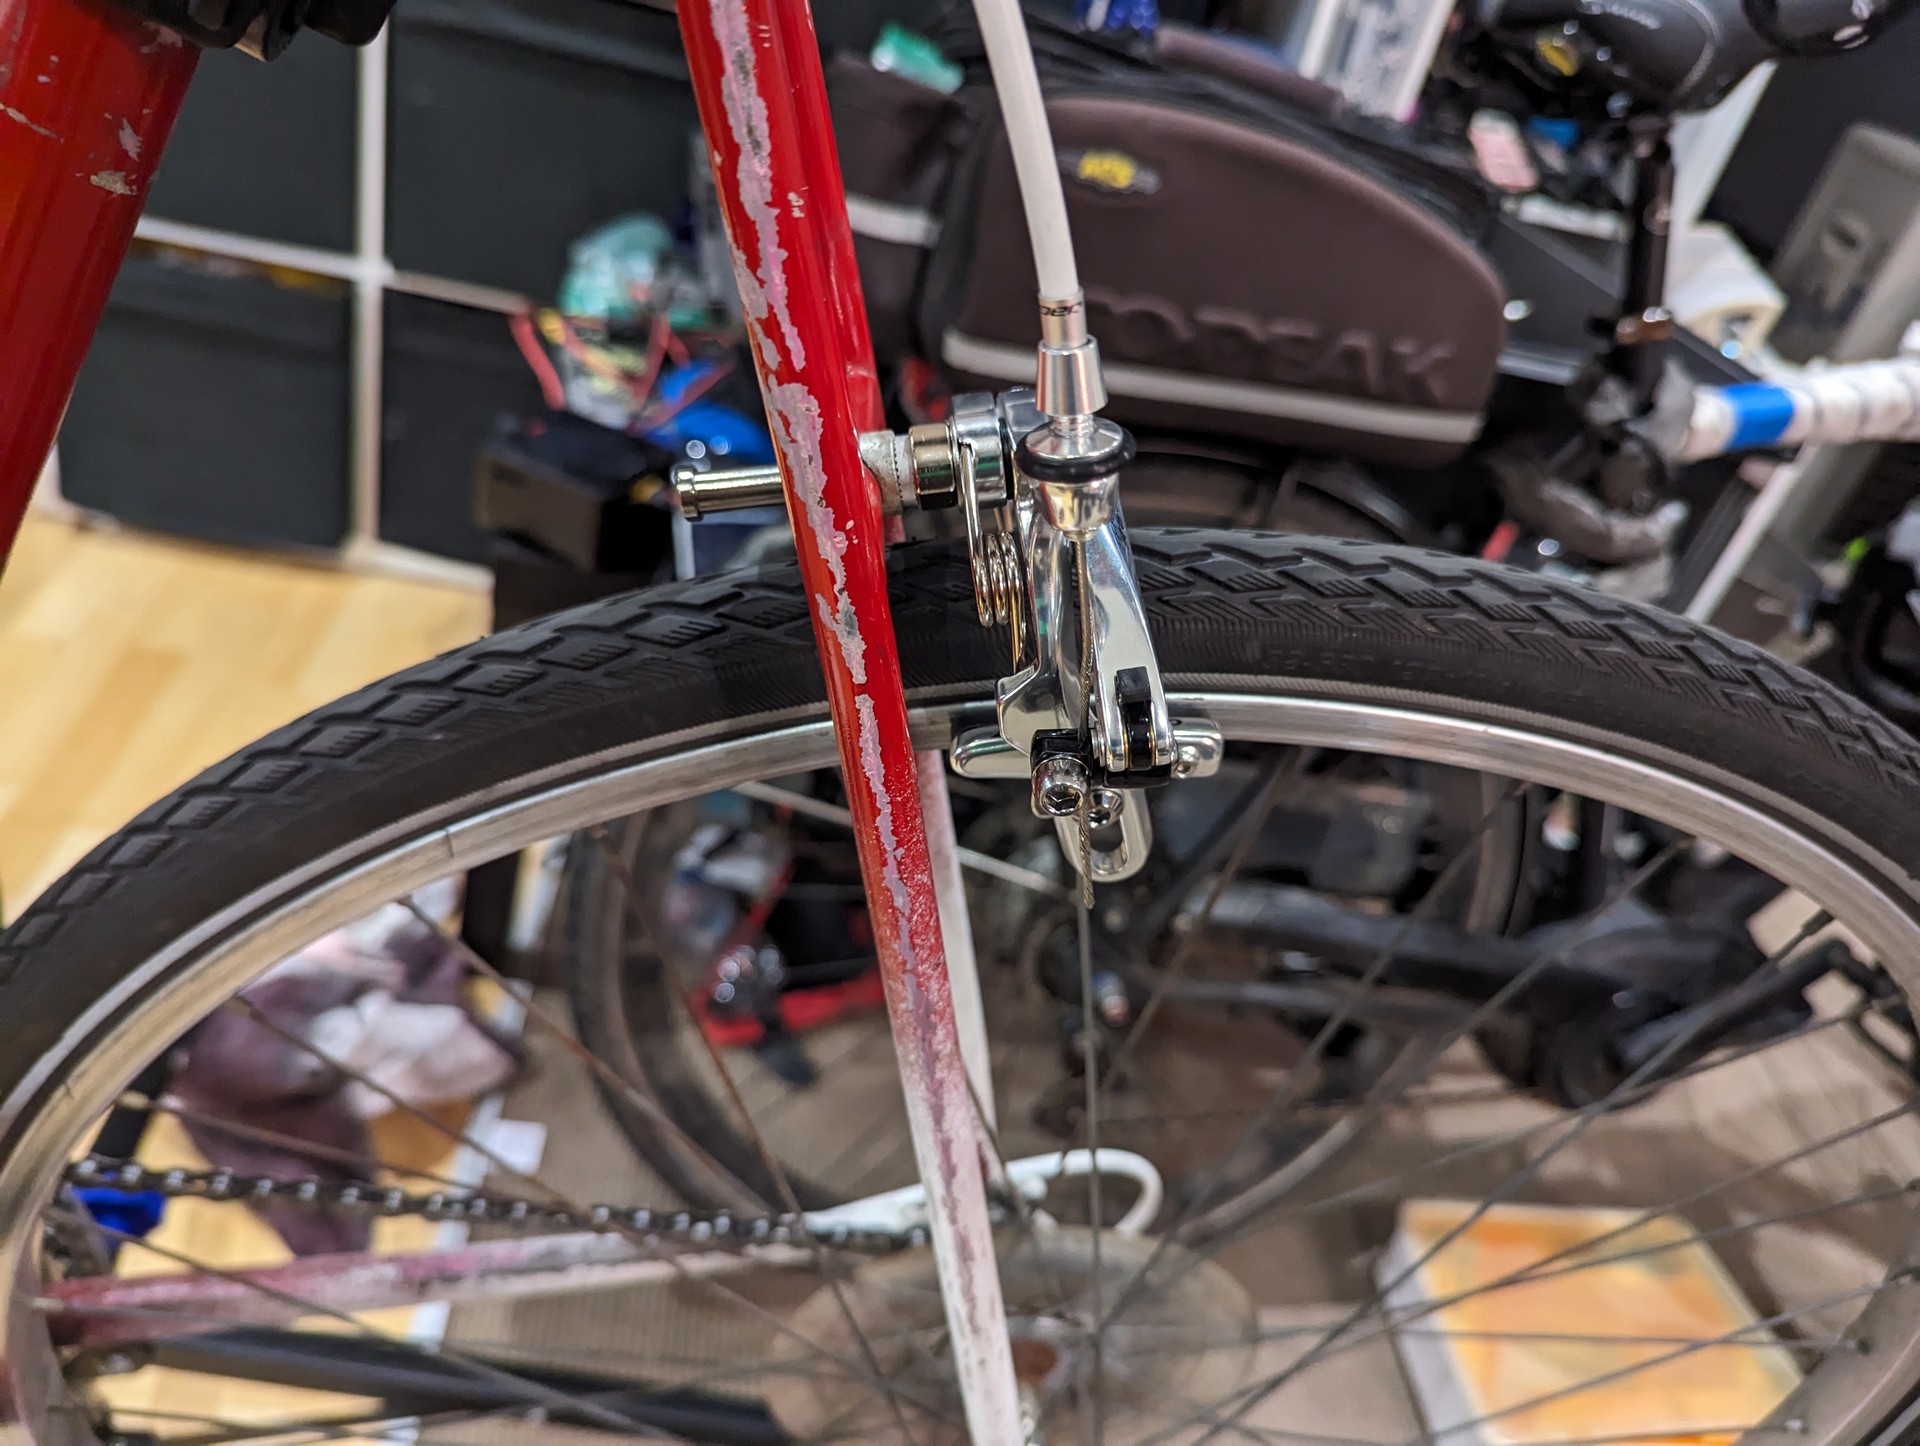
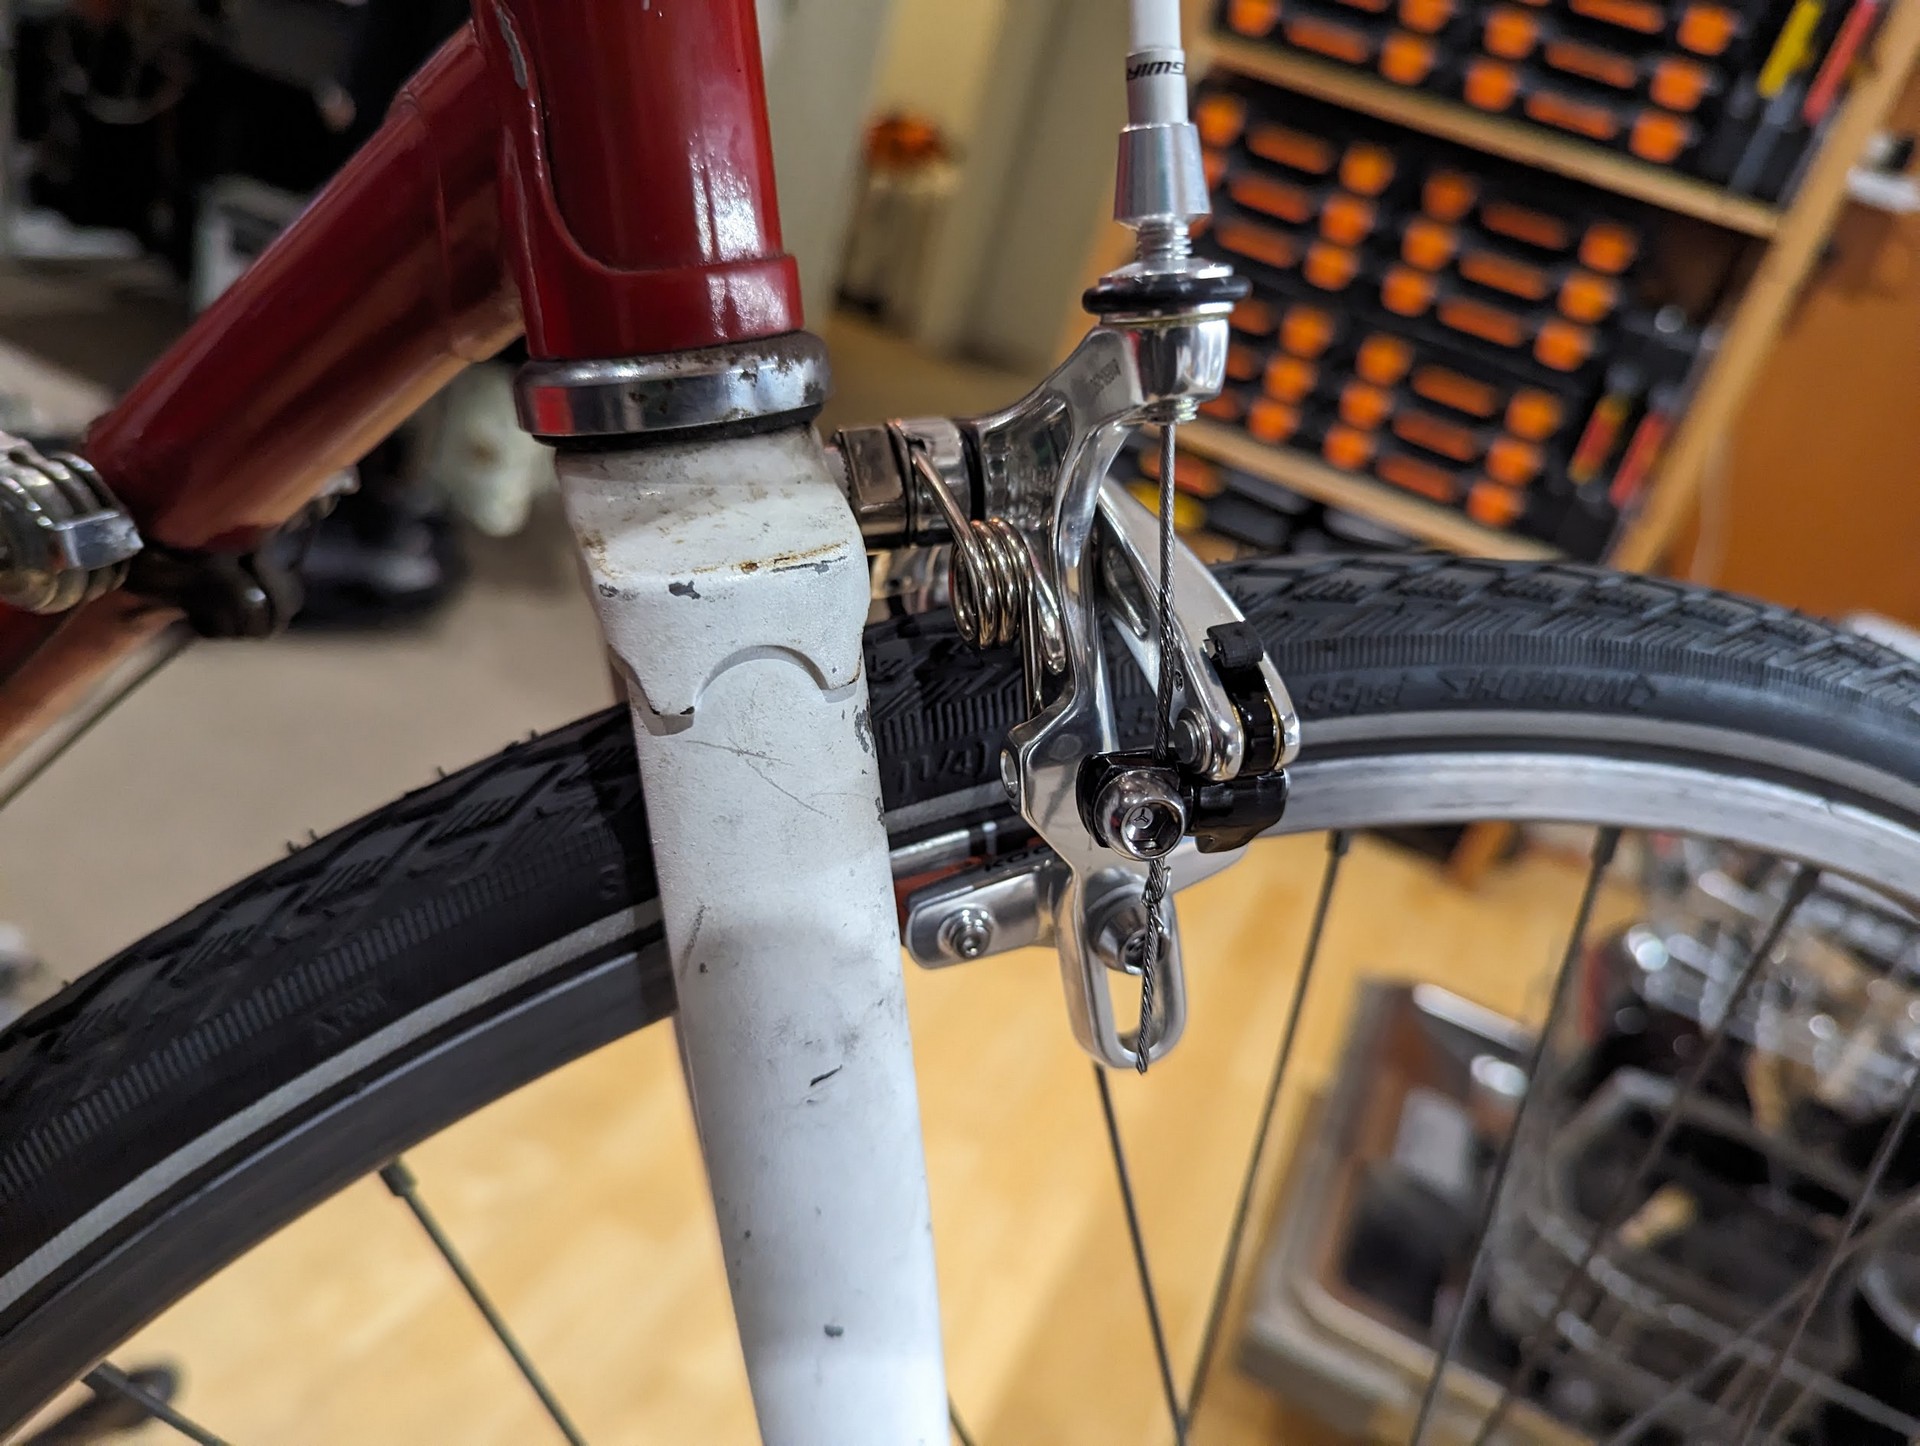
I ended up with the Tektro R559 dual pivot long reach brakes. The frame / wheel combination I have means that I’m on the higher limit of typically short reach brakes and the lower limit of typical long reach brakes. If I ever buy a new set of callipers again I might try to gamble on short reach brakes. Currently though the long reach brakes do give me the option to switch in a 700c wheel….
So while you can sometimes pick up traditional nut style brakes, it’s more common to find recessed style. These have a shorter shaft and a long recessed nut that is used to hold the brakes in place. I purchased these brakes knowing that the recessed style wouldn’t fit my bike out of the box.
There’s some solutions to mounting these brakes though. The most common is to drill out the back hole (usually using a right angle drill for the rear brake) to allow the recessed nut to fit.
The other option that’s also sometimes available is to use the front brake (has a longer shaft) on the rear brake. How do you install the front brake then? For me I was lucky enough to be able to fit the nut through the bottom of the forks. This only gives half the mounting distance than typical however I believe it’s plenty.
For both the rear and front shafts I found I could only use one of the wedge locking washers, but once again - I feel like this is plenty. If this doesn’t provide enough friction the outcome is that the brakes could become unaligned and start rubbing while riding. It’s not catastrophic failure.
I’m happy with having the brakes mounted this way as it means I don’t have to make permanent changes to the bike frame and if I want to I can reinstall the original brakes.
Other changes
I’ve installed some new toe cage peddles. I was a bit nervous installing these again as they can add a certain amount of risk in casual riding, but I’ve been pretty happy so far with them. They certainly look the part. Unfortunately the NOS I purchased, the grease had gone bad. I’ve tried my best to get some oil in there, but I’m going to either flush out all the grease somehow or do a rebuild. Neither of which I can do easily right now.
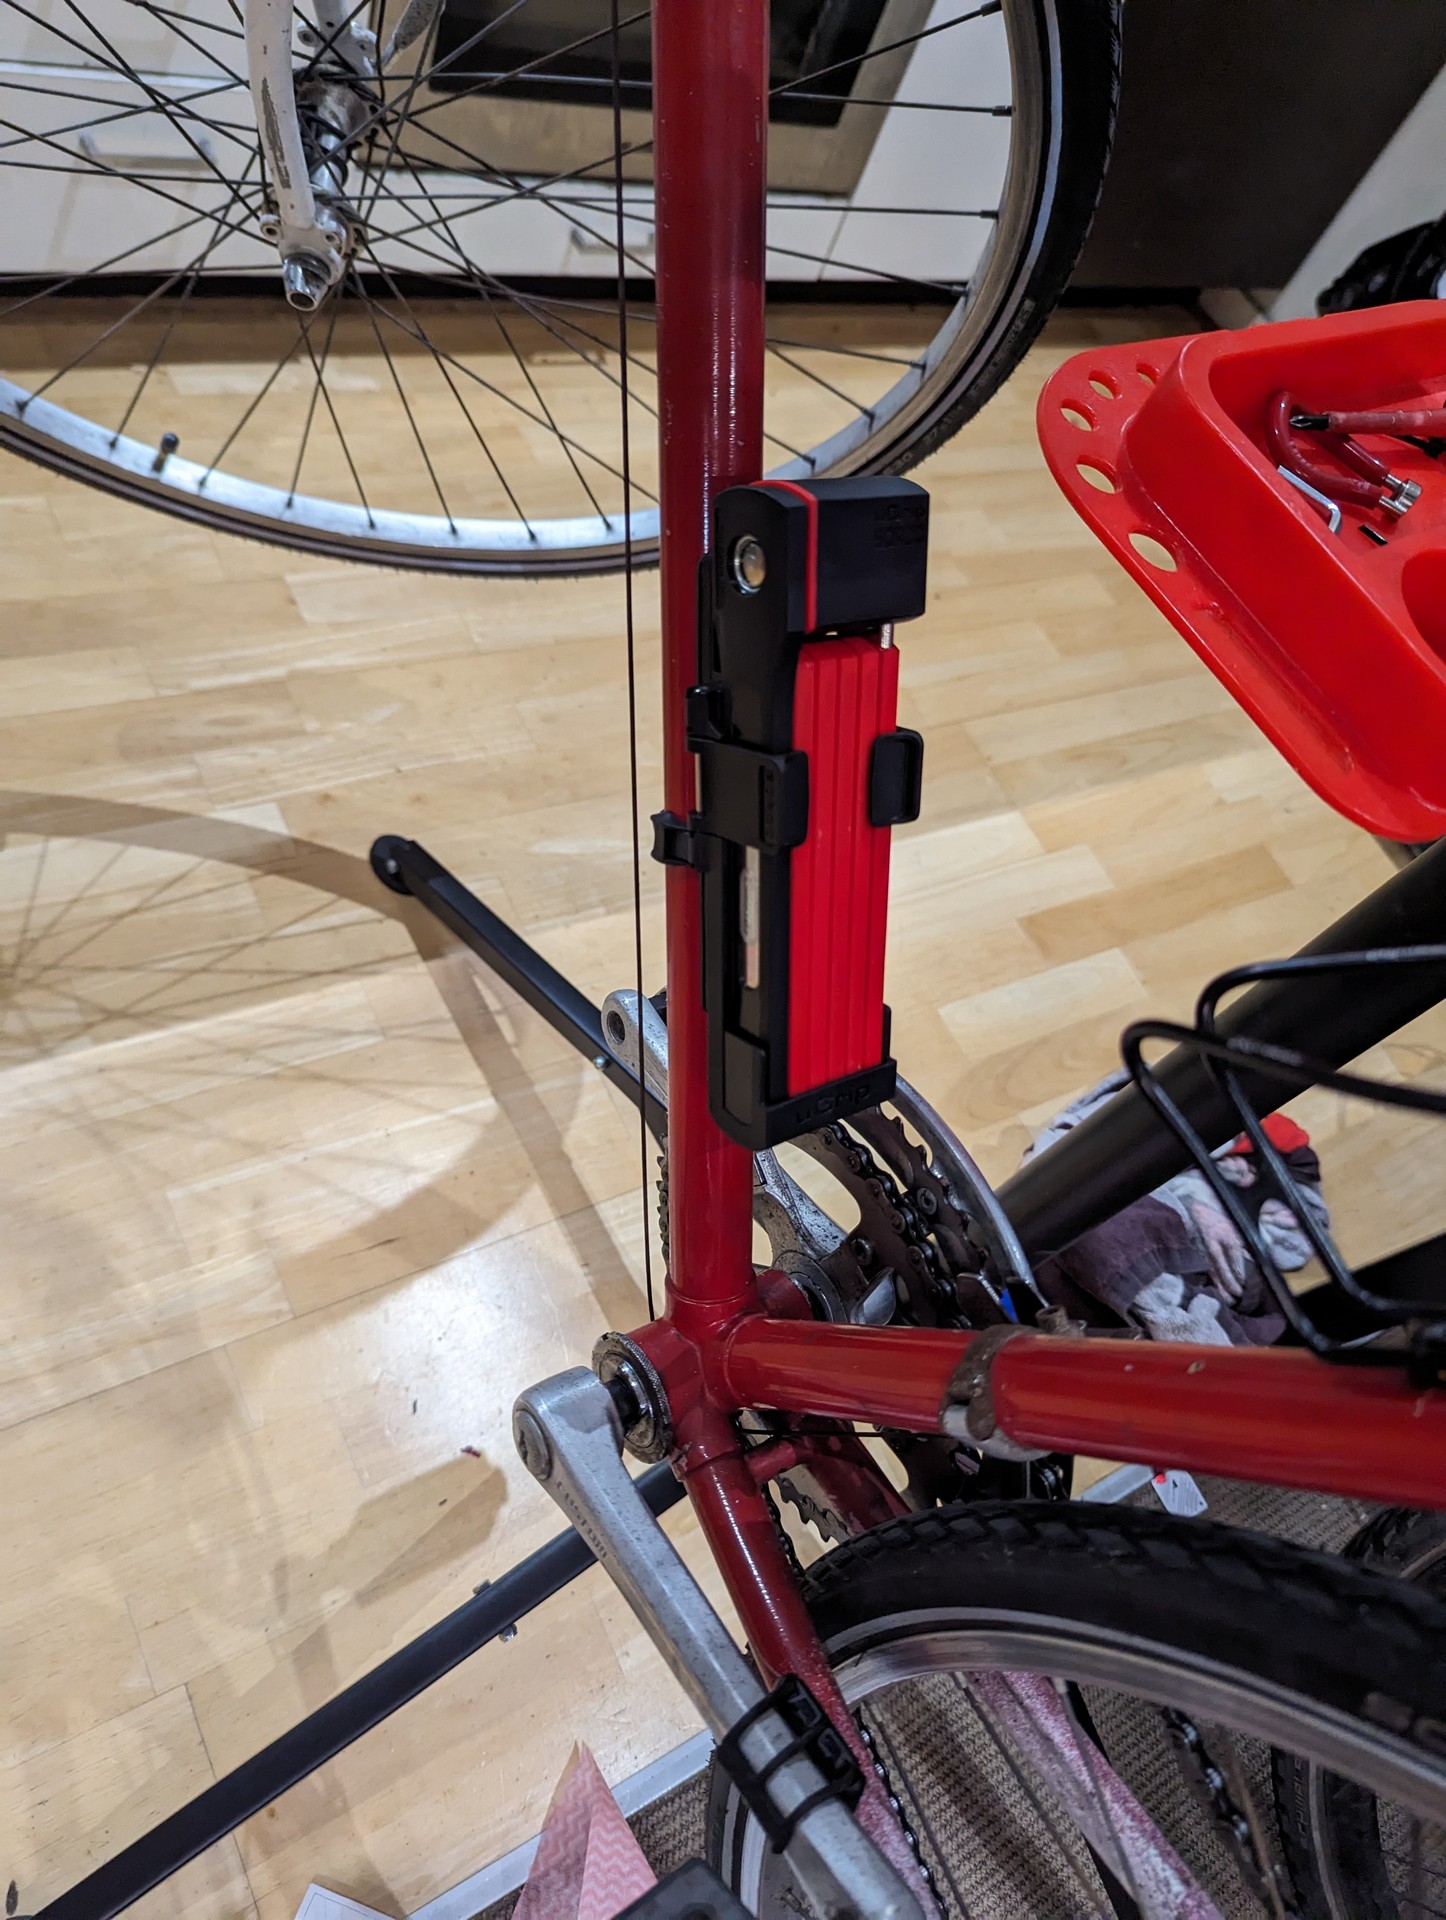
Lastly I’ve updated my Kmart bike lock to ABUS. Hopefully no one steals my lock. This lock feels very over engineered but I like it. It’s spring loaded and pops out when you unclip it.
That’s all the upgrades I want to do for now. Sometime next year I plan to strip all the parts off, de-rust, de-paint and give it a brand new paint job.