JSON’s had a tough life. Before I was all that attached with the bike I didn’t exactly treat it with same the respect I do today. It was just a cheap bike to get me from point A to point B. The more I rode it the more I fell in love with it. Combined with damage from the previous owner and other general wear and tear the frame was starting to show some signs of rusting.
The plan was to strip the bike of paint, then respray it. This wasn’t going to happen in our apartment, however an excuse to visit Mark in Adelaide presented itself. I took the bike across the border and over the period of several weeks redid the paint work.
Prep
At this point I’d become pretty familiar with the process of removing every type of bike part on my bike. Within a few hours I had removed everything which left only the frame. If you are planning on embarking on this adventure and you are unfamiliar with removal of all your parts, get some help or do some research. Some parts can be fragile, some have reverse threads and some can be damaged if force is applied in the wrong spots. There’s also a bunch of tricks to learn for when things don’t go to plan.
An example is the quill stem - often on these bikes they become stuck. If you try to strike the stem directly you’ll likely either damage it or get it more stuck. While it doesn’t always work a good starting place is to leave the stem bolt in, but proud, then strike the bolt with a hammer - this will dislodge the wedge and hopefully allow removal of the stem.
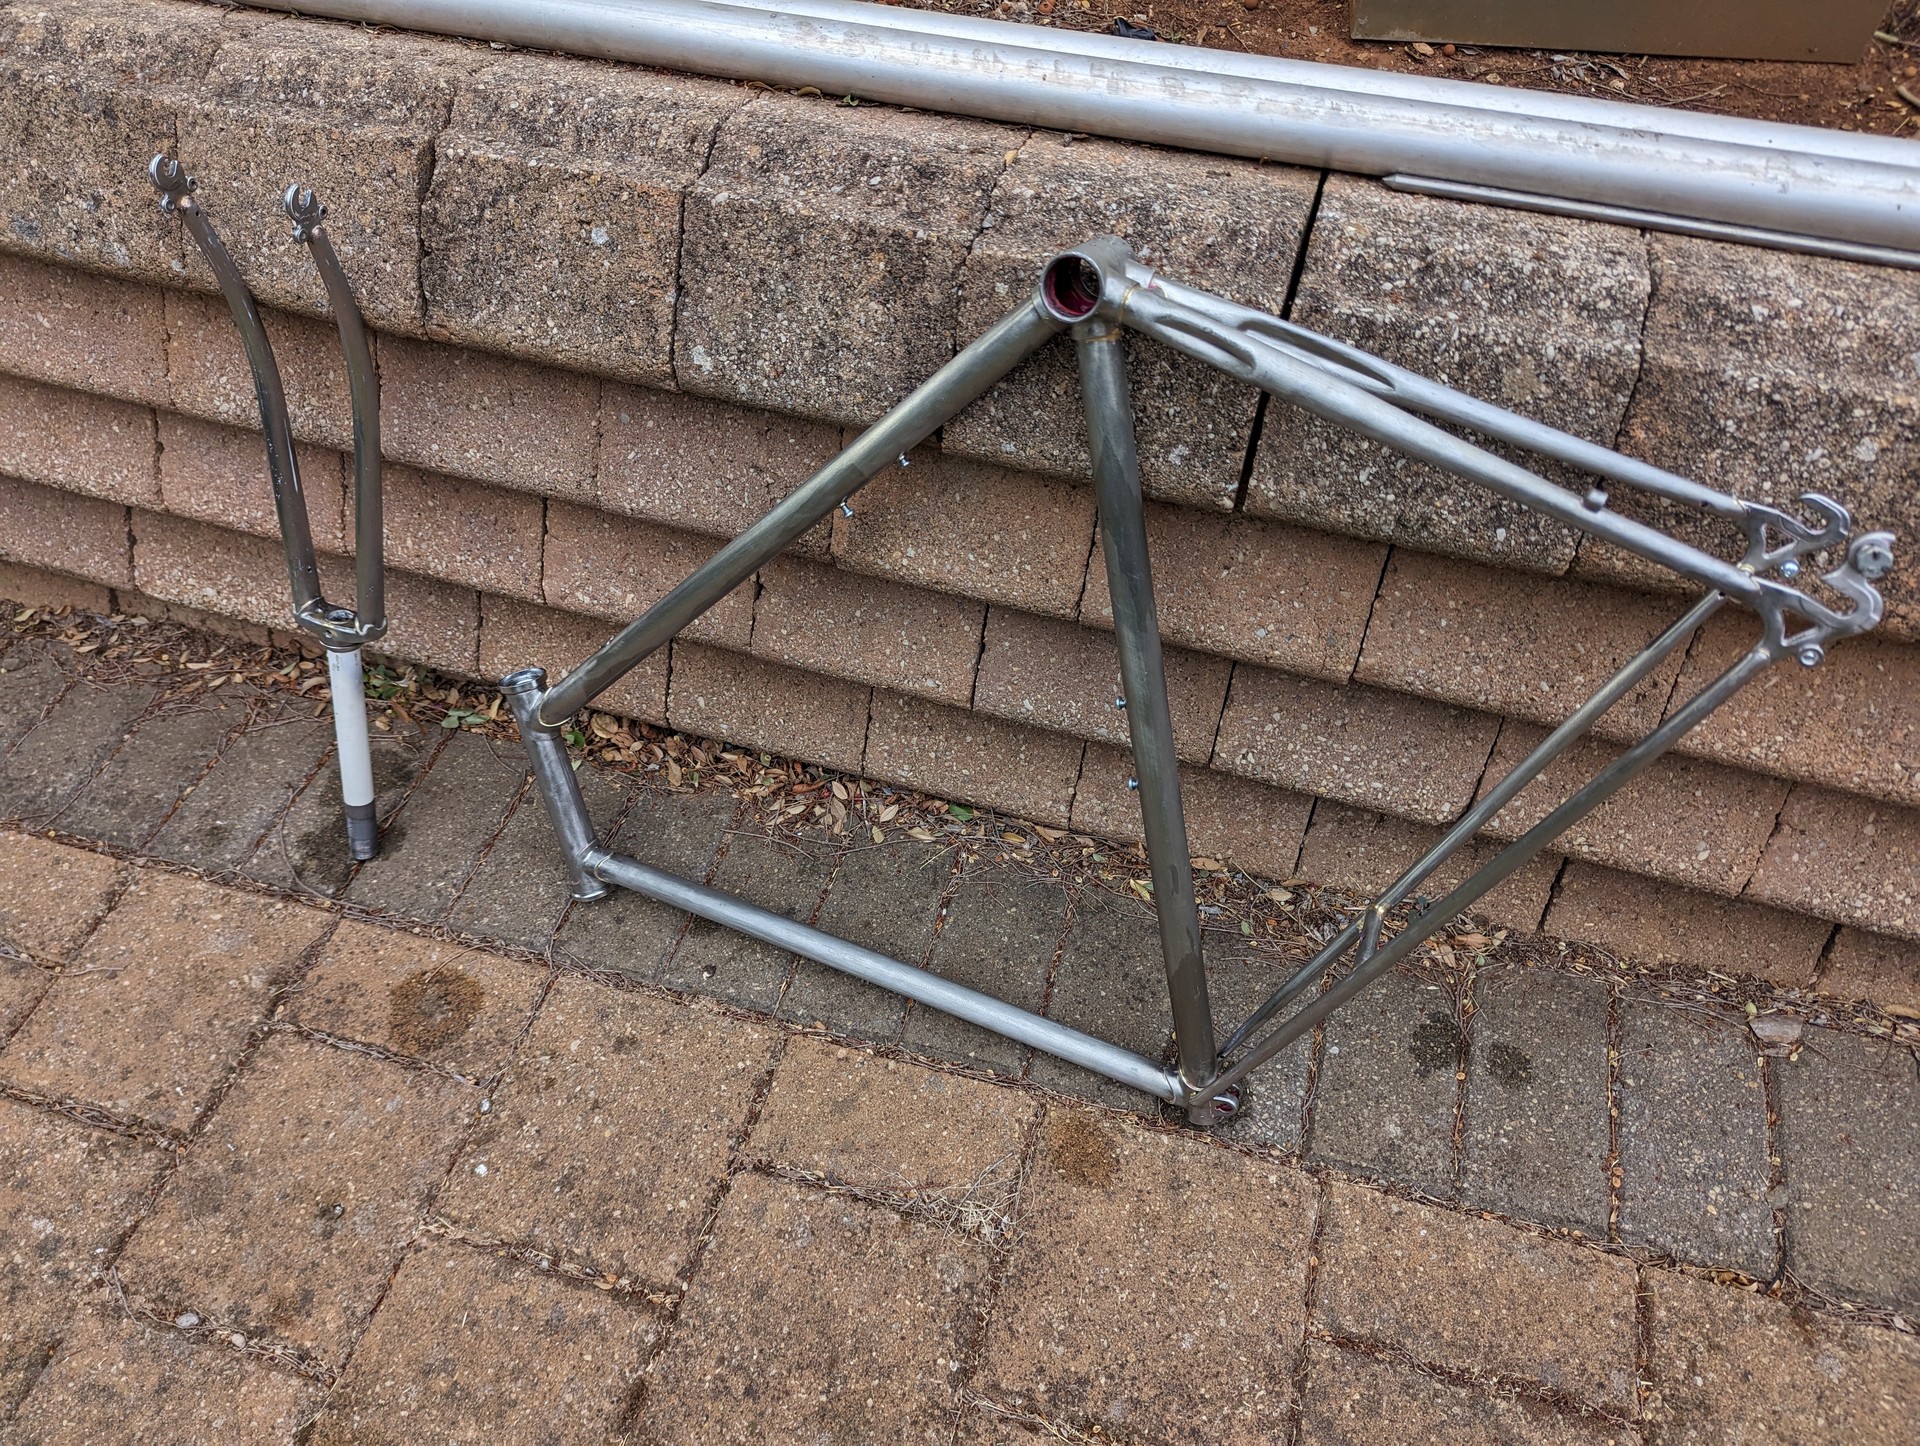
After removing all the parts from the bike frame I decided to strip most of the paint off the bike. Now stripping the paint entirely off isn’t necessary. You only need to strip the paint back far enough for the new paint to stick, along with getting the surface finish to the quality you want it. I went for stripping it back entirely (there were a few bits I couldn’t easily get to so I just roughed these up as best I could). The reasoning for stripping back entirely was to ensure there was no hidden rust - along with removing a nasty paint run was present on the bike already.
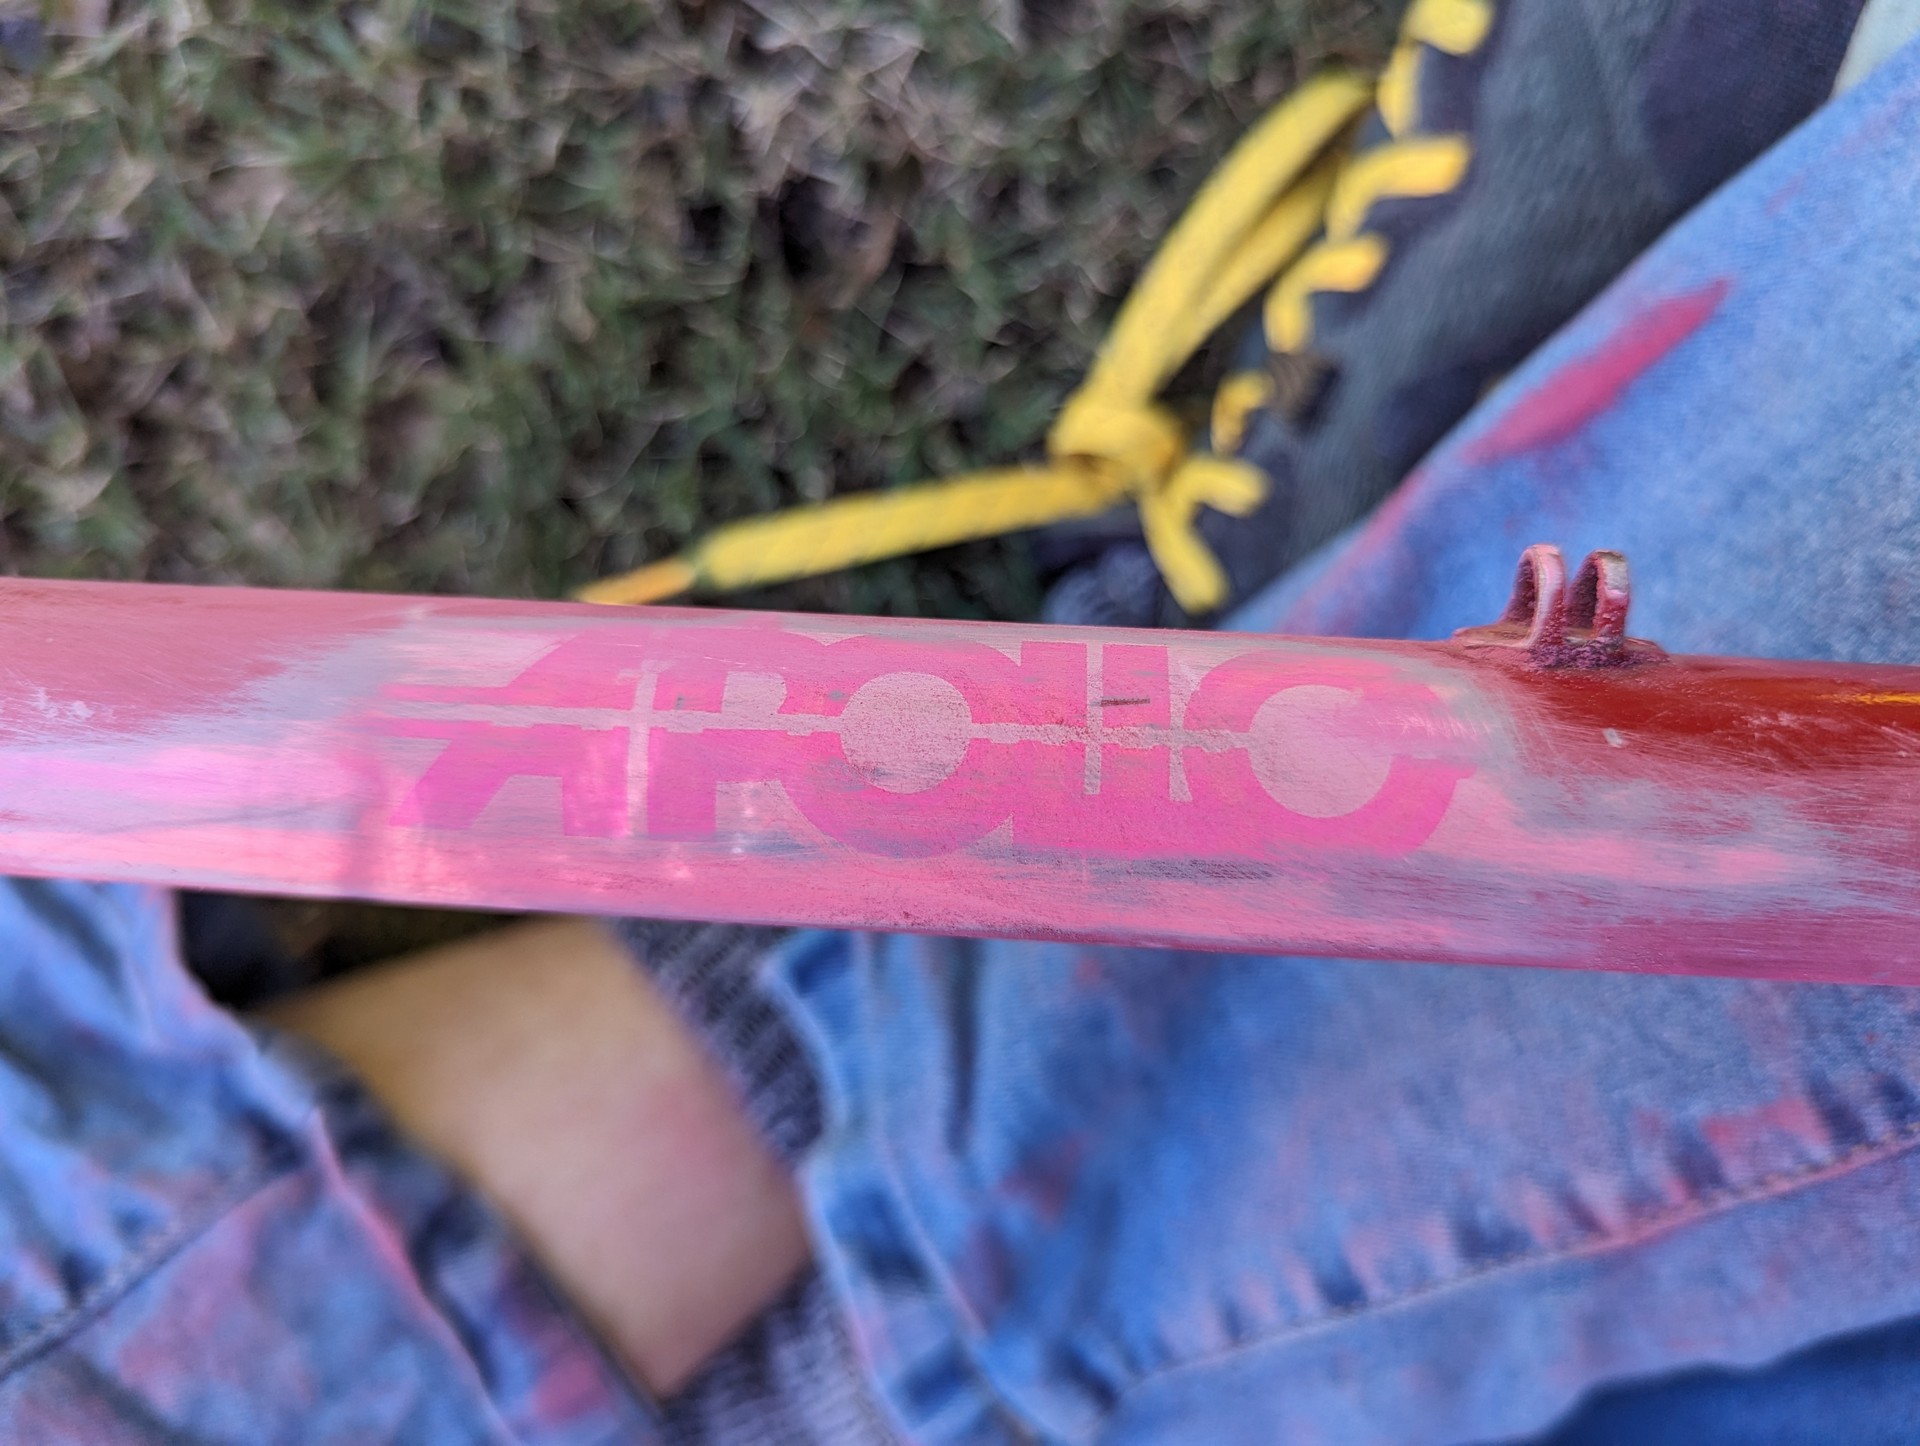
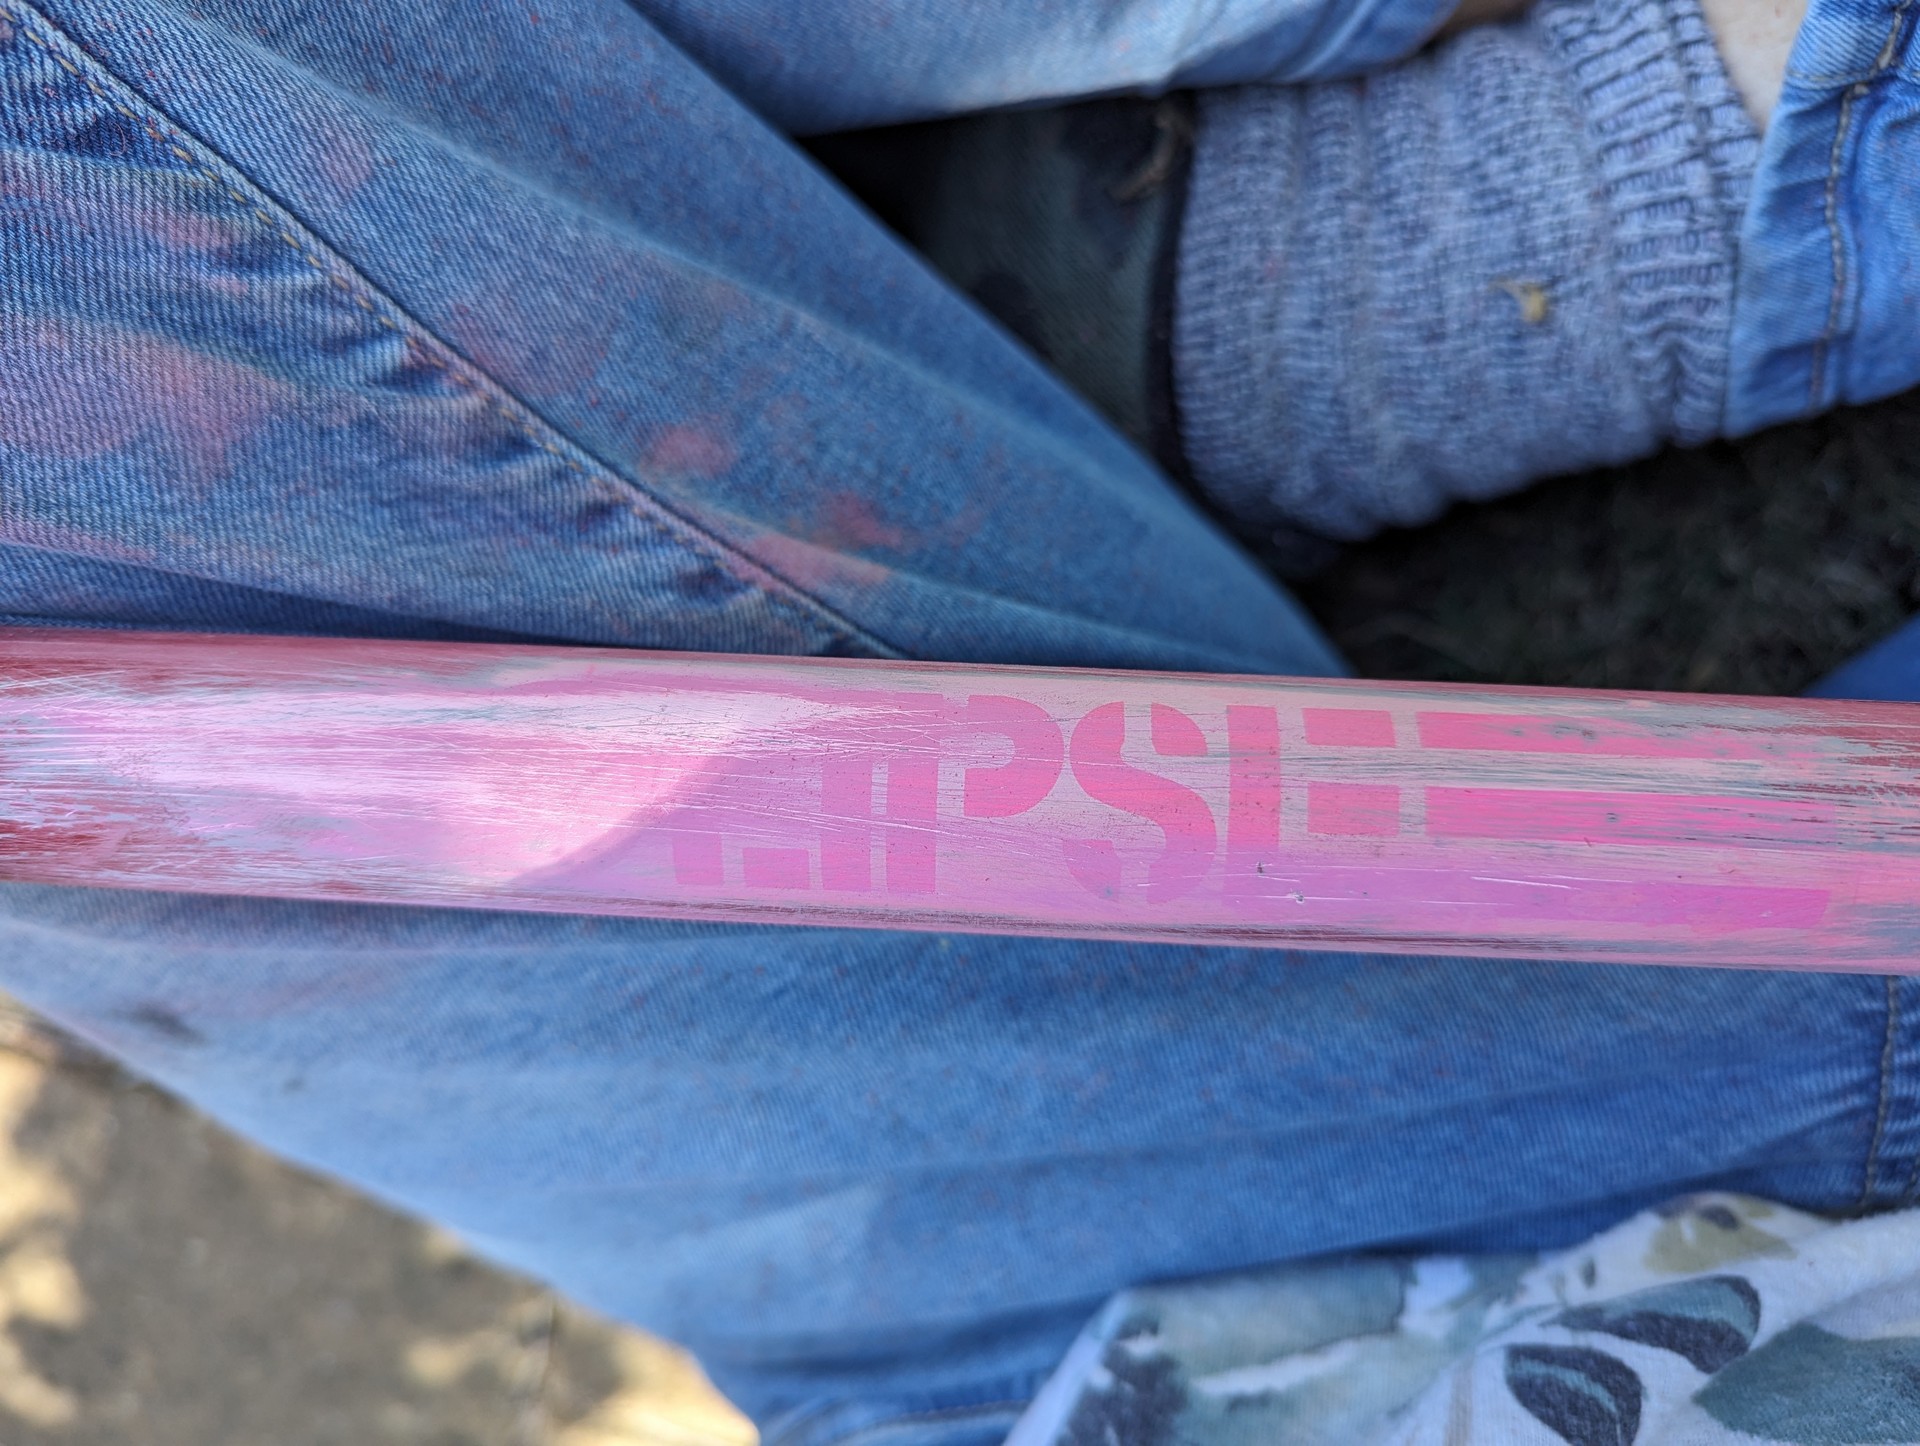
I’m really glad I did strip it all the way back during sanding I noticed some weird pattens forming, slowed down an used a higher grit sand paper. To my surprise the red and white paint scheme wasn’t original. I had suspected this given the paint run, however I could never confirm this. I never knew the make or model of the bike and by carefully sanding back the top layer it revealed a uv damaged outline of the original branding. An Apollo Eclipse. This would have been the pink and white model. For me the bike has always been red and white, that’s now part of its history. So while I could return it to original colours, they wouldn’t be original to me.
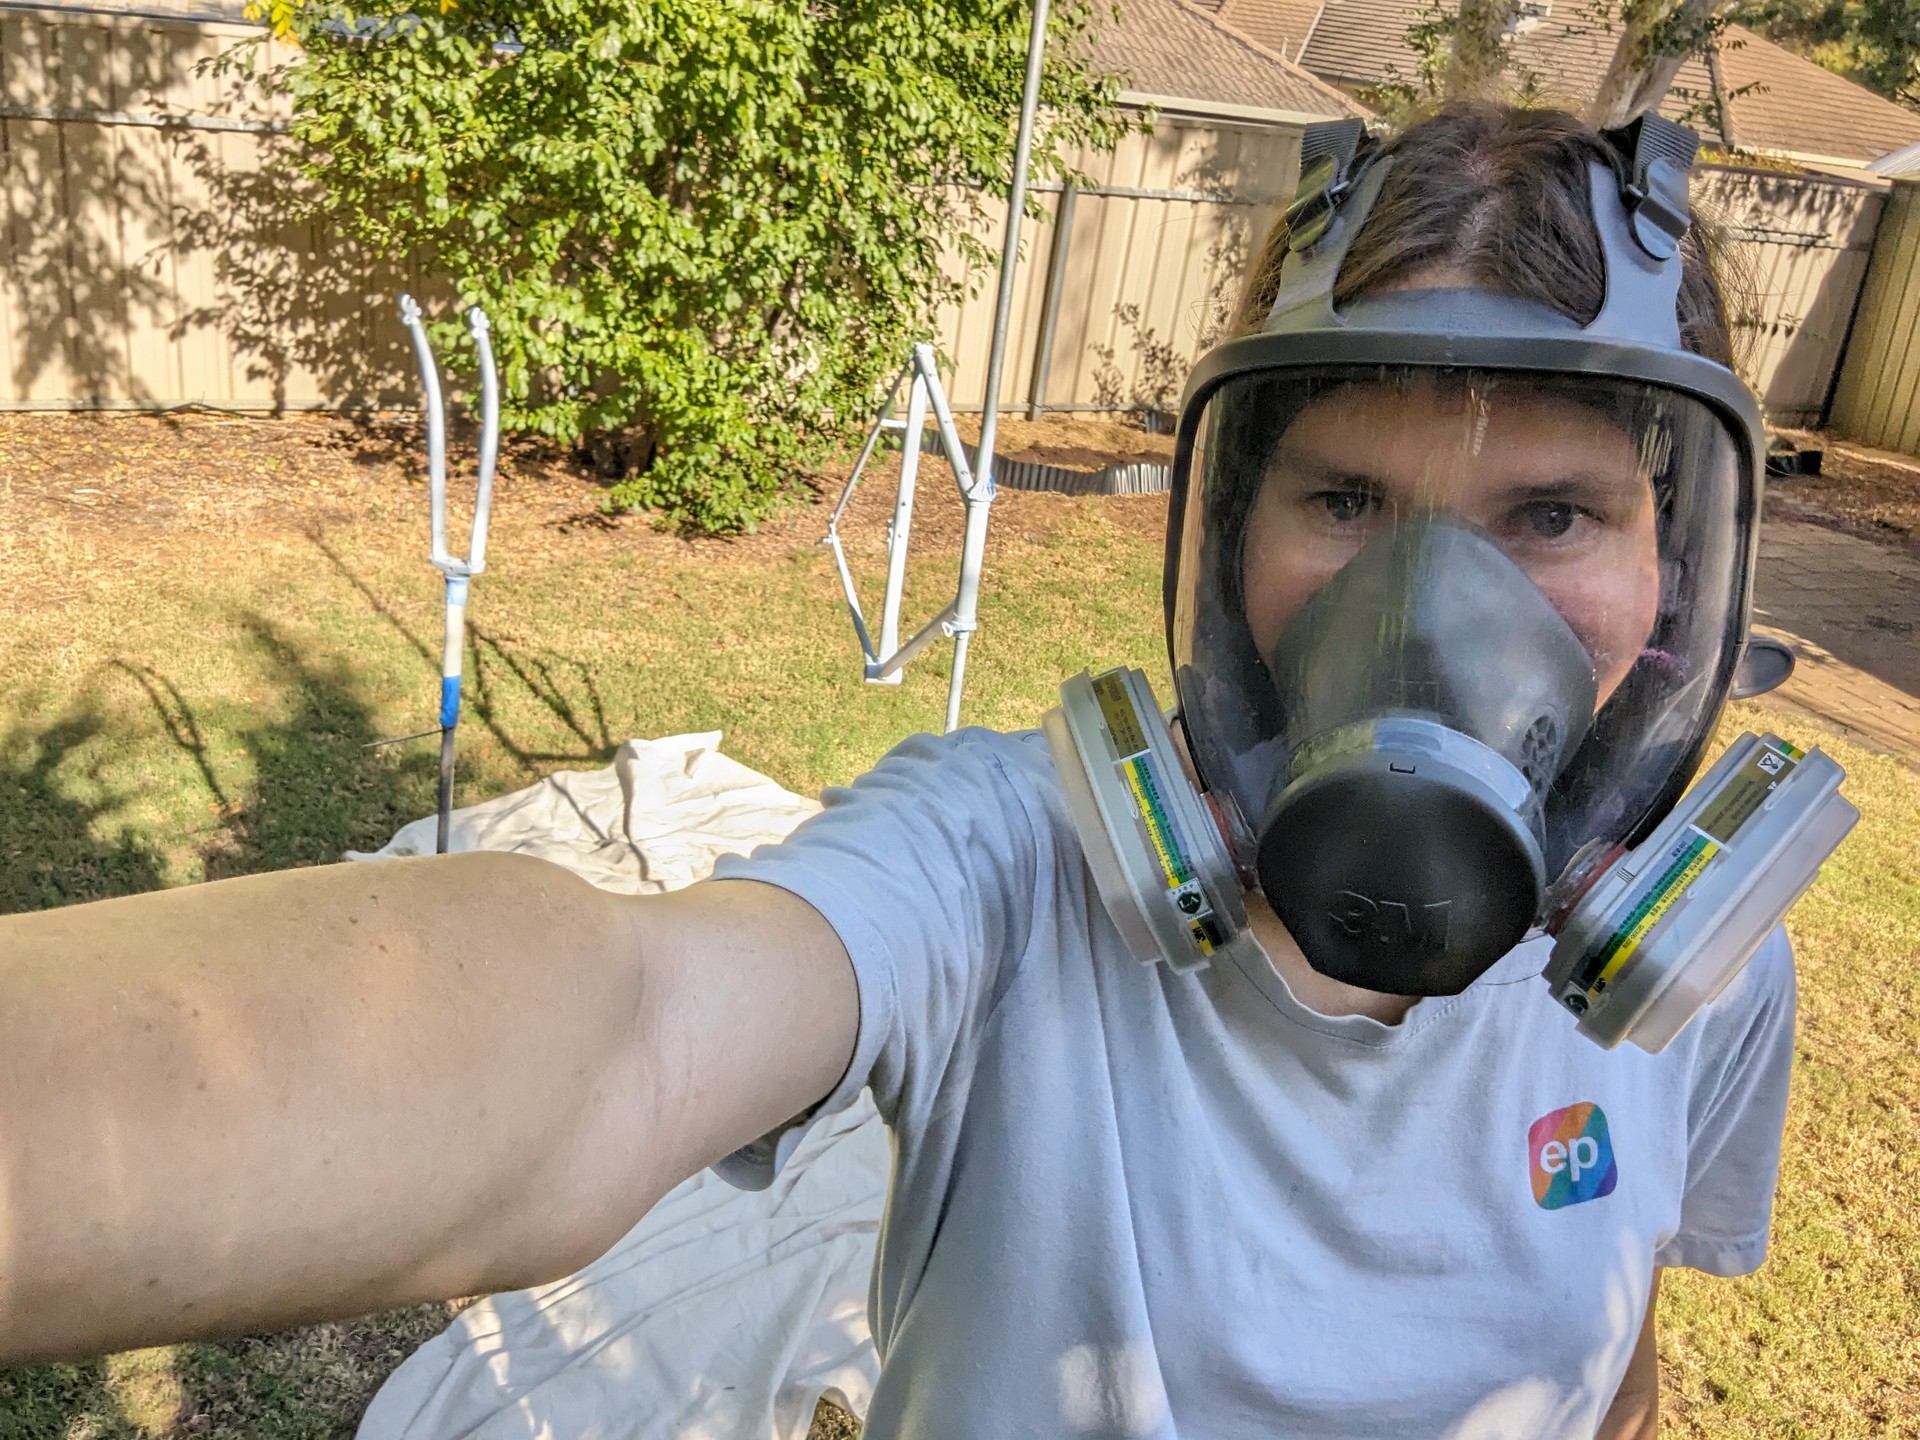
For the majority of stripping I used low grit sand paper however for the fiddly bits I restorted to wire wheel brushes on a cordless drill. Removing the paint is probably the hardest part, once its removed moving up in grit to make a smooth finish happens fairly easily. I went with the sanding approach because sand blasting seemed too expensive for this project and sanding didn’t seem like too much effort (it was a lot of work, don’t get me wrong, but it didn’t really take that long). I looked into chemical processes however youtube tutorials and reviews gave me the impression that it seemed more annoying than just sanding. Everyone has different advice on the process however I settled for about about 400 grit for the final sand working off the theory that while spray paint is thin, it still needs some roughness to the surface to stick well. I used higher grit sandpaper to touch up some parts during painting. If you want to take away anything from this blog post though, think PPE. Not just when spraying paint but when sanding. I generated so much dust when sanding back the frame.
Painting Rust
The next day with all the rust and paint sanded back I went to paint. I thought I’d be able to get away with a day of stripped bike frame in less than 20% humidity but flash rust struck. It wasn’t a big deal however, I was able to sand back the frame with high grit sandpaper again just prior to painting. I gave the frame a wipe down with some acetone to remove debris and now we were ready to paint.
Painting
I went with Rust-oleum 2X Primer and Custom Spray 5-in-1 for the paint. This was mostly because I’m familiar with how they spray and work. They probably aren’t the best choice for bike paint, however rattle cans in general aren’t good - this is because the layer of paint is so thin compared to other methods. Regardless it’s something that fit the budget, and that I could easily do.
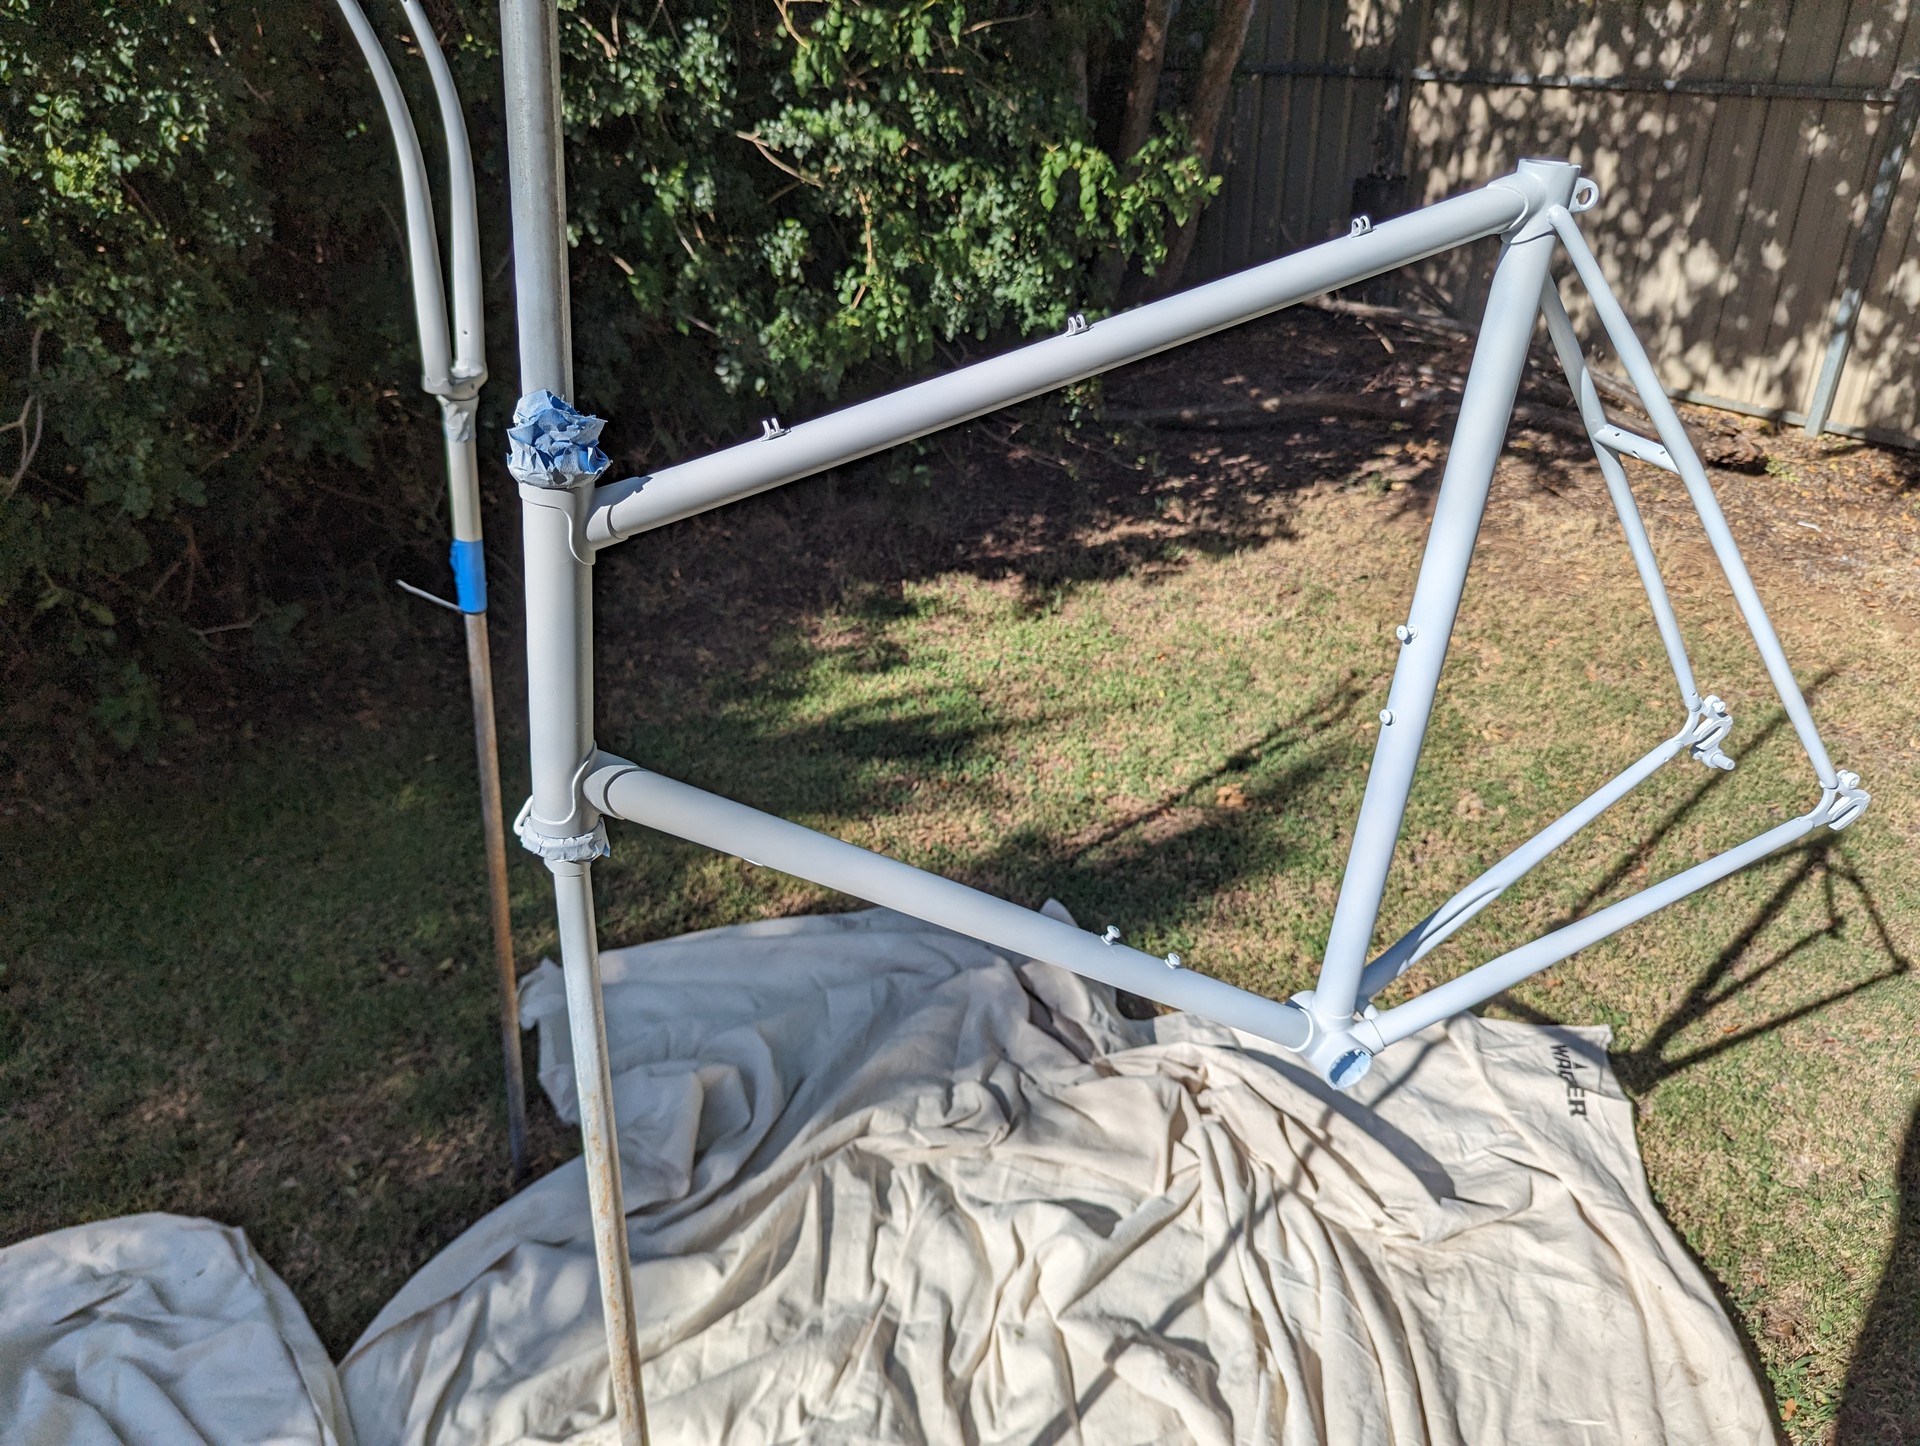
I actually reached out to Rust-oleum to confirm my planned process prior to painting and they were able to provide a bunch of nice details and provide confidence. First up was priming. The Rust-oleum paints allow re-coat anytime within 1 hour and they recommend coats 15 minutes apart. I setup the forks and main frame near each other so I could do them at the same time. This allowed me to switch between each while waiting. I was able to get 4 coats onto each within the window. The usual rattle can advice applies - thin coats. Sicne the frame is so large I applied thin coats and moved around the frame, usually doing 3 coverages every time I did a coat. Priming was probably the hardest part not to get runs on I got a slight run during this and sanded it back prior to the top coats.
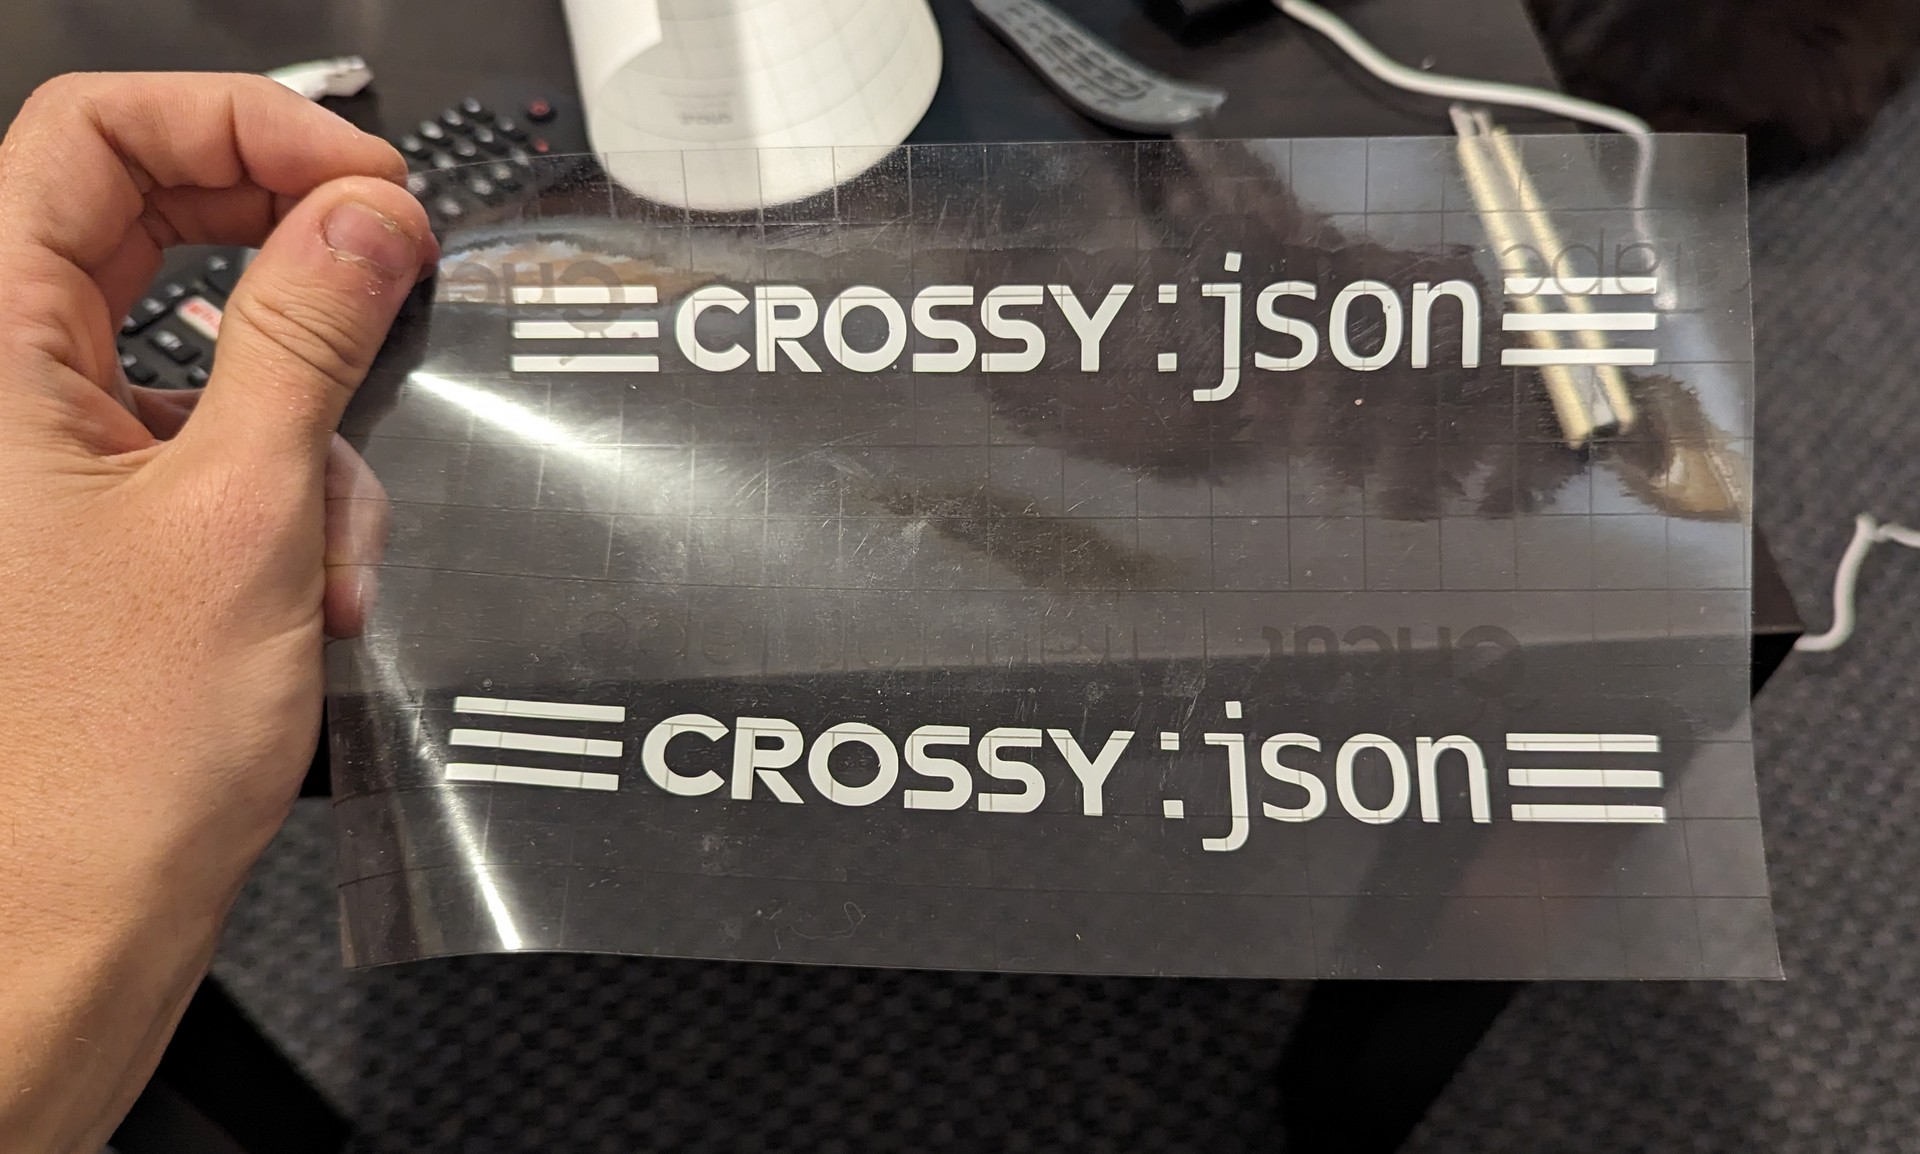
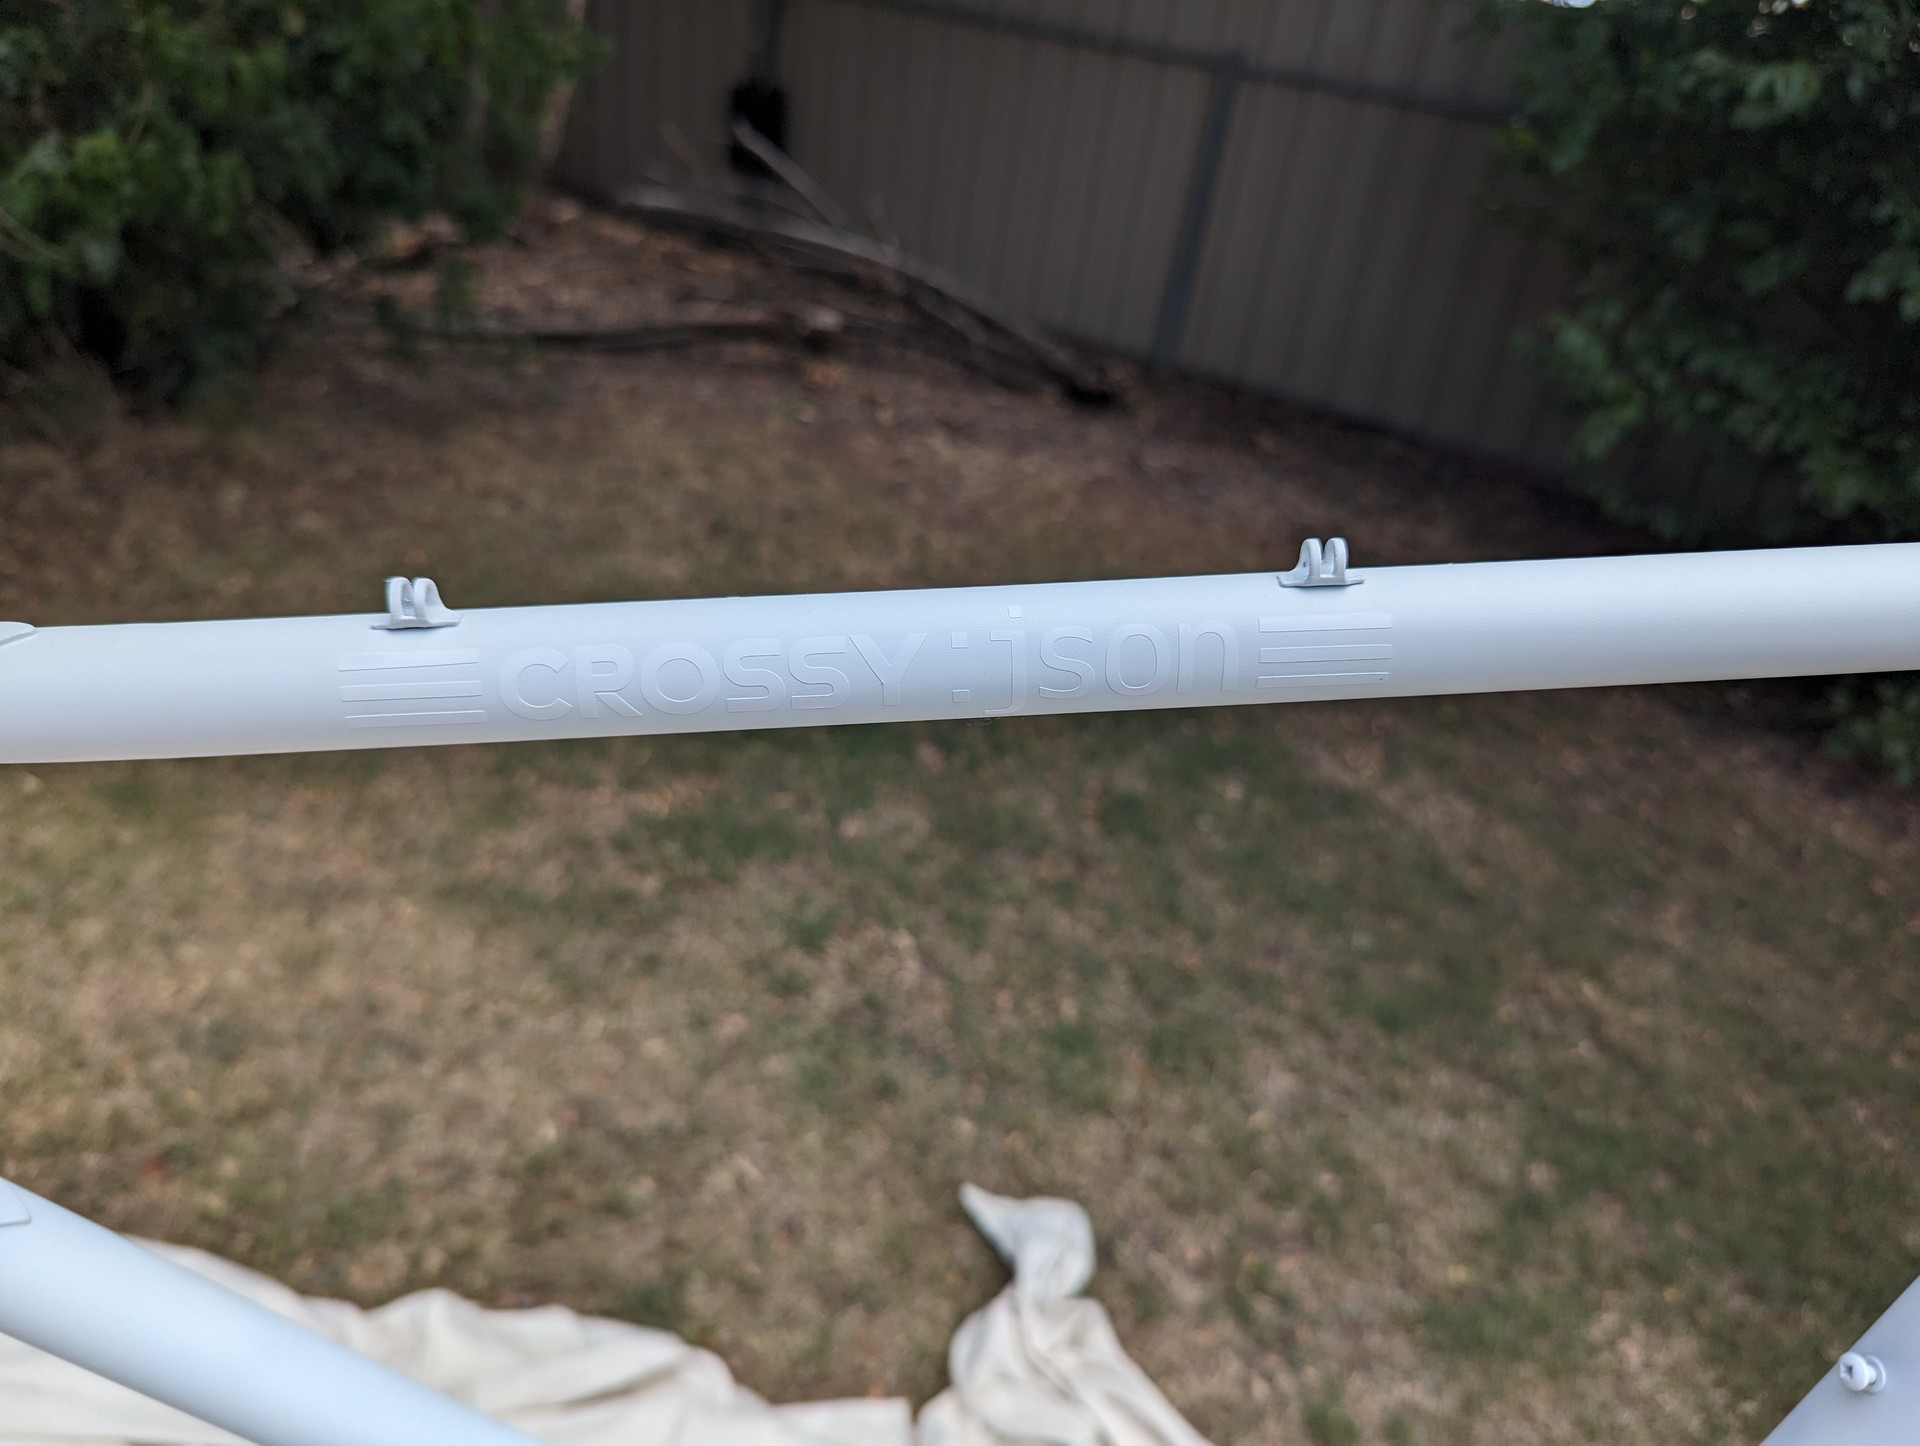
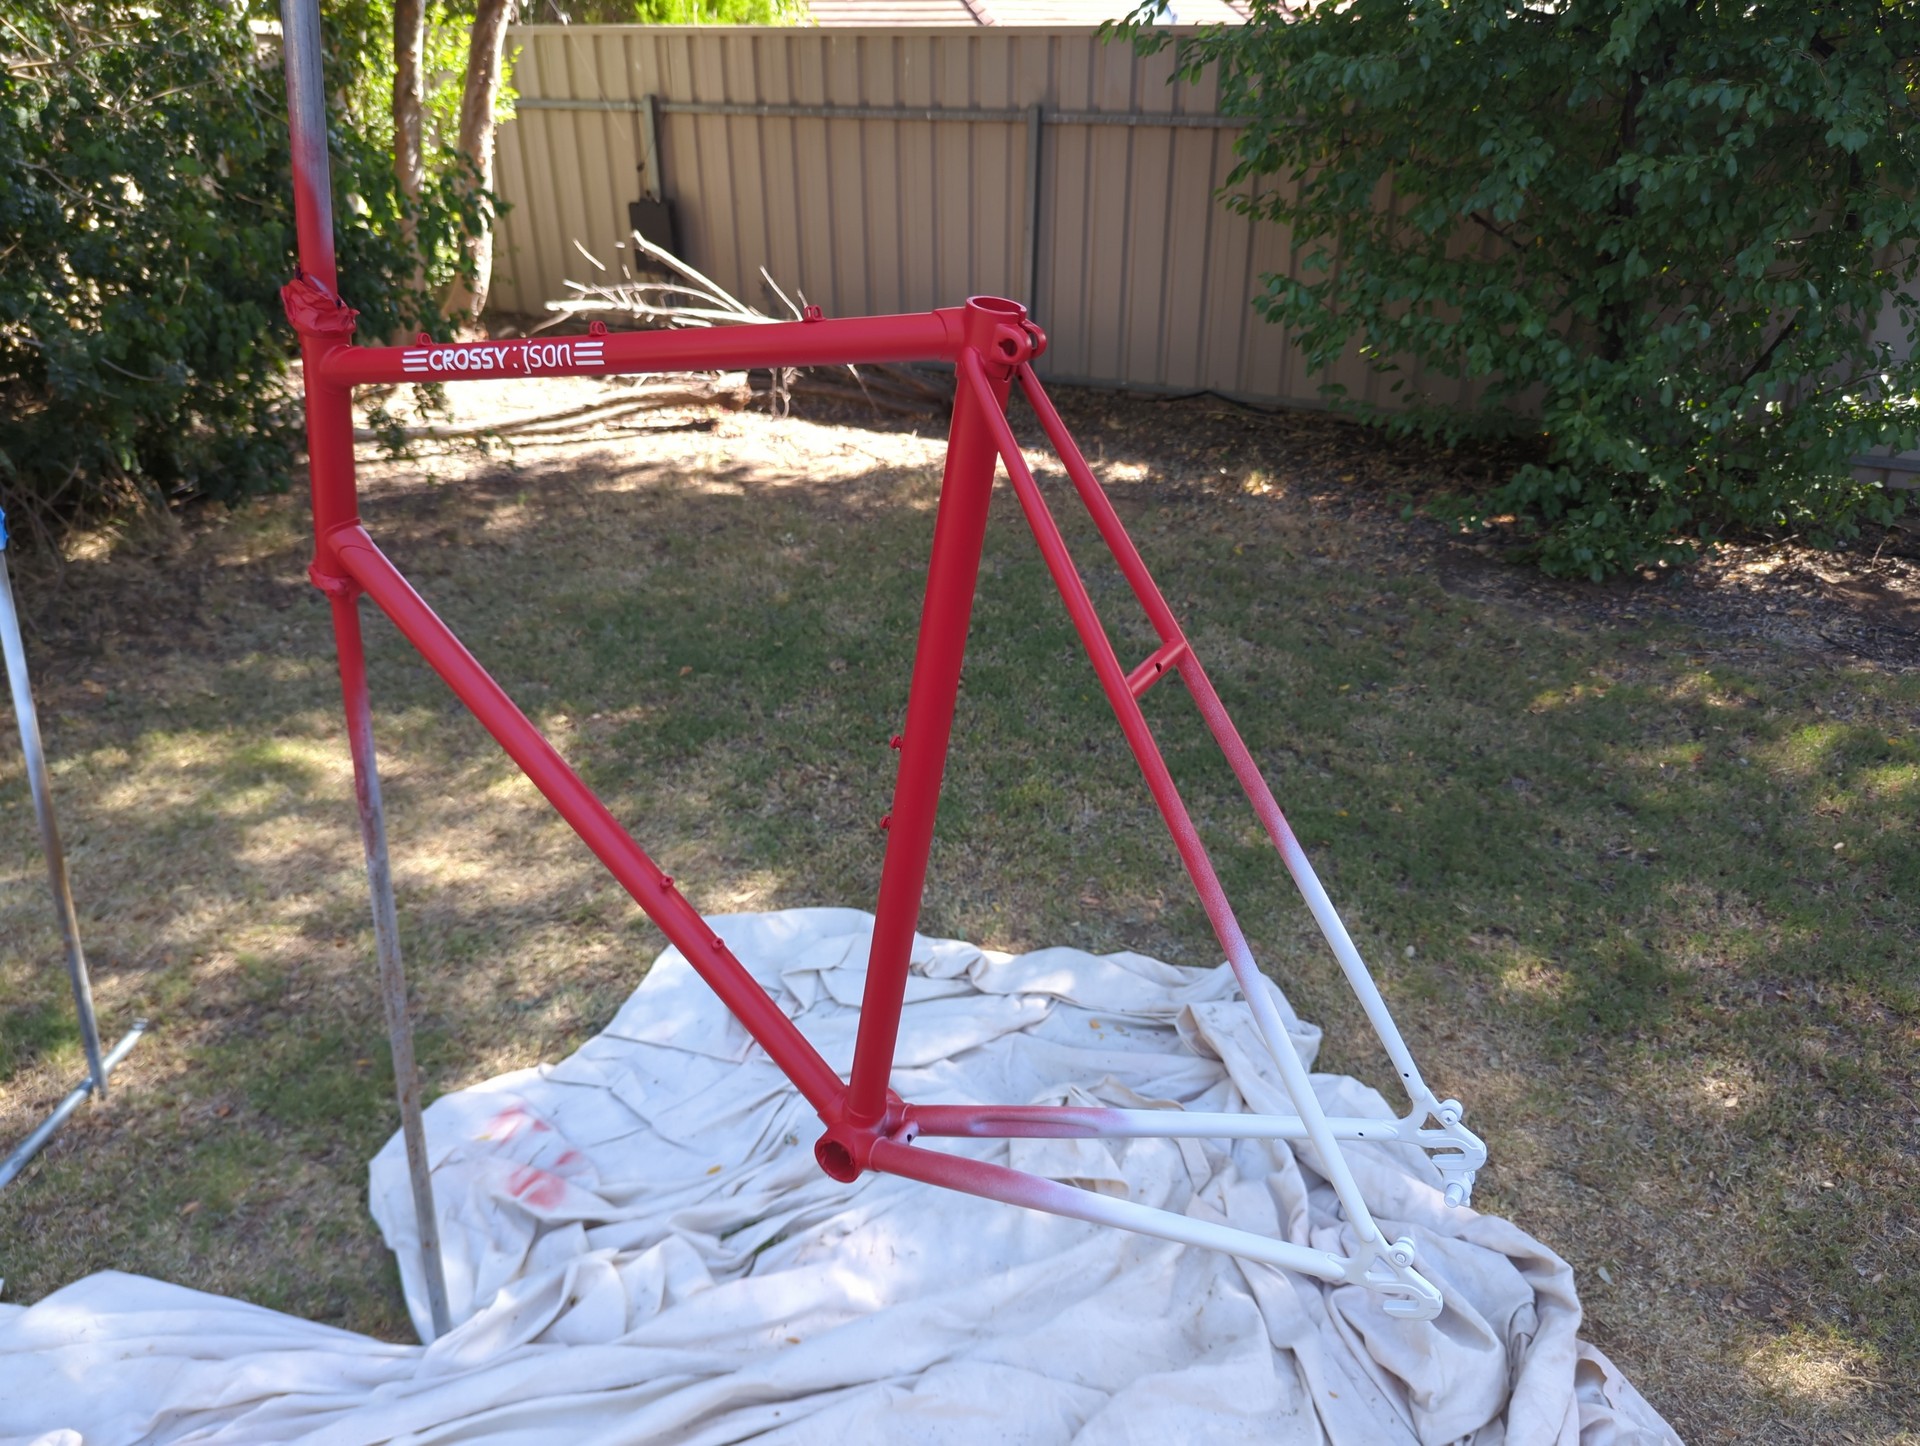
Since the bike was lacking any sort of branding, I wanted to give it some. I had a original plan for that - Crossy JSON - however since I now knew the make, model and what the original decals looked like I incorporated some of the design into my plans. There was the option of simply making some decals and slapping it onto the bike afterwards, but I really wanted to try using the decals as mask. I cut out some new decals for a mask and applied them careful. This meant that prior to the decals being applied I had to do some extra top coats in the masked off colour.
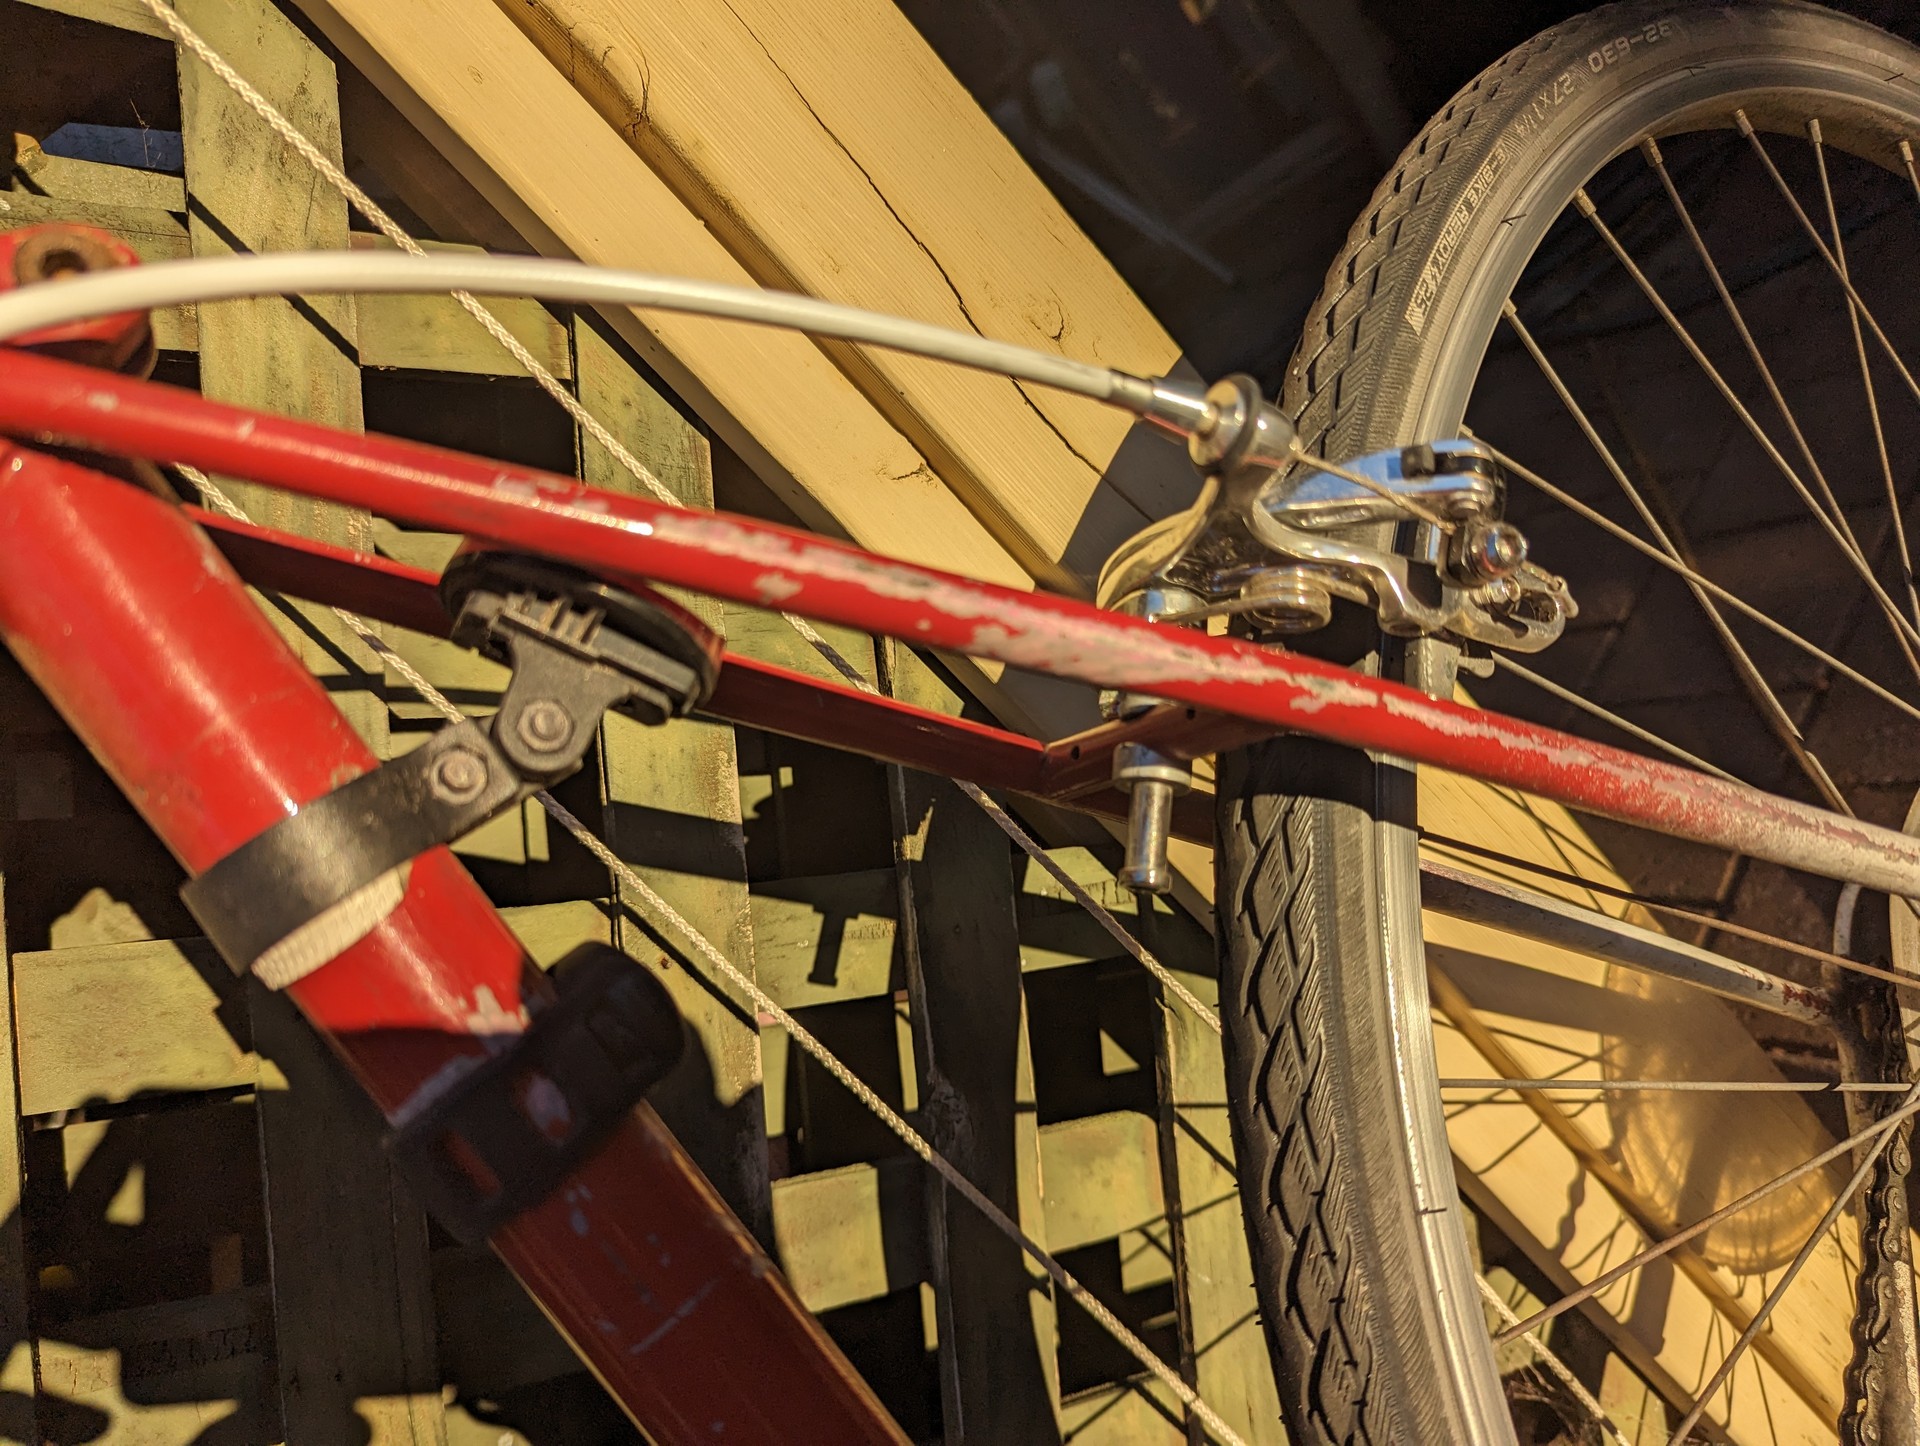
Some red coats went on. The Custom 5-in-1 cans low output mode really helped prevent any runs. I got a slight run where the rear brake sits but it was easily fixed up. The tricky part however was replicating the “original” white gradient on the dropouts. I did a few practice sprays for this to get an idea of what I was doing along with masking off everything that wouldn’t be part of the gradient and in the end it turned out great - I feel like its better than the previous gradient.
The masked off sections were removed prior to the clear coat. This is where I learnt that my masking approach was probably wrong. A negative mask would have been easier to remove (I created a bunch of damage to the paint getting each piece off) and would have made the painting process easier. Regardless I’m happy with the results given it was my first time doing this sort of thing.
I was originally concerned about runs on the clear coat - because that could have caused disaster, however even on high output mode I couldn’t have made a run if I wanted to. I’m sure the temperature helped but I feel like the chemical composition just makes it really hard to run with that paint. One approach for painting bikes it to actually not worry about clear coats, just make the top coat as thick as possible. I however wanted the finish that the clear coat provided.
Post
Prior to reassembling the bike I decided to give its internals a blast of cavity wax. This is intended to prevent rust from the inside. An idea I picked up from Croker vs ROVER. Most of the internals have drainage holes that the applicator can be fed through.
Pre-sequel
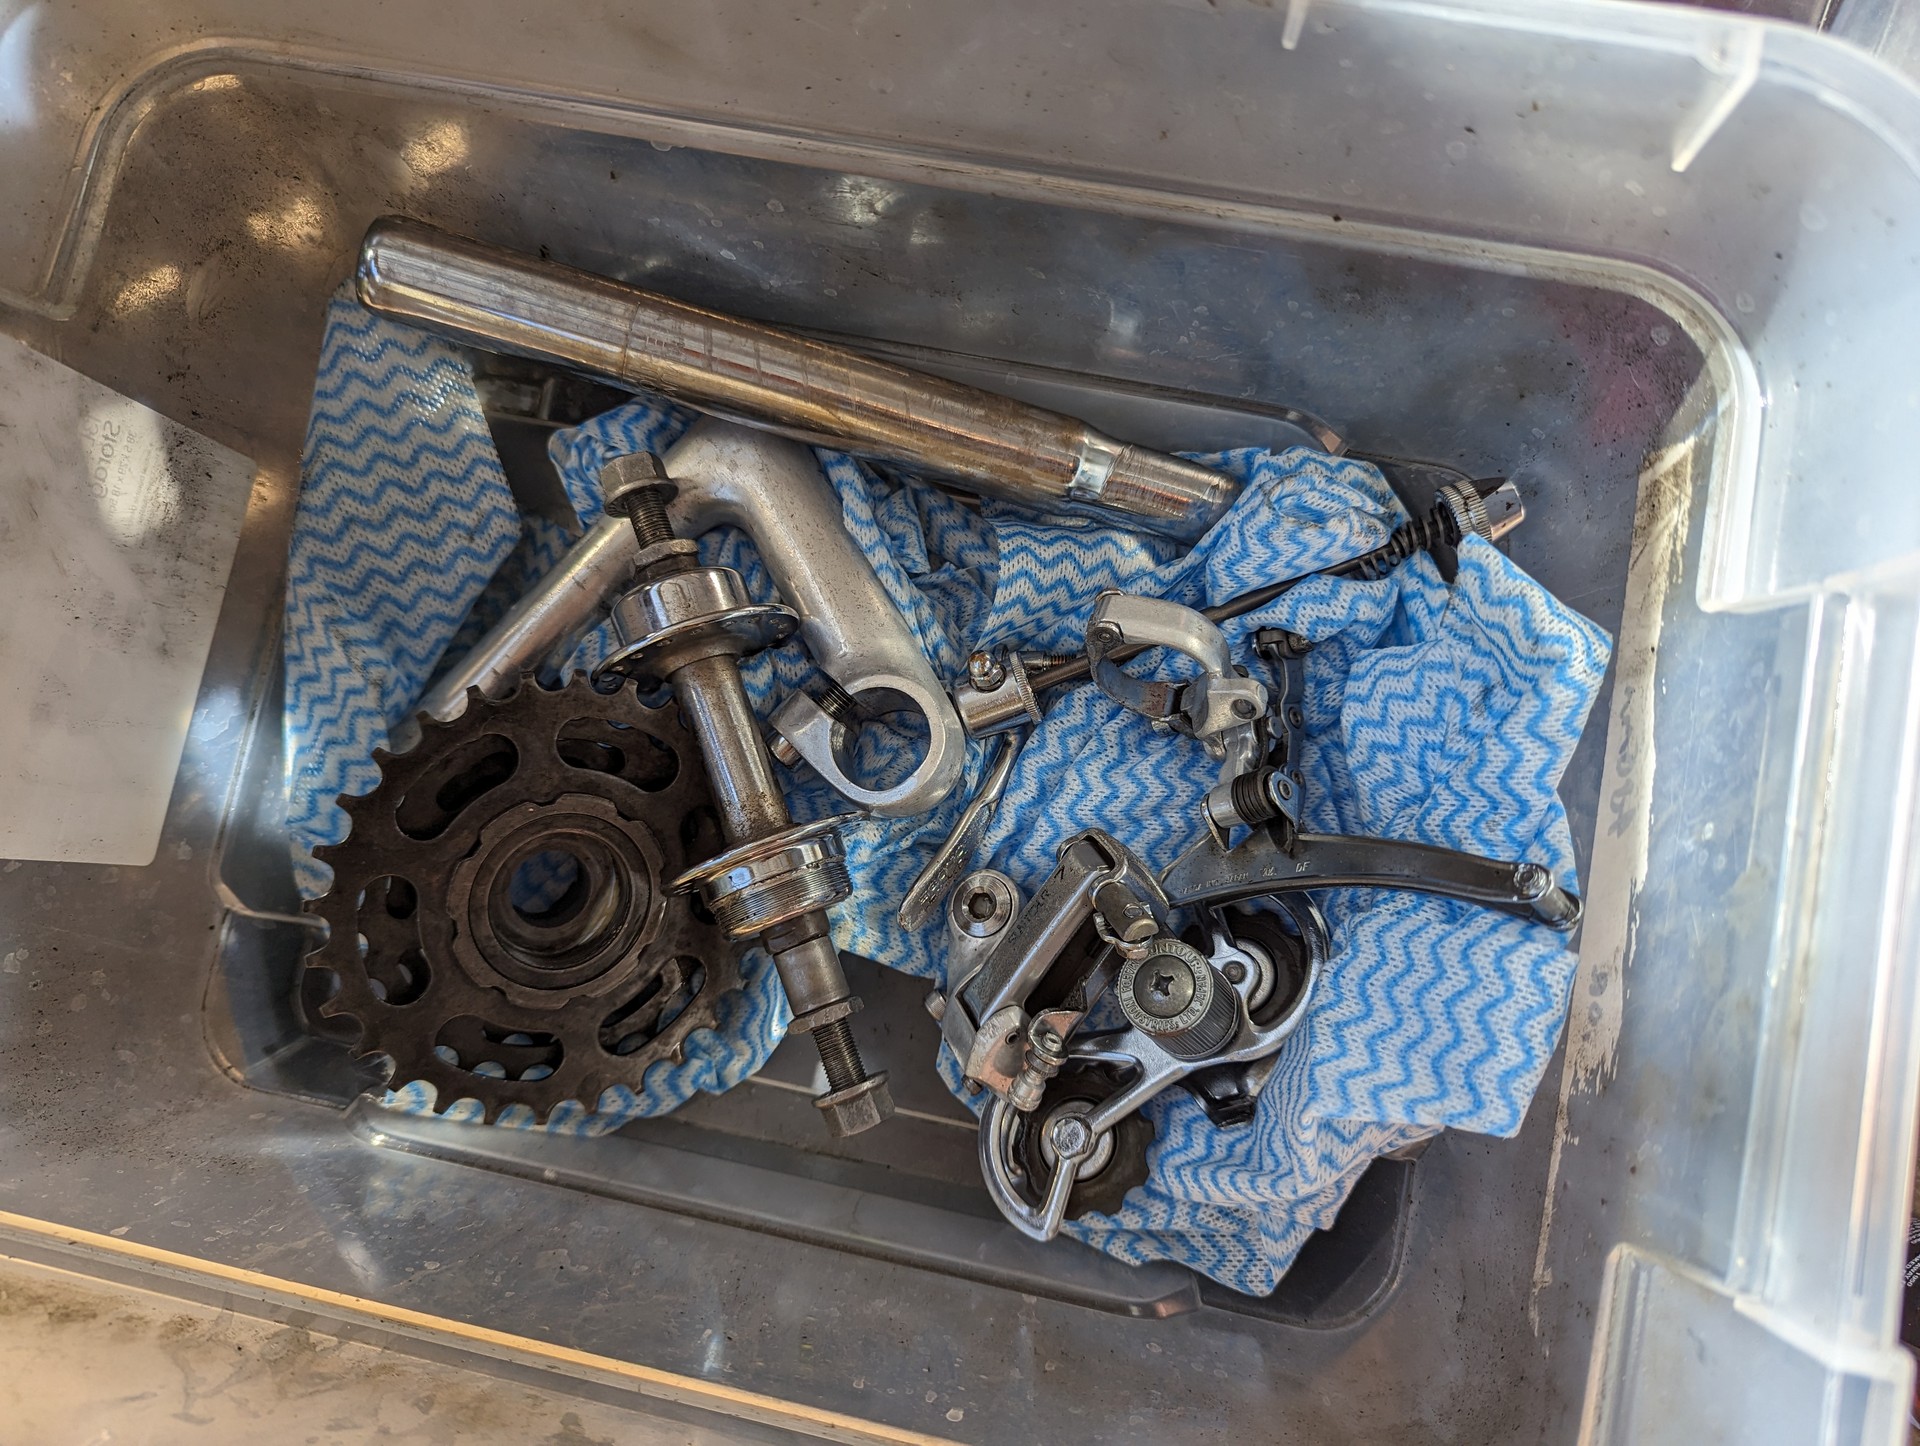
During painting I throughly washed all the parts, rebuilt bearings and placed everything in Evaporust. The Evaporust worked a treat, however flash rust struck again leaving me to have to repeat the process for many parts. The problem is that with the rust removed, washing with water just creates the perfect surface for more rust. I think the solution to this varies per part, varying from an aciditic bath, zinc plating and painting. However for the time being I went with a light coating of WD-40 (which is apparently the original purpose of WD-40). I think if I do this again I’ll have a think about how I deal with this.
I also found that many parts on my bike were broken. I ordered a replacement seat as the plastic holding it together had cracked. A spoke was broken on one of the wheels. The new spokes that I ordered were too long (they must of been the perfect size before, as the new ones were less than 2mm longer than the old) so I’ve reconfigured the wheel for a 4 cross spoke pattern.
The chain, bell, and cabling were all replaced. Along with the handlebar tape.
Finally
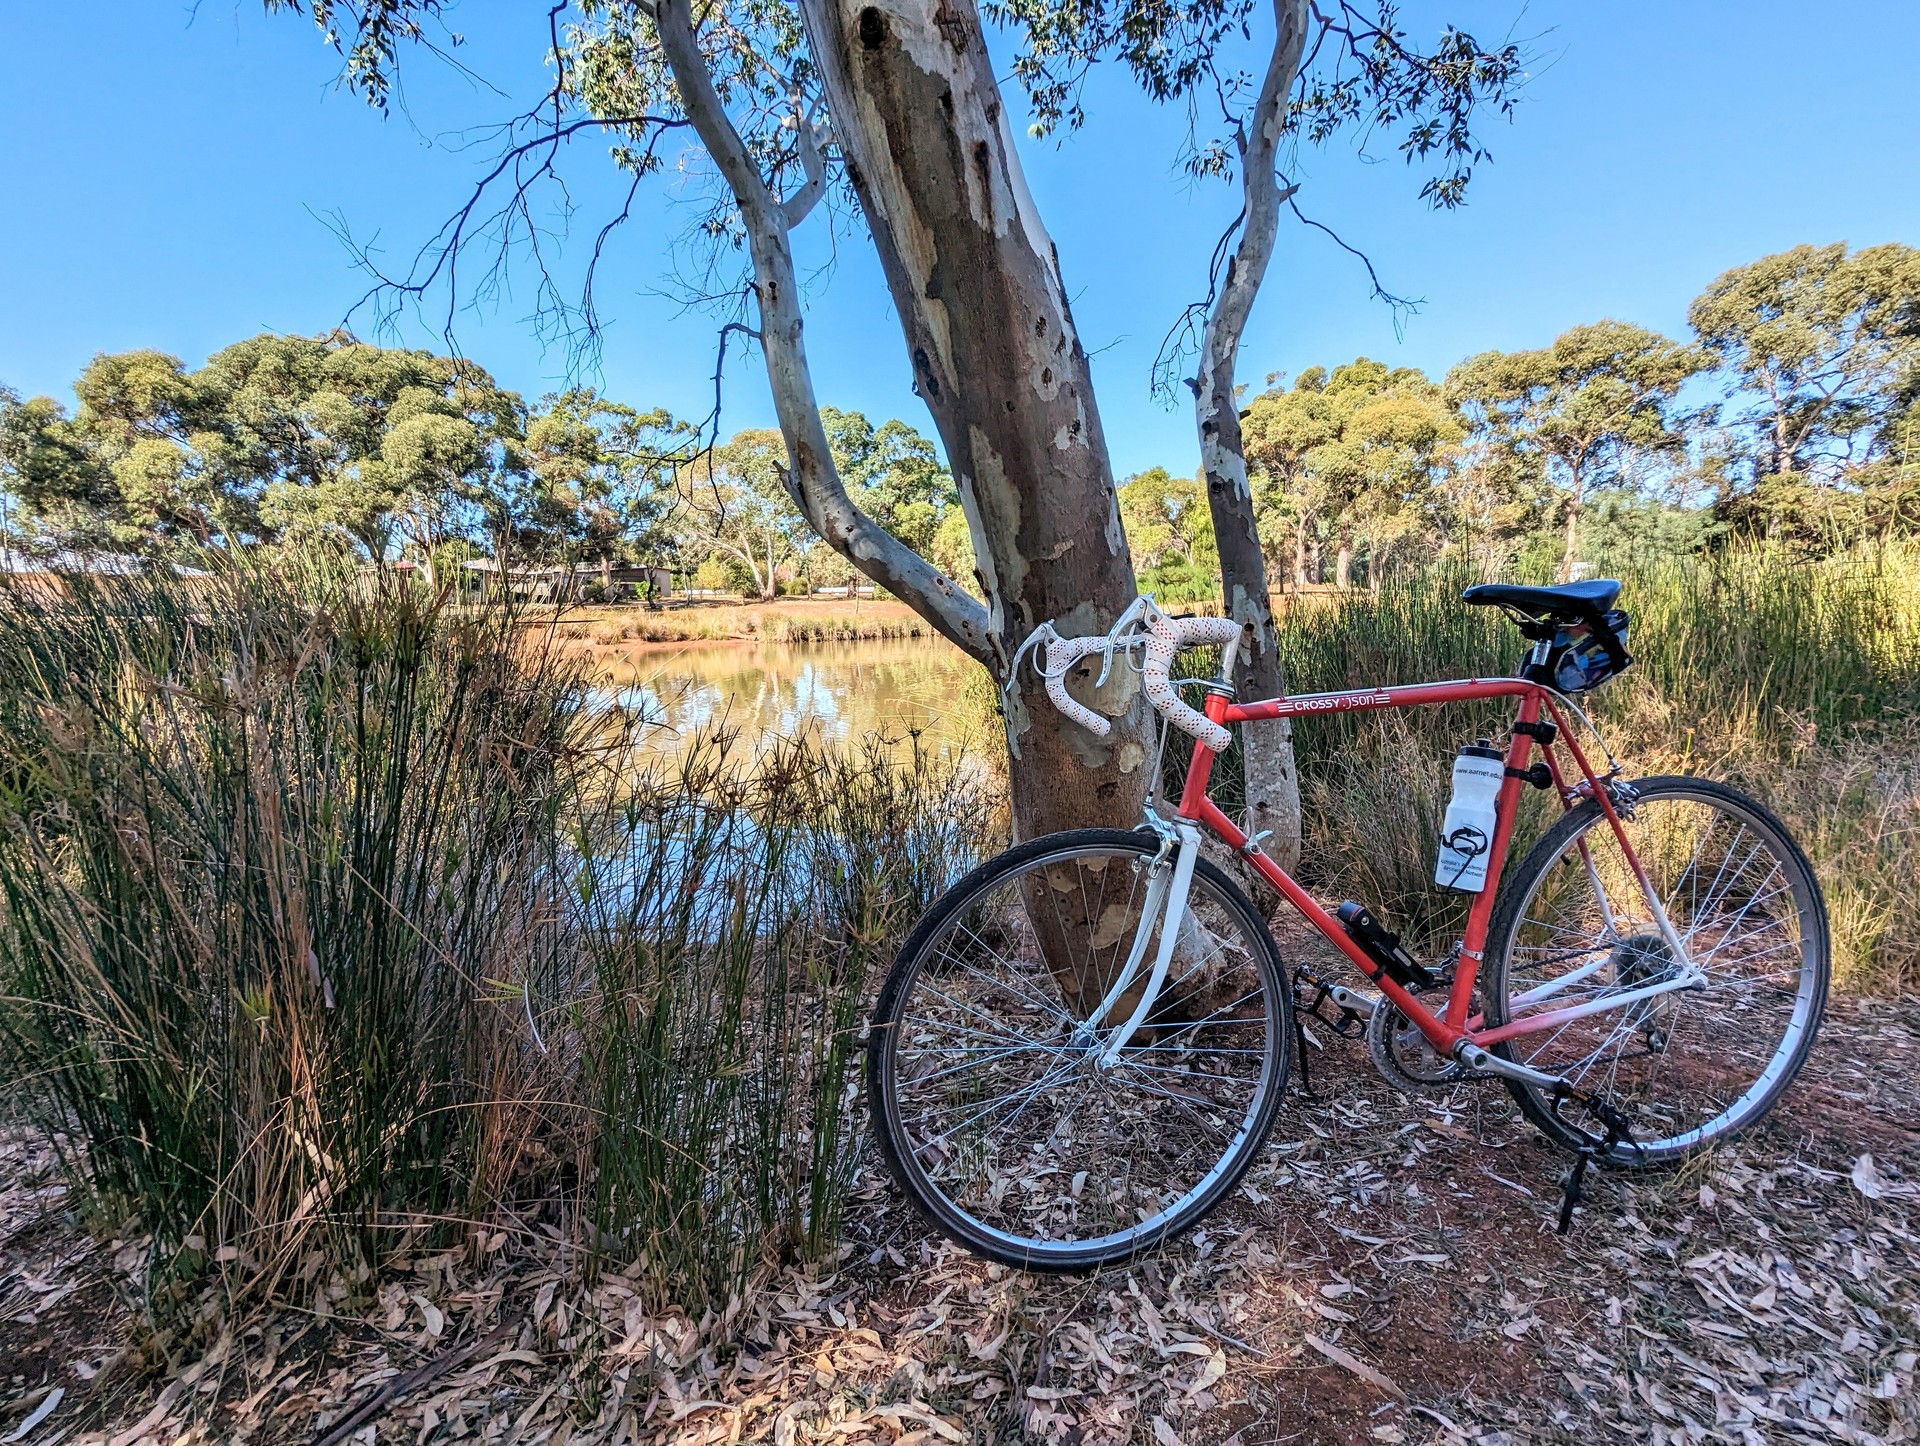
While the bike is mostly done now I still need to true the wheels a little better, along with draw up some of the spoke tension. I’m pretty happy with the results. There’s some bits that I messed up or could do better but for my first attempt I think I did well. It’s certainly better than when I started which is the key thing.