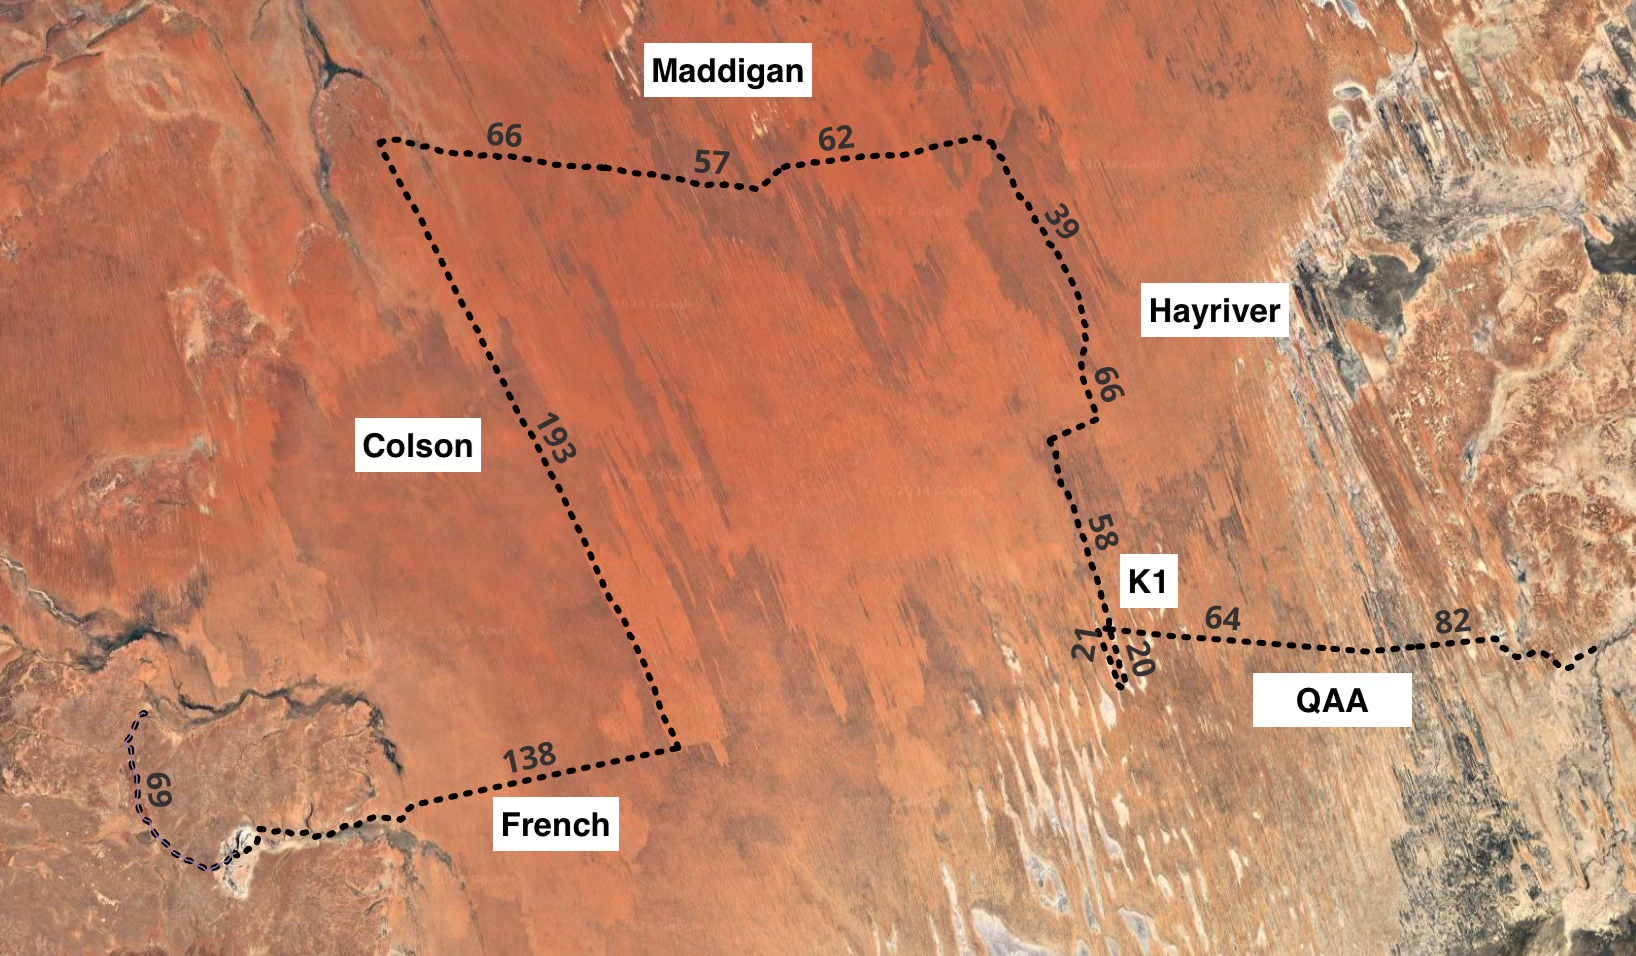
It’s simple, leave from Purni bore, and arrive at Birdsville… except its not that simple. The Simpson is a criss cross of different “lines”. You have the QAA, Rig Road, French line, K1 line, Madigan and others. Each serving a specific purpose in the past and today offering different challenges.
Your typical crossing picking a straight route across is probably around 3-4 days. This is 3-4 days without access to water, shops, or fuel. We however decided on route that touched on the French, Madigan, QAA and K1. The idea being that we wanted to see a bit of everything along with check out some of the interesting POIs like Poeppel’s corner (the corner of QLD, SA and NT).
This resulted in a plan that was upwards of 12 days and 914km without services. We plan on days being low kilometers to ensure we have enough water and fuel in case something goes wrong or backtracking is required.
Adding to complications was the recent rainfall in the area. We had to keep a close eye on river levels / crossing locations and which properties we could enter and exit through.
In the end we completed the trip with 8 days in the desert. The second half of Hay River track was exceptionally good, and we breezed through the QAA line. A lot faster than the Madigan and French lines.
Permits
There’s a number of permits required when travelling the Simpson. For the Madigan line a Central Land Council entry permit is required as you are travelling through their land. Entry from SA and into Poepell’s corner requires South Australia Desert Parks pass. Camping in the QLD section requires a QLD parks camping permit.
The CLC permit can through very last minute. If we didn’t receive this we would have had to adjust our route. Luckily it was fine.
Australia is big….
Really big. Our plan was to start from Mt Dare to cross the desert, however just getting to Mt Dare from Melbourne is 23 hours of driving and 1,948km. To assist with this we decided to travel a week earlier than expected to Adelaide and start journey from there. This still left 1,237km and 15 hours driving which we split into two - stopping at William Creek over night.
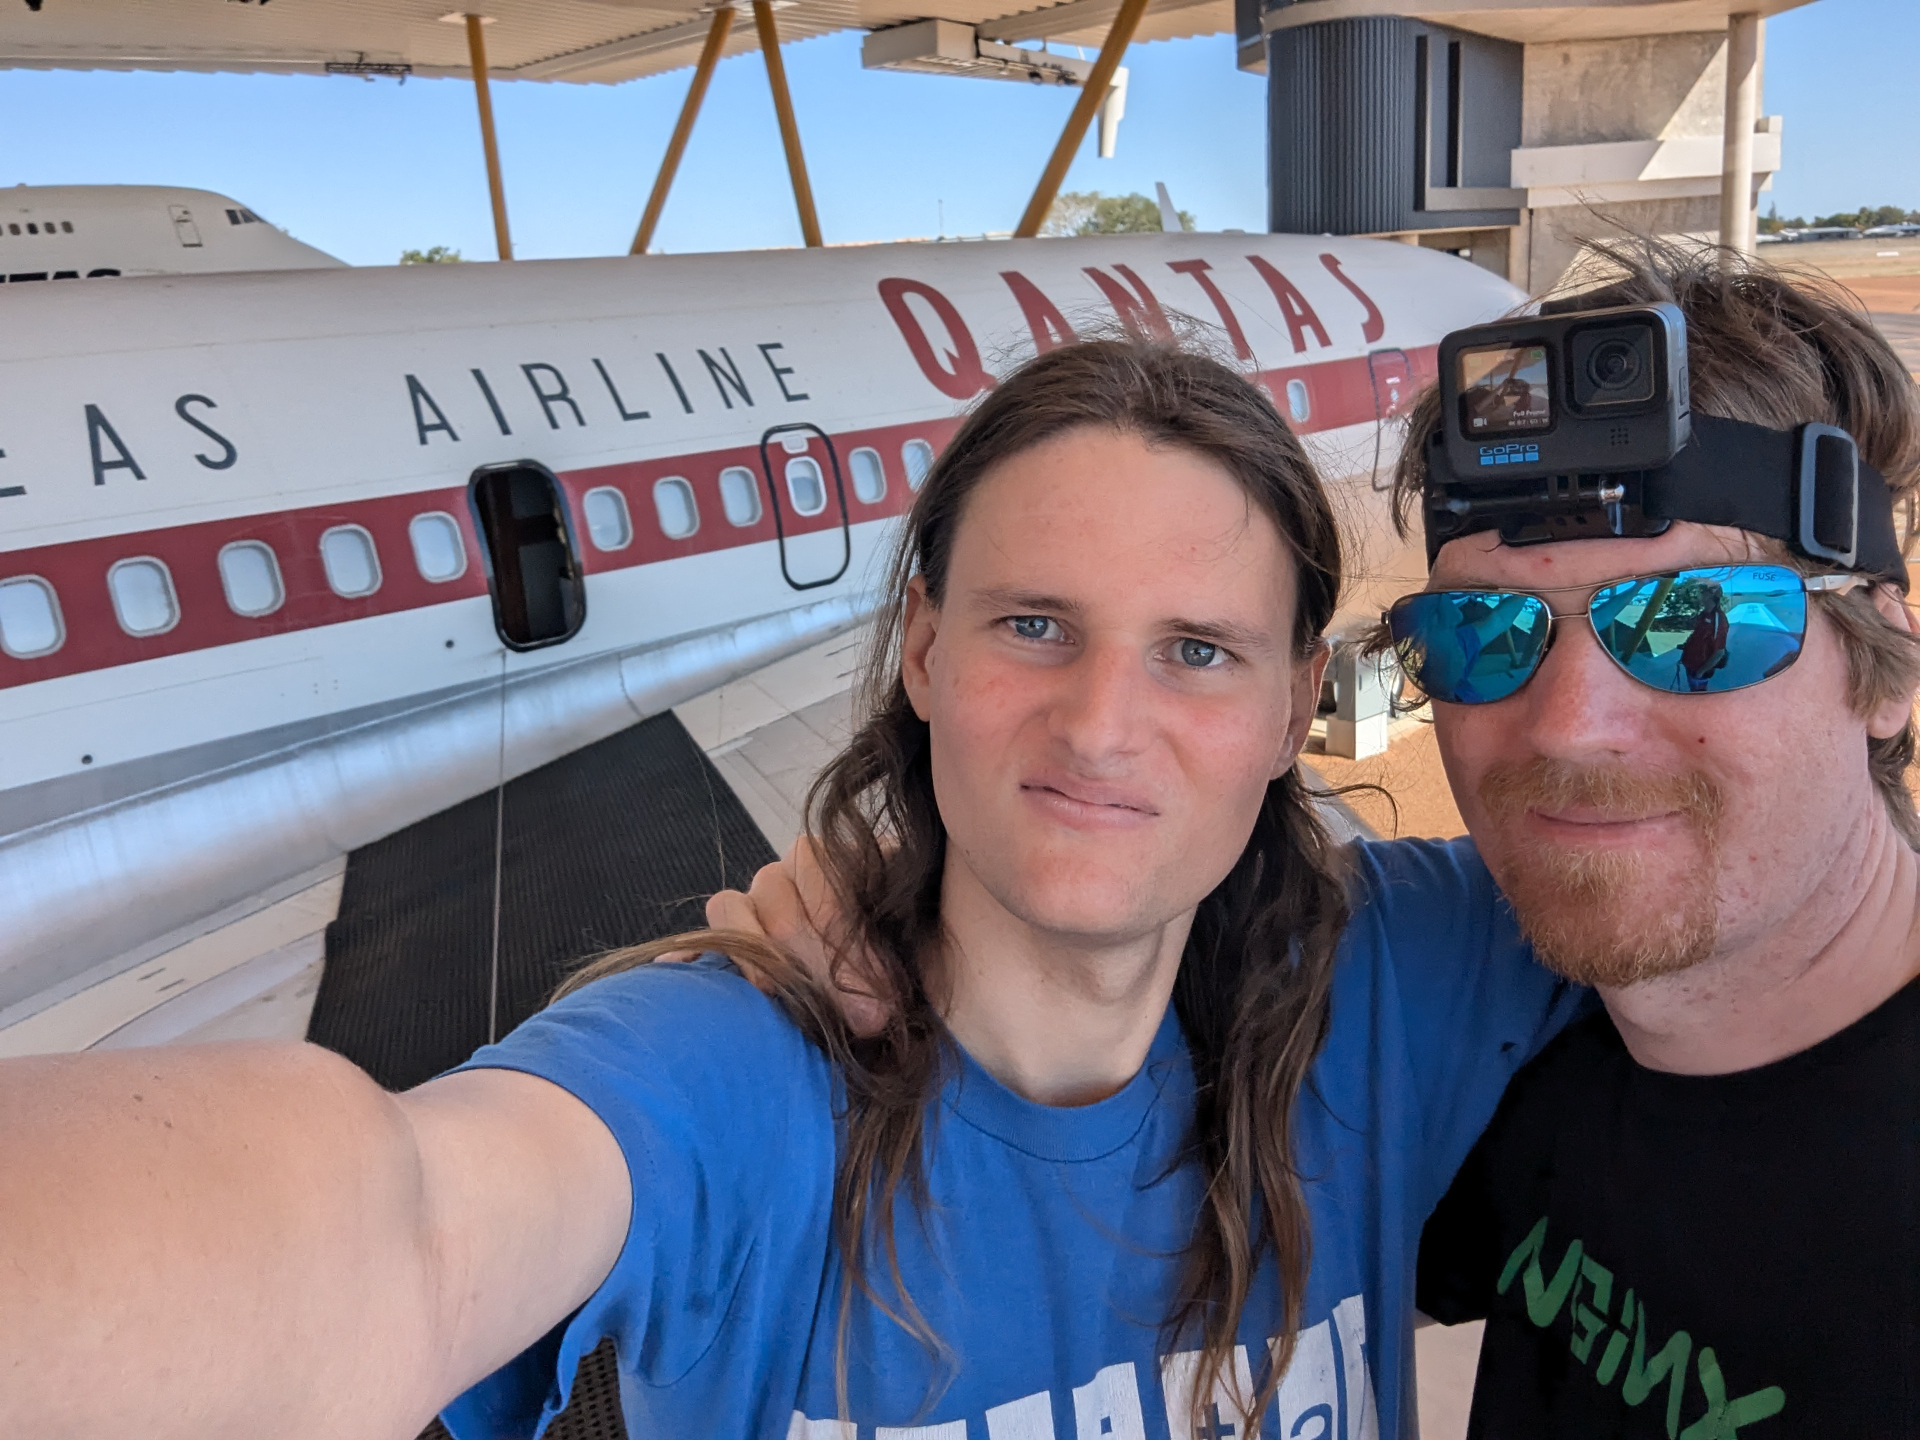
On the way back we spent some time in Longreach to check out the Qantas museum and give ourselves some recovery time. Then Cunnamulla, Griffith followed by arriving at our home in Melbourne. This totalled 2,627km’s from Birdsville.
The crossing
Much like the CSR, the real challenge in these journey comes to preparation. If you nail your planning, packing and other prep work, the journey itself is uneventful and breeze. Take your time on all the dunes and don’t try to push yourself or the equipment.
We had a good idea from other peoples crossings what to expect and a good idea from our own previous journeys what works for us. We didn’t change much of our load out from the CSR which made prep super simple for us. Not much in the way of new equipment or requirements. The middle of the desert isn’t the place where you want to experiment.
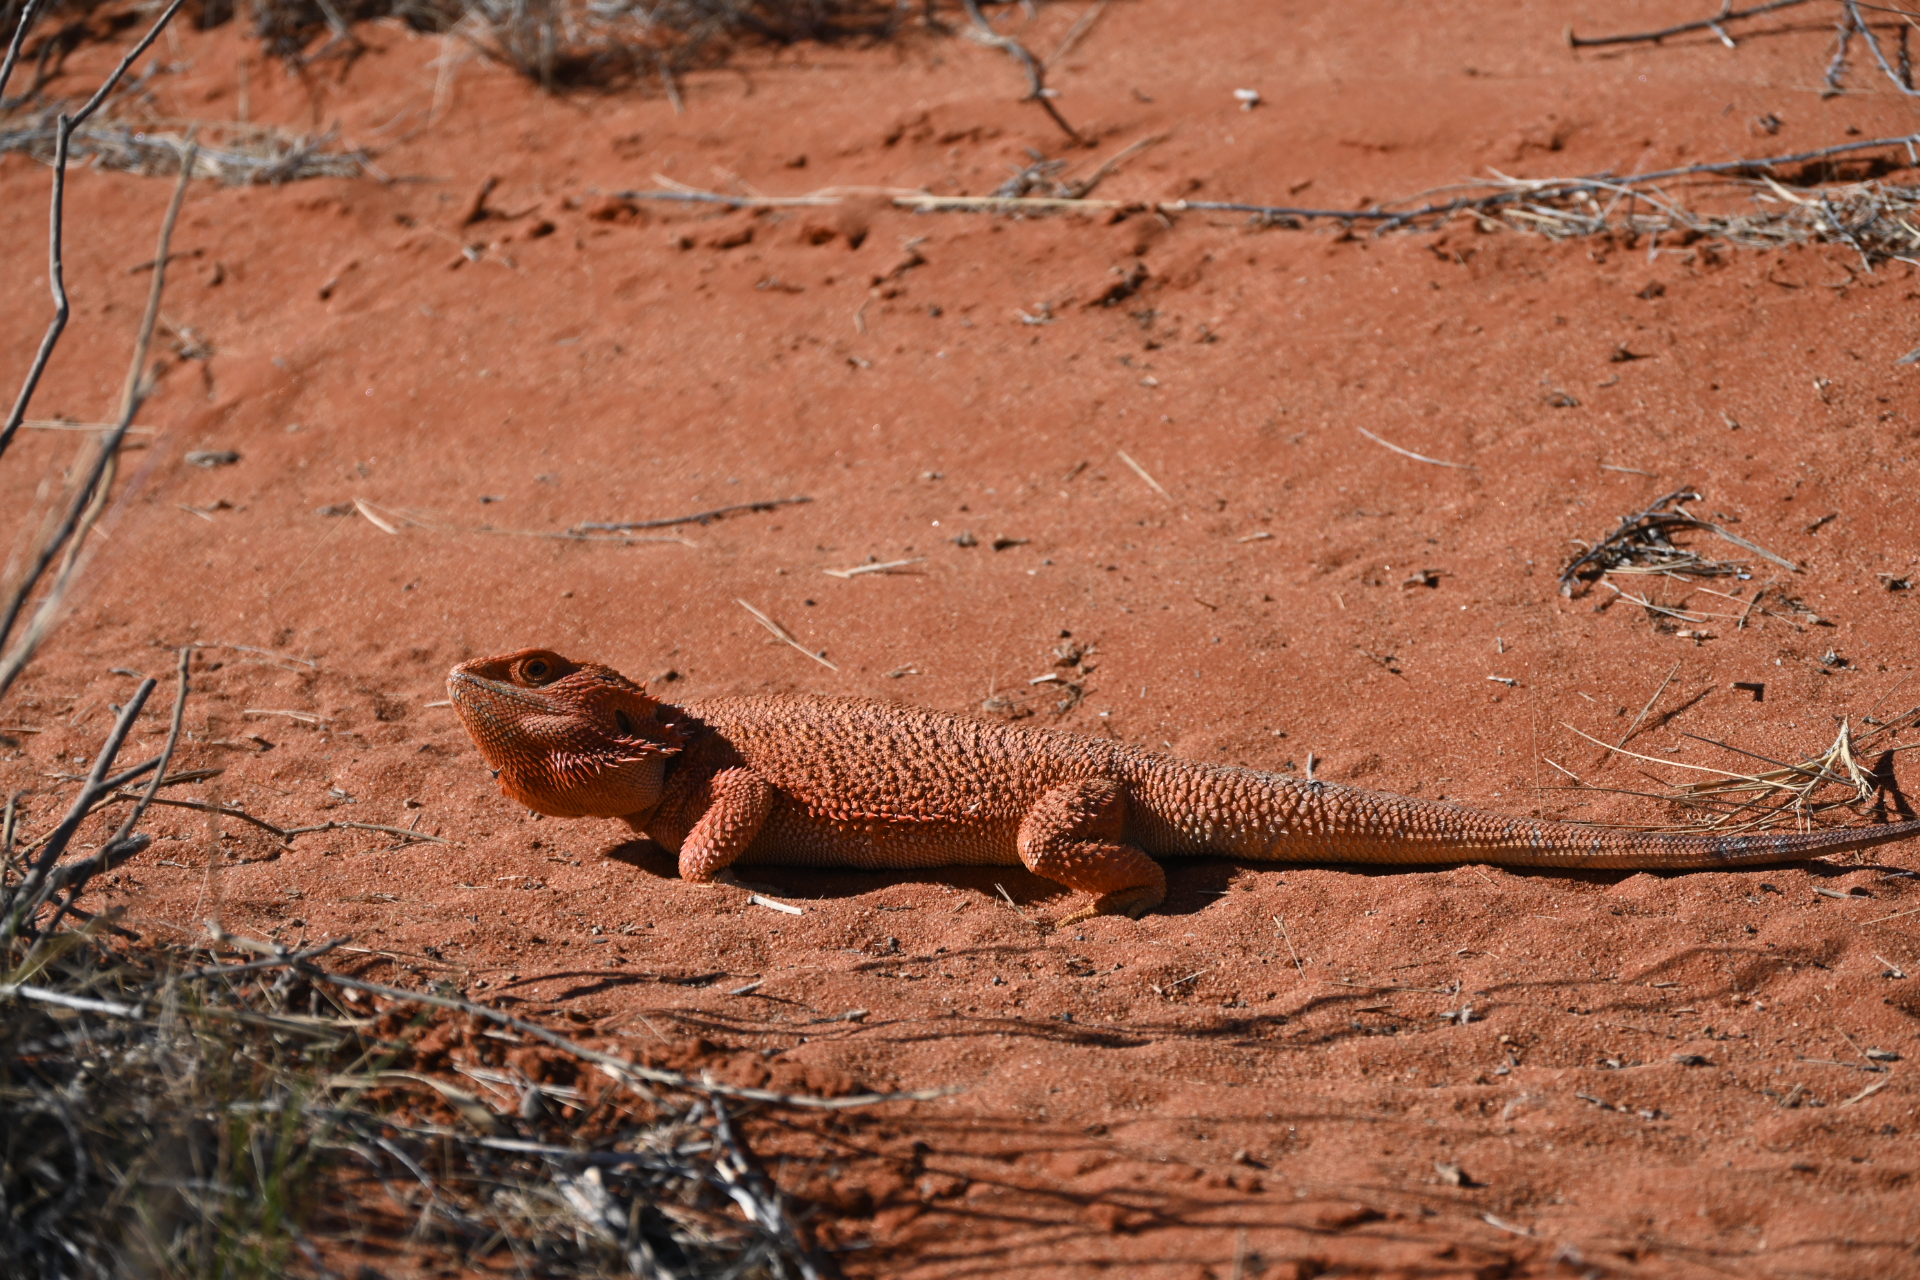
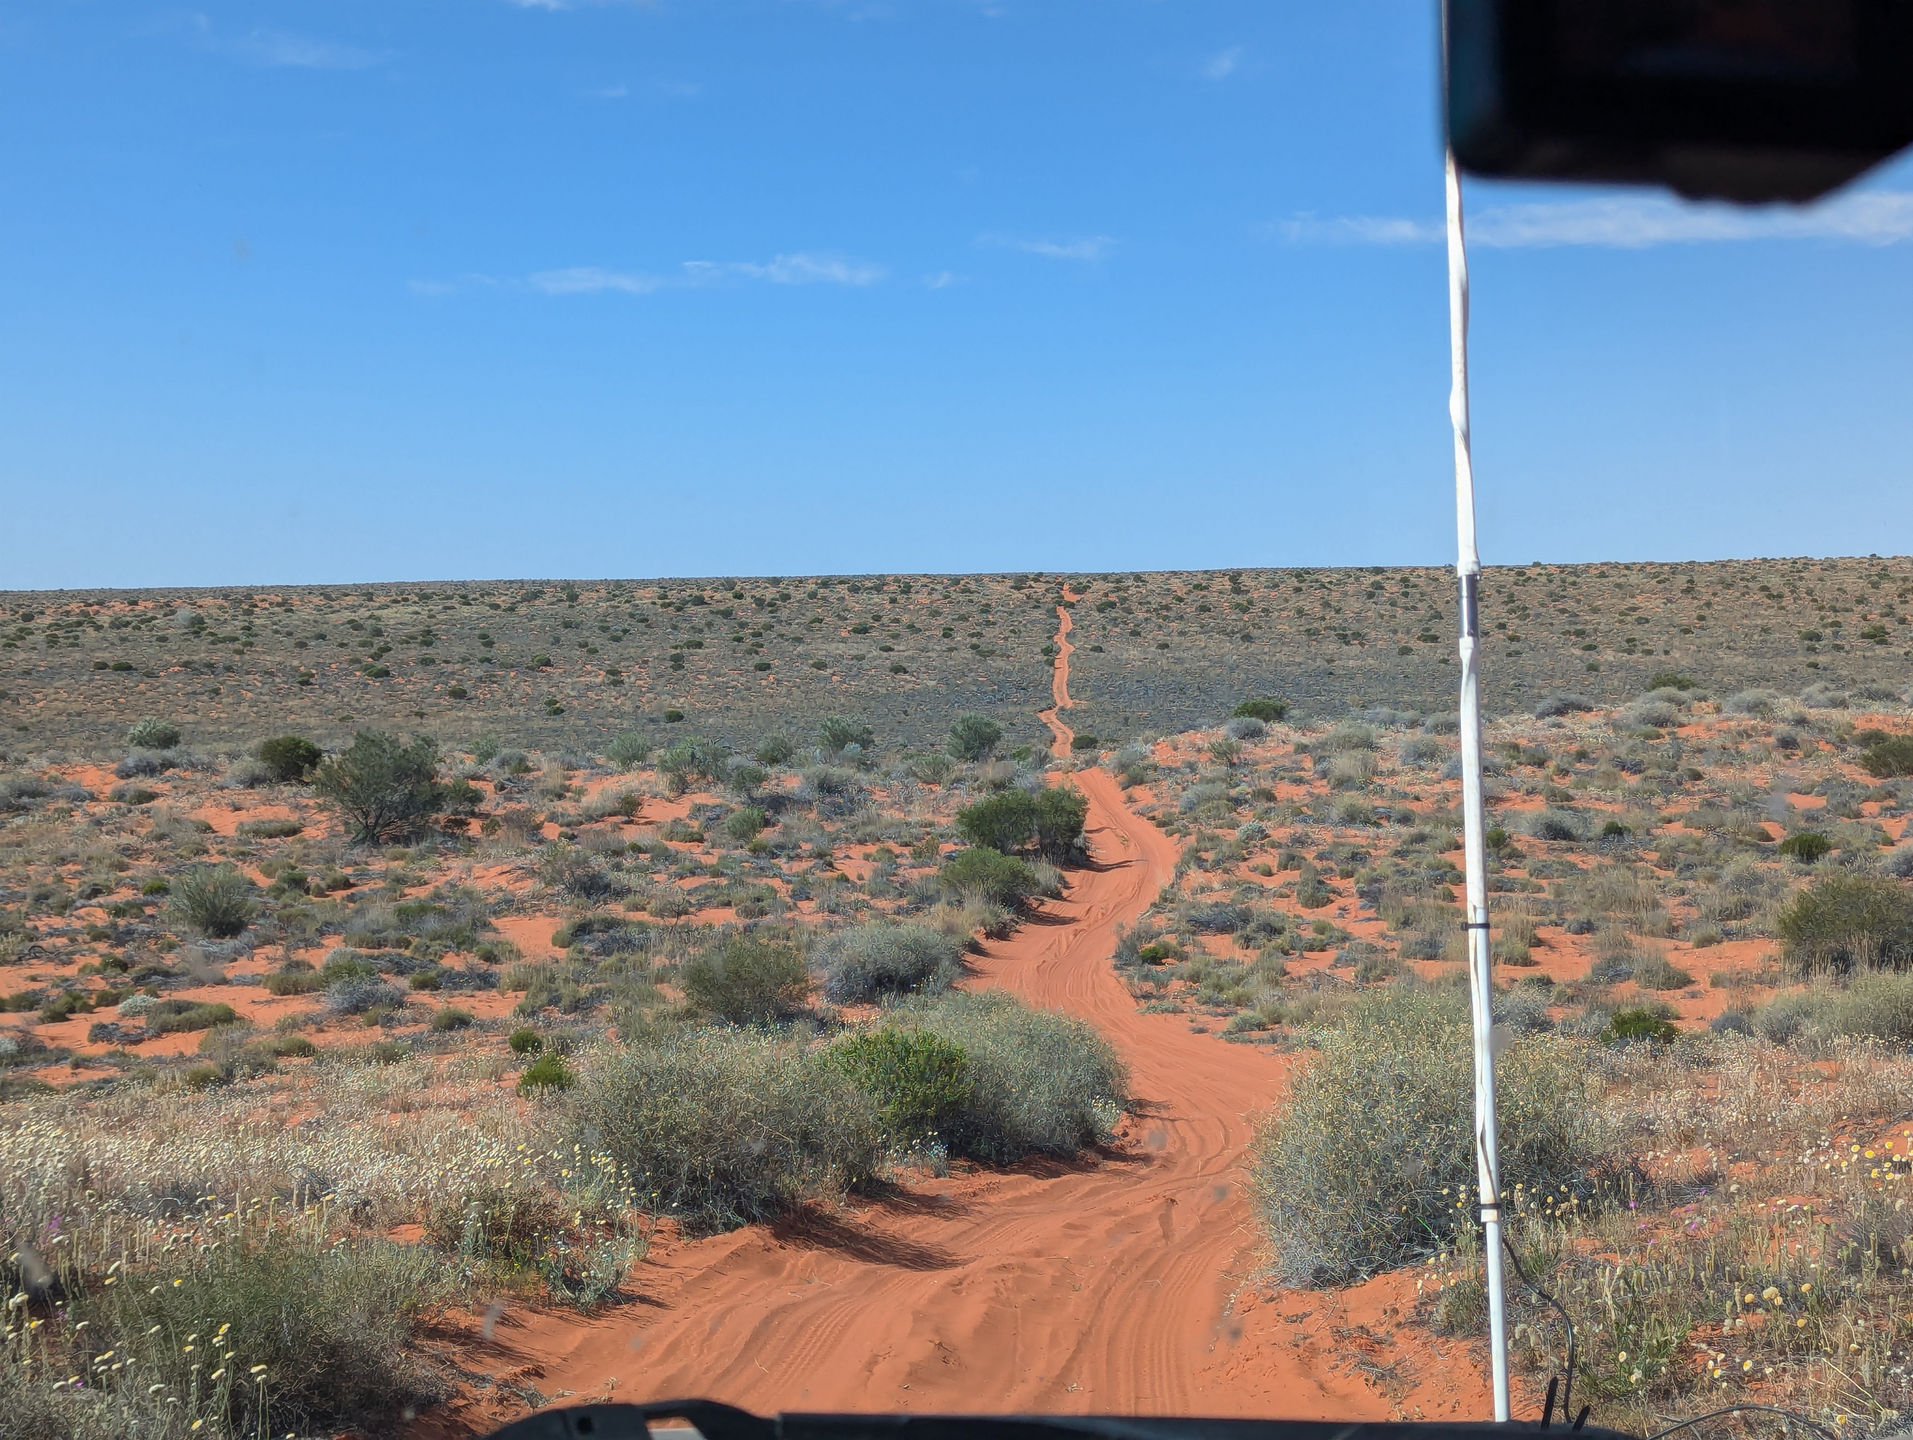
The dunes are so large and long and it’s impossible to express their size purely in a photo
I was amazed about how different the dunes were between the lines and how they changed as we progressed east. For the most part we just crawled up each dune. There were maybe 4-5 dunes (including “big red”) where we needed to use a little bit of momentum to get over - the rest we could do at very low speed. This protects our car, makes for a comfy ride and prevent further damage to the track.
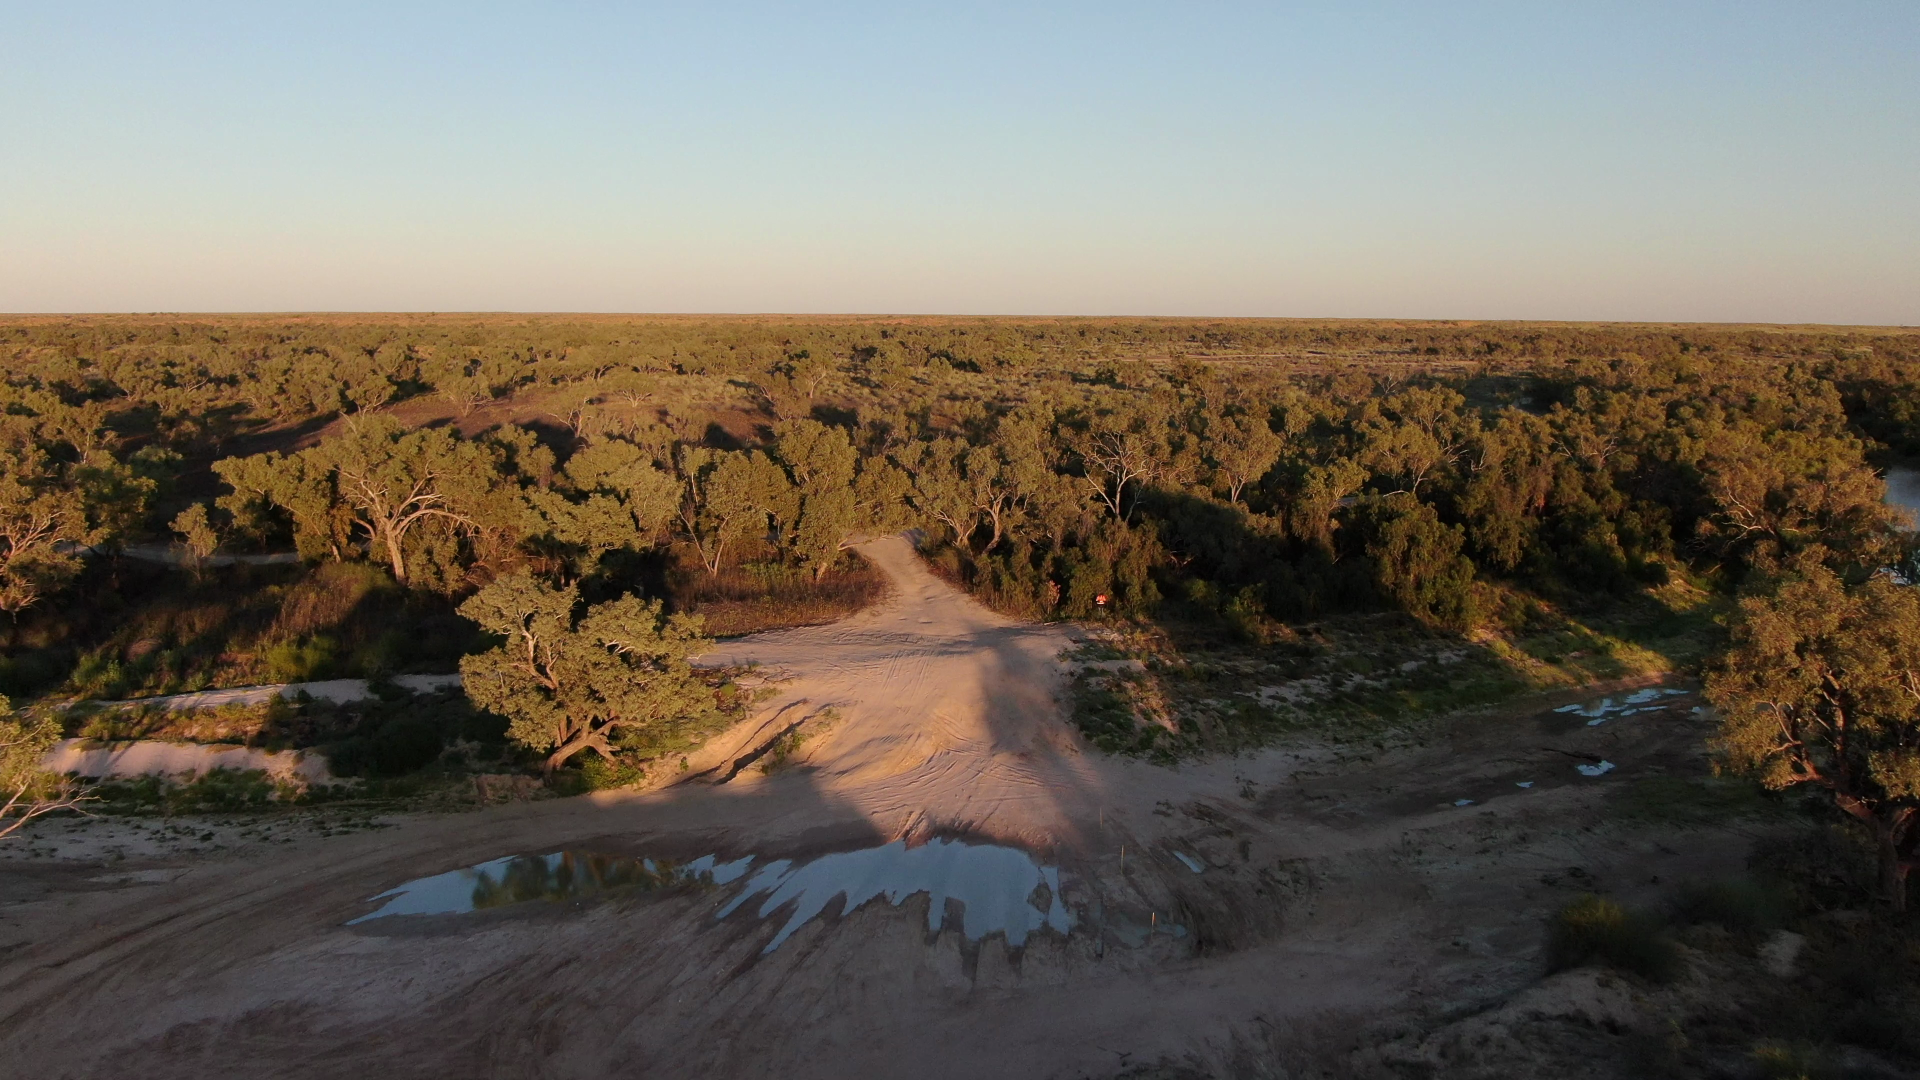
Surprisingly Eyre Creek had completely dried by the time we arrived so we didn’t require any water crossings this trip!
‘Big Red’ is the final dune of a typical Simpson Desert crossing. 30ish meters tall this dune is one of the hardest to cross, but technically not very challenging when approached carefully. It’s probably best to try crossing this dune like you would usually would the first time to get and understanding of the challenge before making adjustments.
You’ll soon realise that crawling over isn’t viable for ‘Big Red’. Air down. Right down. Most vehicles will be fine down to like 8 psi, so don’t be afraid to drop those tyre pressures down to 12 or even 10. The top is very soft, you won’t rock around in wombat holes at the top so once you get passed the corrugated sections just put your foot down. The top is flat so you’ll be fine at the top.
I tried a few different configurations for the car (have some fun and do some laps). I found that traction control has zapping a bit of energy at the top - turning this entirely off helped a lot with some of the harder approaches. Diff locked, 4low, gogogo.
Weather
It turns out that while we expected fairly cool evenings and mornings the desert had other ideas. Many towns around the Simpson desert broke their hottest August temperature records. Our extra blankets weren’t used and rarely did I need to wear my hoodie. The middle of the days were extremely hot, as such we used that time for mostly travel. Even lunch breaks were brief. Unlike the CSR with wells and trees - there was very little shade.
Fuel
We used the final CSR fuel consumption readings to calculate our expected fuel usage (22.8l/100km). We rounded up to the nearest jerry can - this meant full tank + 4 jerry cans. We had some extra carrying capacity so took an additional 2 jerry cans just in case. 6 in total. Four of these were stored in the vehicle and 2 on the roof.
Priority was to get the roof jerry cans off, so as soon as fuel tank had room these went inside. You want the roof rack as light as possible as the forces applied when hitting wombat holes at the top of dunes are significant. Many people crossing the Simpson have stories of roof racks breaking and to prove the point some travellers we came across had just that happen. Most of their fuel was stored on the roof rack.
Using the final CSR fuel consumption readings were pretty much spot on for the Simpson. 204 litres over roughly 950km = 21.4l/100km.
But our story about fuel doesn’t end here. It seems that the fuel we picked up back in Adelaide had some sort of contamination. The differential pressure sensor triggered on the fuel filter just past Dalhousie on the French line. We packed two fuel filters as we are well aware of the risks of filling up from jerry cans. The thing is though that the fuel filter warning had come on before we had emptied any jerry cans.
The light is only a warning, you’d typically just get it sorted as part of the next service. We tend to ignore this warning as working on the fuel system in a dusty environment in the middle of desert can be risky. We continued on without noticing much and in Birdsville replaced the filter - without clearing out the housing.
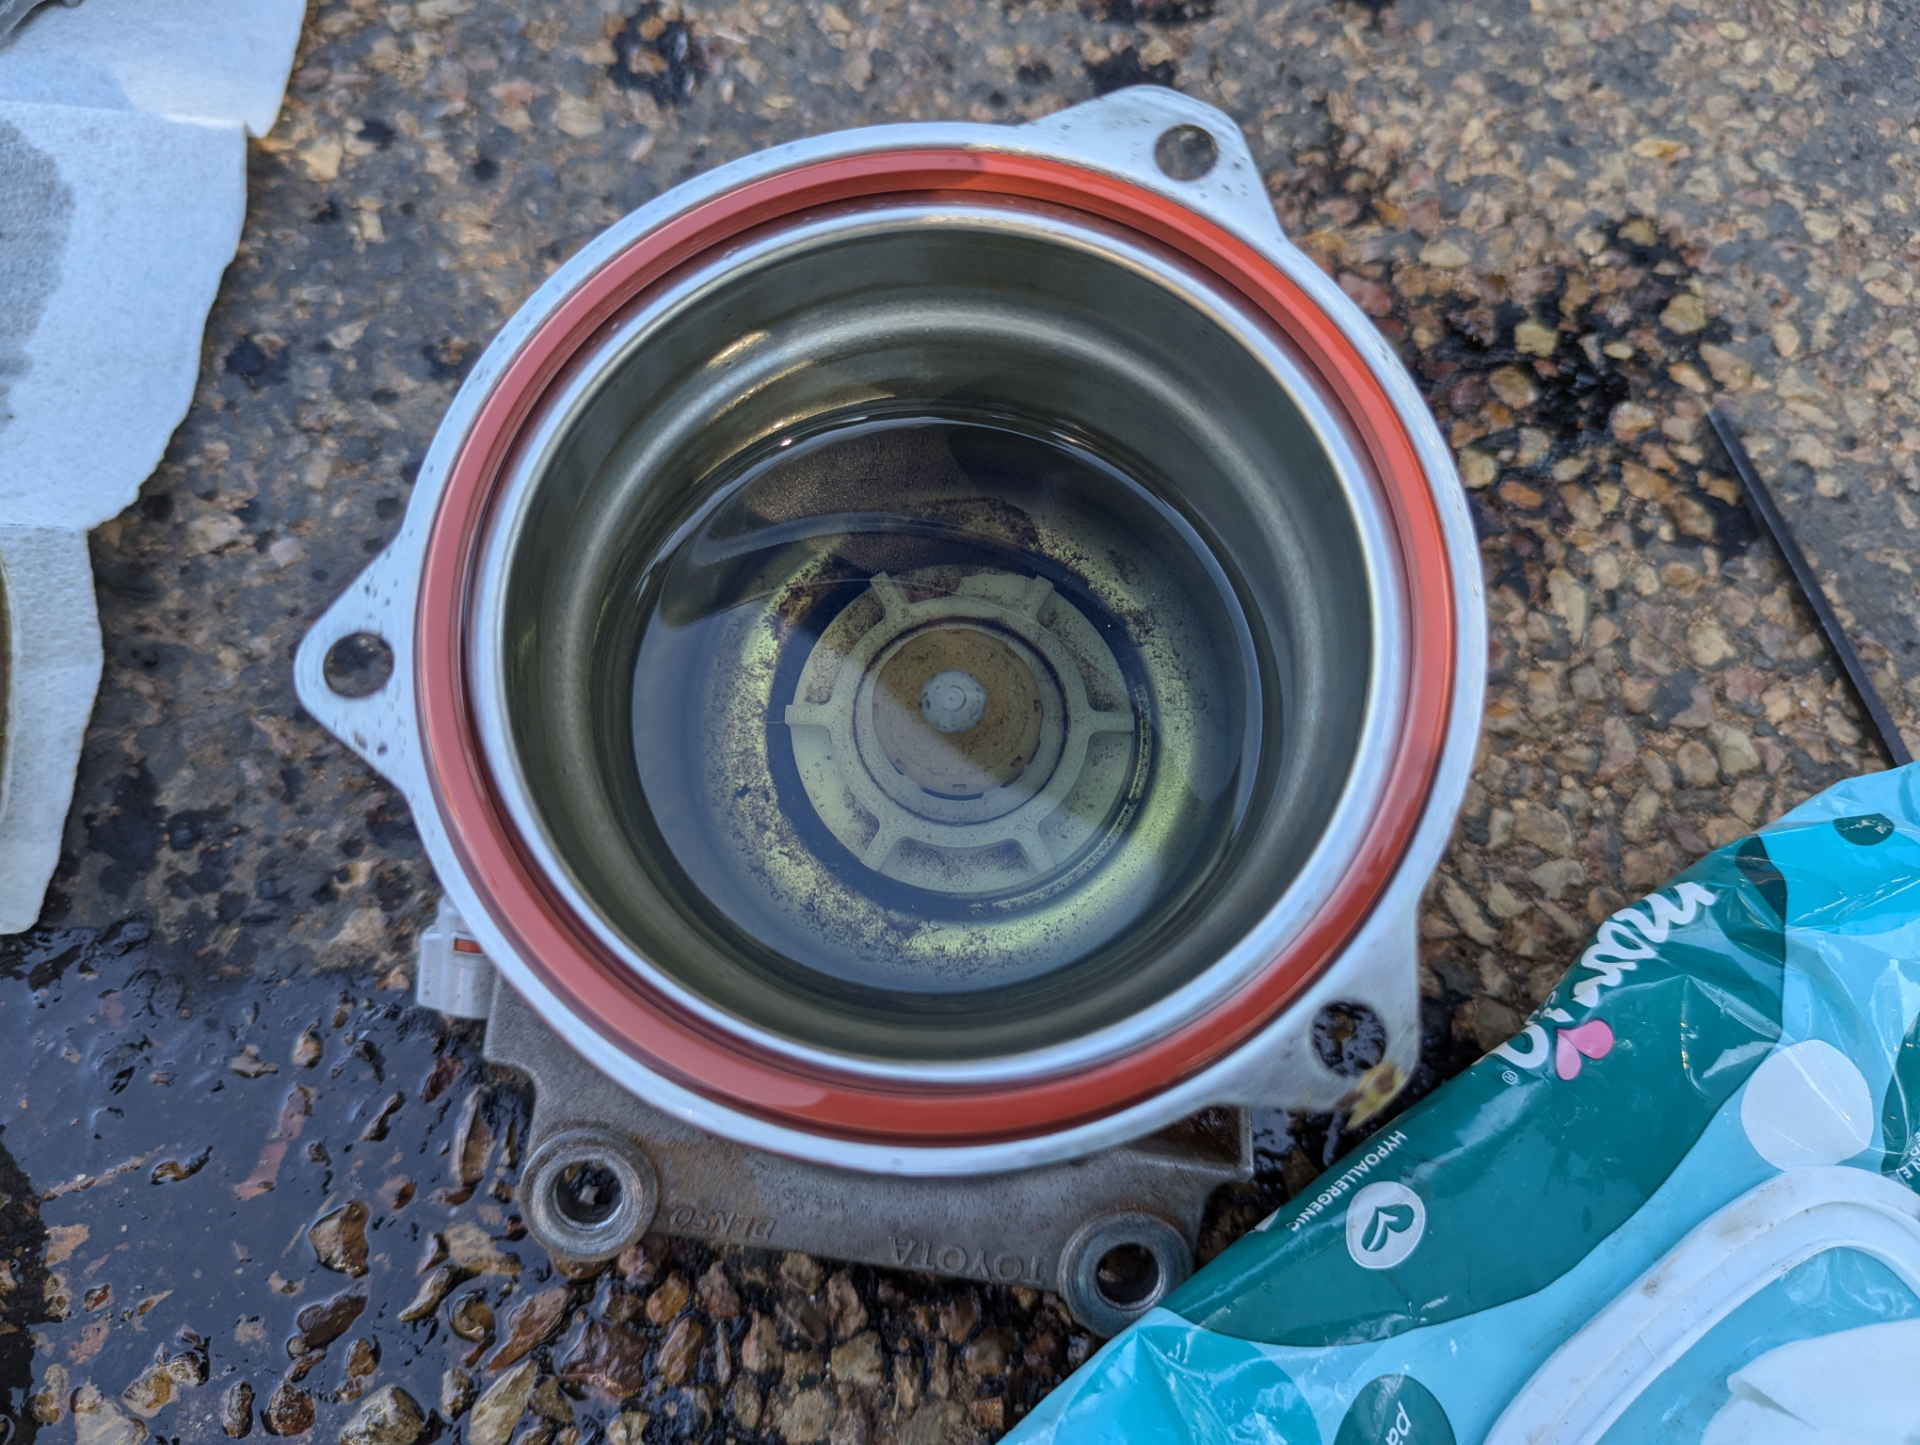
The problem got a bit more serious between Birdsville and Longreach. Accelerating to highway speed resulting in the car lurching. After some thinking and troubleshooting we determined it was likely the fuel filter. Initially we just thought it might be dirt/dust build up in the filter and replaced it in the next town, along with cleaning out the housing. The housing was filled with a whitish goo. This solved the initial problem and we started monitoring the fuel rail pressure to provide an early warning system.
It wasn’t long however until the fuel filter warning came on again and eventually the same problem - fuel rail pressure preventing the car from accelerating quickly. We replaced the filter again. As we replaced bad fuel with good fuel the problem started occurring much further apart. At this stage we think we are mostly clear of the issue, however expect to go through a few more filters as the final crap works its way through the system.
Other faults
We had traction control fault occur several times. The timing of this aligned with when the HF APRS radio transmitted. Tightening up the sand flag antenna and adjusting the feed line seemed to resolve this mostly.
Upper control arm ball joint boots seem to be oozing grease. These might be over packed or some other issue - still needs to be investigated.
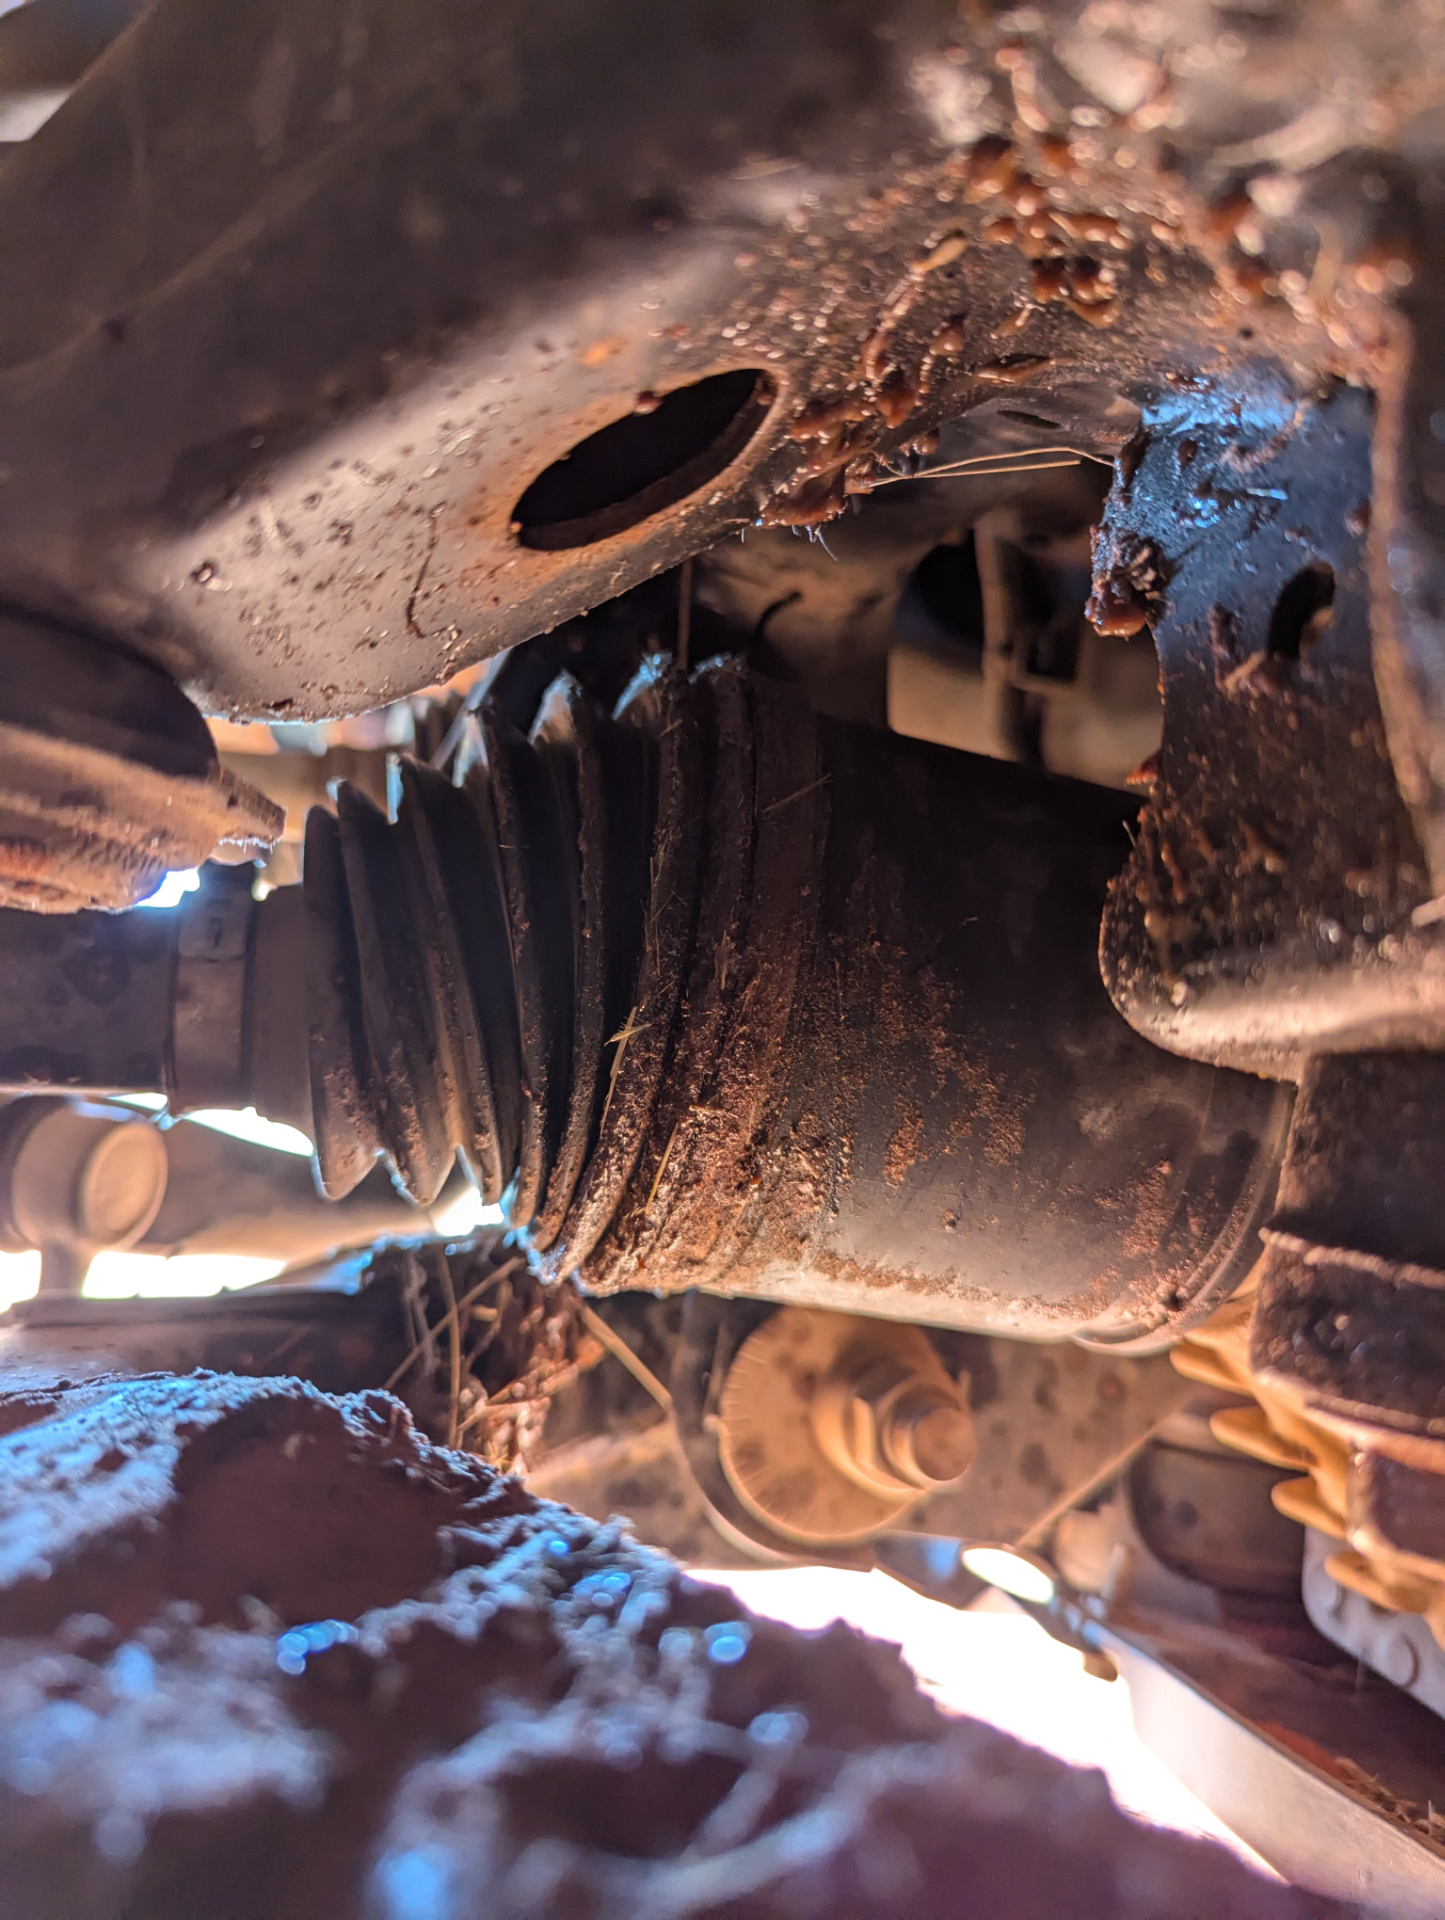
Drivers side CV boot seems to be leaking grease. This also needs to be investigated - an obvious hole or puncture couldn’t be spotted this time.
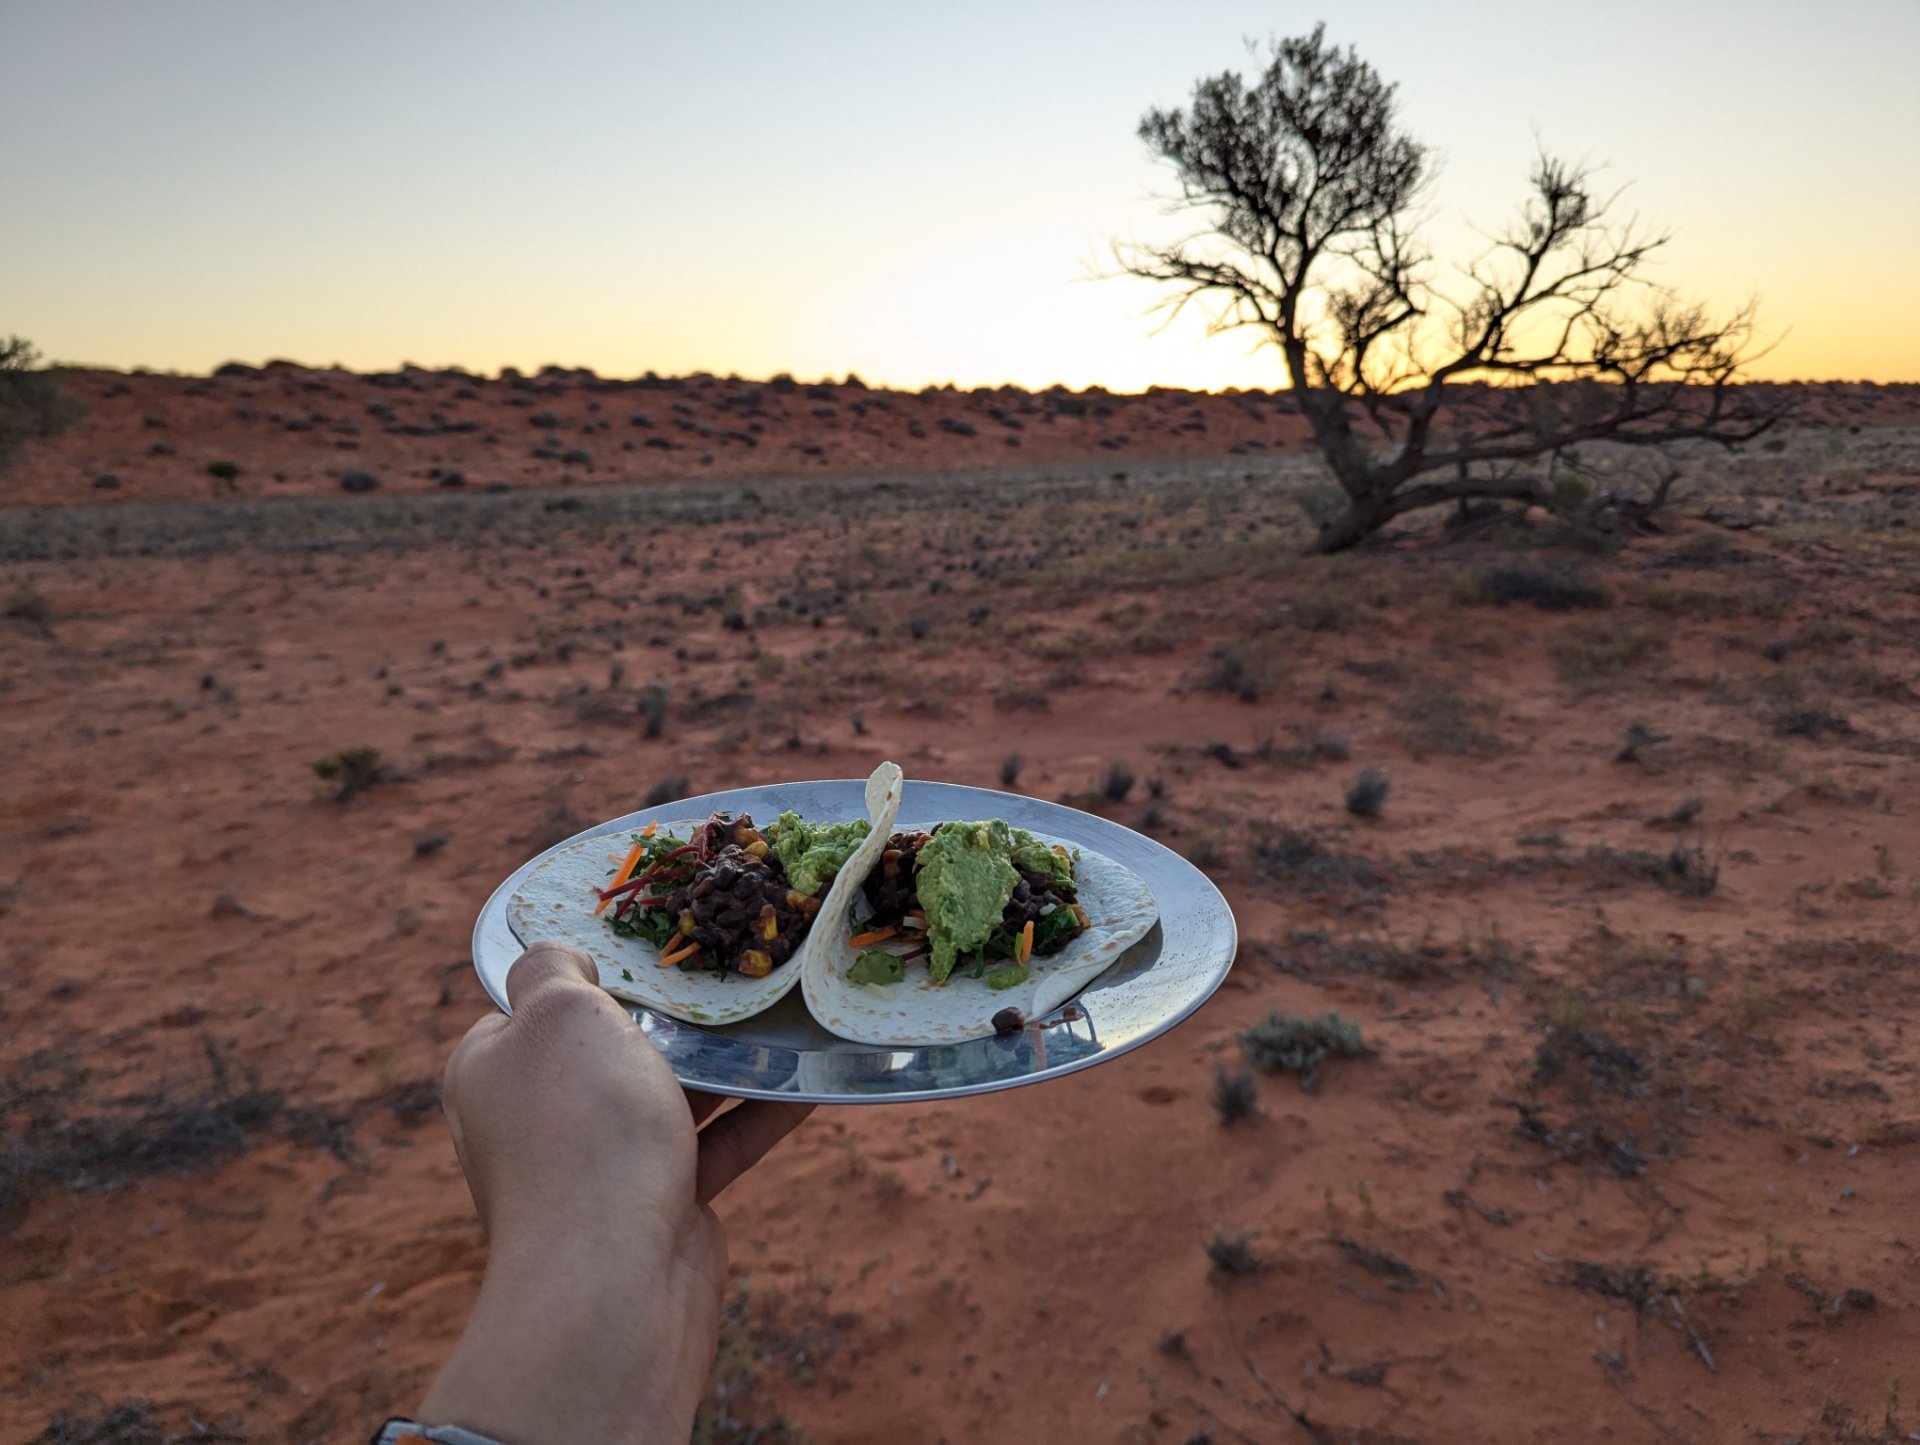
Food
Something new for us this trip is my decision to eat entirely Vegan. Geordie being extremely supportive in this decision mostly ate the same meals as myself as we don’t like to cook two different things. An amazing side effect of this is that vegan produce often can be stored warm and has long shelf lives. This left our fridge/freeze much more empty than typical allowing us to freeze some bread and have plenty of room for cold drinks. Next time I might consider packing some ice-creams.
Some of the meals we had were:
Tacos
Nachos
Spaghetti
Rice
Wraps
Pancakes
Bagels
Burgers
None of these meals are vegan specific but since most of the core ingredients come in tins (veggies, beans, jackfruit, lentils) packing became a breeze.
Car to car wifi
Another interesting addition was Rusty’s Starlink. While I don’t see myself signing up to Musk’s service anytime soon I was very impressed with how well it worked. The dish was mounted flat on their roof rack and it was able to be used while moving.
Geordie came up with the idea of setting up a point to point wifi link between the two cars. This worked well when we had near line of sight (dropping past a dune or two meant that the signal would be lost but would quickly recover when the other vehicle reached the top of the dune) and provided internet throughout our journey.
An interesting side effect is that we could use ping -A to create an audible alert noise whenever we dropped out of range. A useful indicator to know if we were getting too far ahead and need to slow down.
A future experiment might be car to car messaging/warning service.
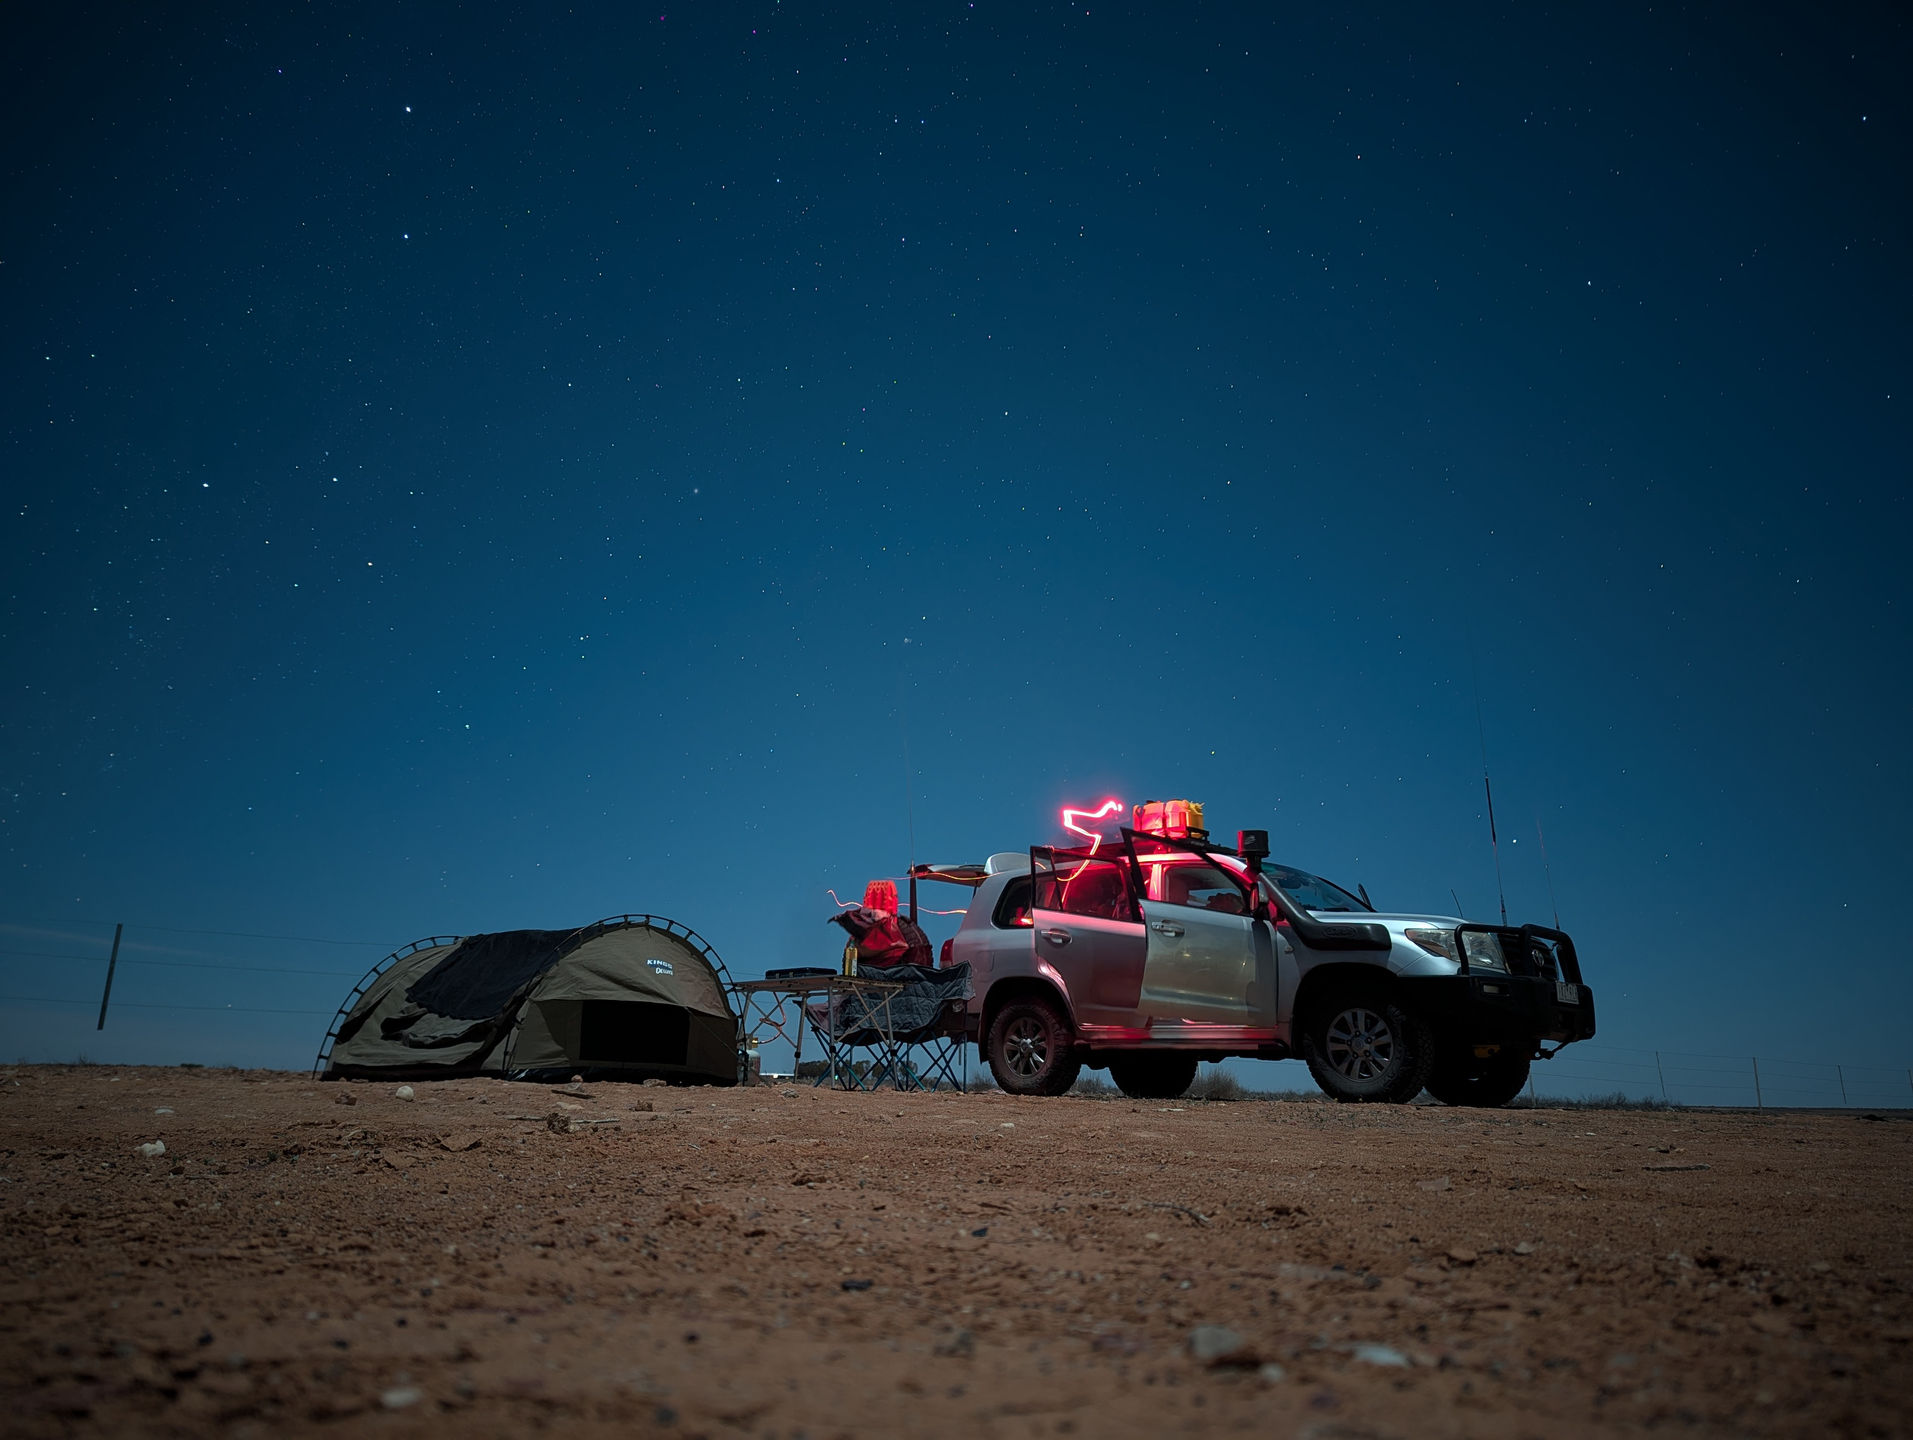
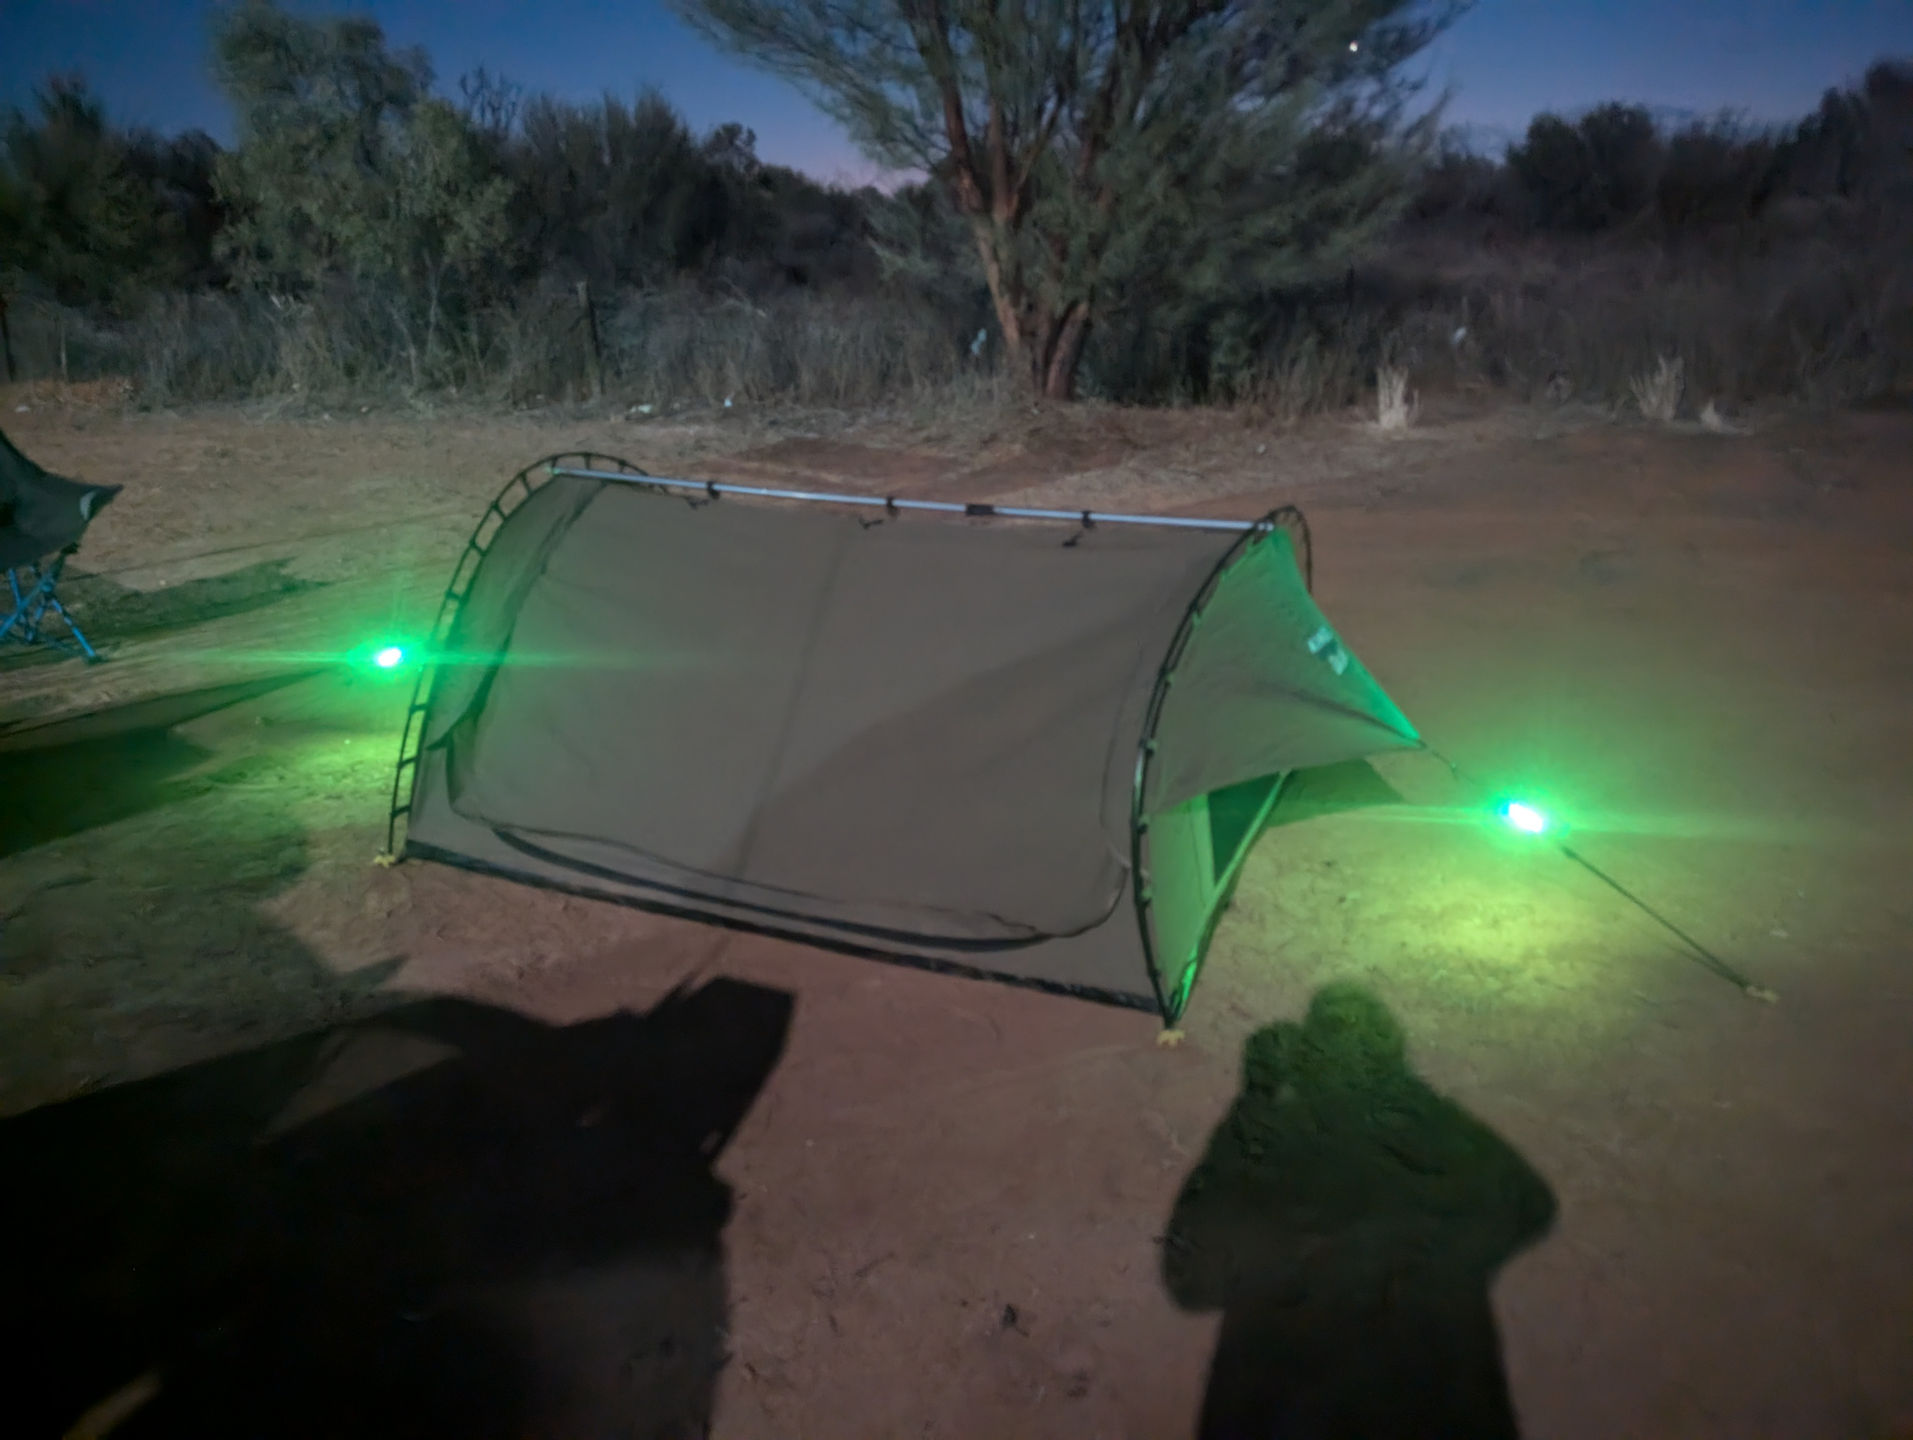
Tent rope lights
Finally one other little addition from an unlikely source. I bought some “Fishing rod lights” for another project that didn’t work out. These glow a nice green and red light and last an entire night. I placed these on the ropes on our swag which prevented tripping on them. Something I’m extremely good at doing.
it’s not that bright in person!
Photos
That’s about it for my write up. I’m almost certain I’ve forgotten to mention a bunch of things - this adventure contained so much. If I remember anything I’ll be sure to make a follow up post here.
In the meantime if you wanted to check out some of the pictures I took of the journey I’ve uploaded them to flickr.
isomer reached out on Discord that they smelt something funny about the SuperFox verification system. They were investigating the system in hopes of creating an open source implementation. The usual red flags presented themselves - closed binaries, very few bits, hardcoded magics. I originally assumed this system was just using TOTP like some of the other dxpeditions in the past, but in a more automated / online fashion, but it seemed not.
I was in quite a bit of pain and struggling to sleep due to running a half marathon with patellofemoral pain syndrome (do not recommend, the recovery sucks) so an opportunity struck.
isomer: WHY AREN’T YOU ASLEEP
One of the first things I like to do is poke around Git for clues. Commit messages, changed files, accidental additions. Commit 8b6744 stood out.
This was a good start. While it wasn’t strictly required to make progress is certainly helped to quickly validate some findings later on. Opening foxchk in Ghidra revealed a lot of isomers initial findings. A hashing algorithm along with some bitwise shifts and xors. The initial focus was on foxchk as it was much smaller surface area to start with. Running foxchk directly it was able to produce output without any sort of external key/cert input so magic was happening entirely inside the foxchk app.
Rather than just trying to guess what the inputs and outputs were meant to be for foxchk I decided to focus on generating some end to end test data so that each part could be monitored with tools like strace to ensure our assumptions on how things worked was valid. This is when I shifted to looking at sftx.
The SuperFox mode requires keys which are provisioned by a third party. Without a key that matches your callsign the modulator will not modulate. Since I wanted to generate test data I needed to know what my SuperFox key would be. This is why I switched to looking at sftx - how was it validating the key?
From what we learnt in foxchk it was easy to pick out the hashing / signature functions also present in sftx. It was also pretty easy to follow the program flow with Ghidra, noting where arguments were passed and used. What stood out the most was a _memcmp between the provided key and one that’s generated. So we now know that sftx can validate the key - and it does so by generating one. At this point I knew that it didn’t matter if we never worked out how foxchk algo worked or how the signature was formed as it was likely we could just generate SuperFox keys using the application itself.
As a proof of concept I started poking in gdb and ended up with the below. This runs the sftx app and breaks when it performs the comparison. It then prints out the SuperFox key.
# Will only work on wsjtx_2.7.0-rc6_amd64.deb# shasum ./usr/bin/sftx #c7f5171efca080ee98718ce977391f9d69fb8dae ./usr/bin/sftxgdb -batch-silent \
-ex "set logging file /dev/stdout"\
-ex "b _gfortran_getarg_i4"\
-ex "run"\
-ex "finish"\
-ex "delete"\
-ex "b *(\$pc+117)"\
-ex "continue"\
-ex "set logging enabled on"\
-ex "printf \"%.9s\n\", (char[9])*\$rdi"\
--args ./usr/bin/sftx "sfox_1.dat" N0CALL 123-456 # don't worry about the code here - its just a placeholder
I actually really like this GDB solution because it’s sort of a “no code” approach to obtaining the SuperFox key.
GDB also served helpful for validating our assumptions on how the hashing algorithm worked. We discovered that the hashing is done using Bob Jenkins lookup3 hashing function. This isn’t a secure hashing function. After which some scrambling is performed. A very clever puppy will likely have a write up on exactly how the scrambling works on their cohost.
It wasn’t too hard to figure out the process from reverse engineering with the help of Ghidra then write a replacement foxchk app. Made even easier by nhash.c being included in wsjt-x source code. The crew has since made rust, and javascript versions. The problem however was that a replacement open source foxchk essentially had to reveal how the signature/key was generated….
The options seemed a bit like:
Start releasing open source versions of SuperFox components so they can be packaged in Debian during the RC phase
Reveals how SuperFox works - would likely cause change prior to stable release making the work pointless
Wait until stable release, have open source versions ready to go
Still reveals how SuperFox works - makes the signature pointless but less likely to have last minute changes
Communicate that its flawed without exposing how prior for a period of time
It seemed like a lot of the SuperFox mode was focusing around Jaris Island dxpeditition
Release a keygen with funky midi beats
Pretend we didn’t see anything
This reverse engineering happening is a semi-public space so I don’t think this would fly long term
Decision was made to try to keep the details a secret until after Jarvis Island dxpedition. We knew however there would be a risk that others would likely start looking (if not already) and could easily replicate what we did. I have the assumption that the people with the skills to do this sort of reverse engineering likely wouldn’t do so in bad faith.
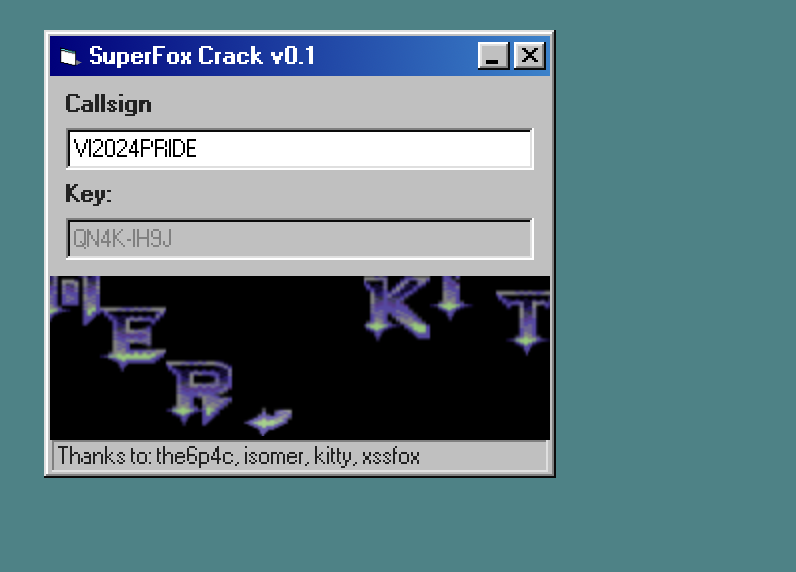
We also want to demonstrate that we had successfully cracked SuperFox, which is why we generated and displayed the SuperFox key for N0CALL.
It was also important for us to provide useful suggestions on better methods. Shout out to everyone involved here as this turned out to be a lot more work than I anticipated. There’s not many bits to play with in a transmission and coming up with a suitable solution is very tricky. Given the increase in processing speeds and memory size/speed I suspect we are right on the edge of viable security options using key signing for a low data mode like SuperFox. These suggestions have been sent to Joe directly.
The crack
The way the SuperFox key was generated and validated reminded me of all the old software cracking. Firing up your favorite x86 debugger and stepping through code. Because of this I spent far too much time (mostly on/off in between things) and effort building my own “keygen” style webpage. Enjoy my SuperFox crack.
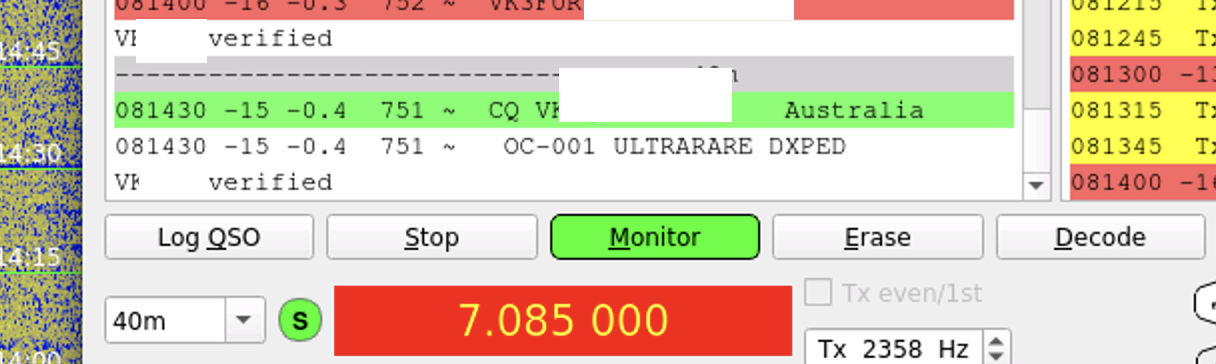
Not the first?
During writing of this post I checked in on wsjt-devel mailing list to find some discussion around HH2AA call using SuperFox. Checking dx spotting websites many spots list that SuperFox mode was used. It turns out that this station didn’t apply or was issued with a SuperFox key. To be clear I, nor any of group involved with this post or previous post were involved in generating a SuperFox key for this station - or providing details into how to do it. It’s not surprising that others would be looking into this.
WSJT-X has published a release candidate which includes a new fox mode called SuperFox which promises a +10dB total system gain compared to the old fox mode. It also comes with a “SuperFox digital signature” in attempt to alleviate dx-pedition pirates. Verification of dx-peditions is an excellent idea, and I really want to see this problem be solved.
There’s a few problems with the SuperFox signature system, however. Let’s talk about it.
How does SuperFox signatures work?
The basic flow is this:
Before a dx-pedition, the group running the dx-pedition applies to Northern California DX Foundation to receive a “SuperFox key”
During the dx-pedition, the fox transmitter configures the “SuperFox key” into their WSJT-X application
When transmitting in SuperFox mode, WSJT-X will encode a verification signature into each message
Hounds will receive this verification signature and ensure its valid
If the message is valid, a “Verified” message is displayed in WSJT-X
Governance issues
The first problem to dive into is how the dx-peditions keys are distributed. We are reliant to a single org to distribute keys for all dx-peditions world wide. This can pose issues if the org doesn’t accept your dx-peditions credentials or is uncontactable for some reason.
Given the global reach of this hobby it’s frustrating to see this approach taken.
What could be done better
Public/private keys could be generated by any dx-peditions and used within WSJT-X. The public key could be uploaded to the dx-pedition website where users could check for validity. This allows anyone to use the new SuperFox mode. WSJT-X might want to have a certificate download system where wsjt-x could download certificates automatically that have been vetted.
GPL source code and amateur radio ethos
SuperFox decoders and the signature check are packaged as binary blobs and not covered by the GPL. This means that users installing through open source channels will not be able to use the SuperFox mode as the binary blobs need to be stripped from the packages.
Additionally, the use of binary blobs may not be in line with the project’s GPL licence, but I’ll leave that debate up to the legal people.
Regardless of the legal aspects, I’m a strong believer that amateur radio should focus on using open standards, protocols and modulation schemes where possible, and this very much goes against that. Keeping the modulation and verification scheme a secret prevents innovation and limits the lifetime of the service.
What could be done better
Develop the digital signature process in public with open source code. This allows feedback and improvements. It also ensures that the project can live on.
Security by obscurity is a bad idea
I’m sure you already know this one. Security by hiding the algorithm is a bad idea. You might have noticed that when I walked through how SuperFox is meant to work, that there was no step for where “WSJT-X downloads latest keys” or “user inserts public key”. That’s because the only security provided by this system is from the algorithm used to “sign” the messages.
I spent a little bit of time looking at how the binaries worked and made my own implementation of the key generator.
A public release of this code as GPL will be available after the Jarvis Island 2024 dx-pedition.
What could be done better
Including some people knowledgable in secure system design would be a great start. This system was very hand crafted without much experience and didn’t use any existing open standards for signing messages. Being amateur radio, we don’t need anything fancy. In fact, H40WA implemented a reasonably workable solution using TOTP tokens to verify that the station wasn’t a pirate. Alternatively, some basic public/private key cryptography could have helped here.
Oh no.
So what’s going on here. (note: I’m no cryptography expert)
The major problem with SuperFox is the system design for the digital “signature”. The system is symmetrical which means the receiver needs to know how the key and the process used to “sign” the message. This means the only thing protecting someone from generating a SuperFox key is client side security - a terrible place to be in.
In a future post after the Jarvis Island 2024 dx-pedition I’ll write up the steps I took in discovering how SuperFox and foxchk work. This work was done with the intention of creating open source versions of the closed binaries to allow SuperFox to work on Debian, however as the security issues were discovered it was important to document the issues publicly (while keeping the details private for now) to allow developers a chance to hopefully change their approach to something more open and sustainable.