Intercom
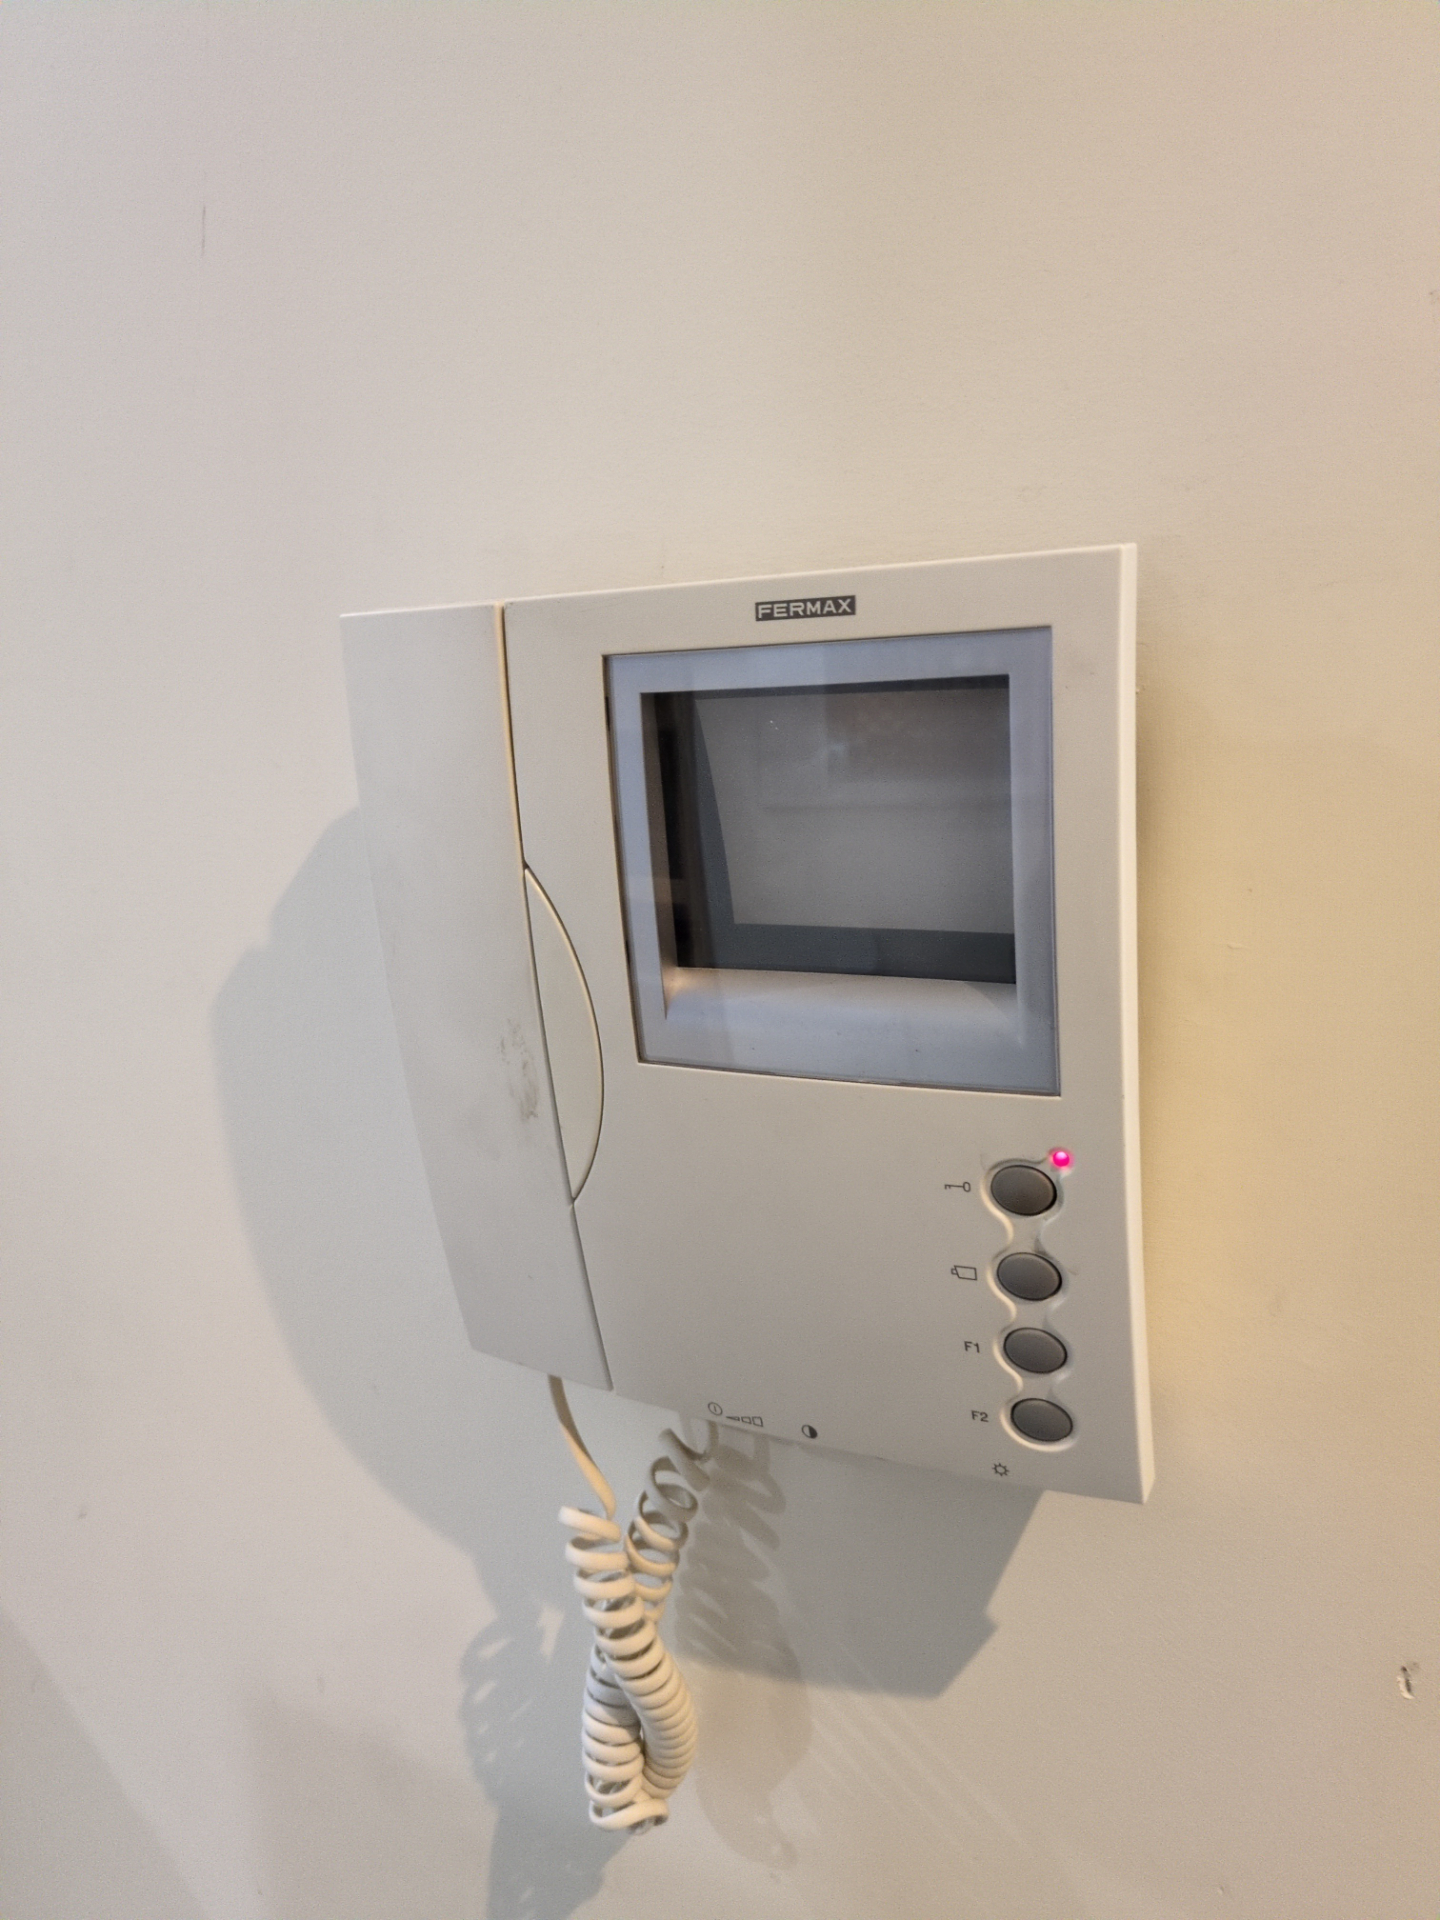
The intercom. Now days it’s a taken for granted necessity of apartment infrastructure. Ours is a Fermax unit with a maze of wiring interconnecting 4 unique buildings, several access panels and cameras. And while it works1 it lacks some modern day functionality. Currently it rings and unlocks doors from a central apartment intercom phone. That’s it.
However being someone who loves to work hard to be lazy I wanted it to be just a tiny little bit smarter. Ideally we would allow remote notifications and remote unlock. I’d also like to be able to trigger opening certain doors without needing an active call, however as I’ll get into this isn’t possible.
Once again starting with the premise “how hard could it be?” I set out to bring these features to our intercom system. As always, there’s constraints. No breaking the existing intercom system (aka other peoples intercoms) and no breaking our existing intercom phone.

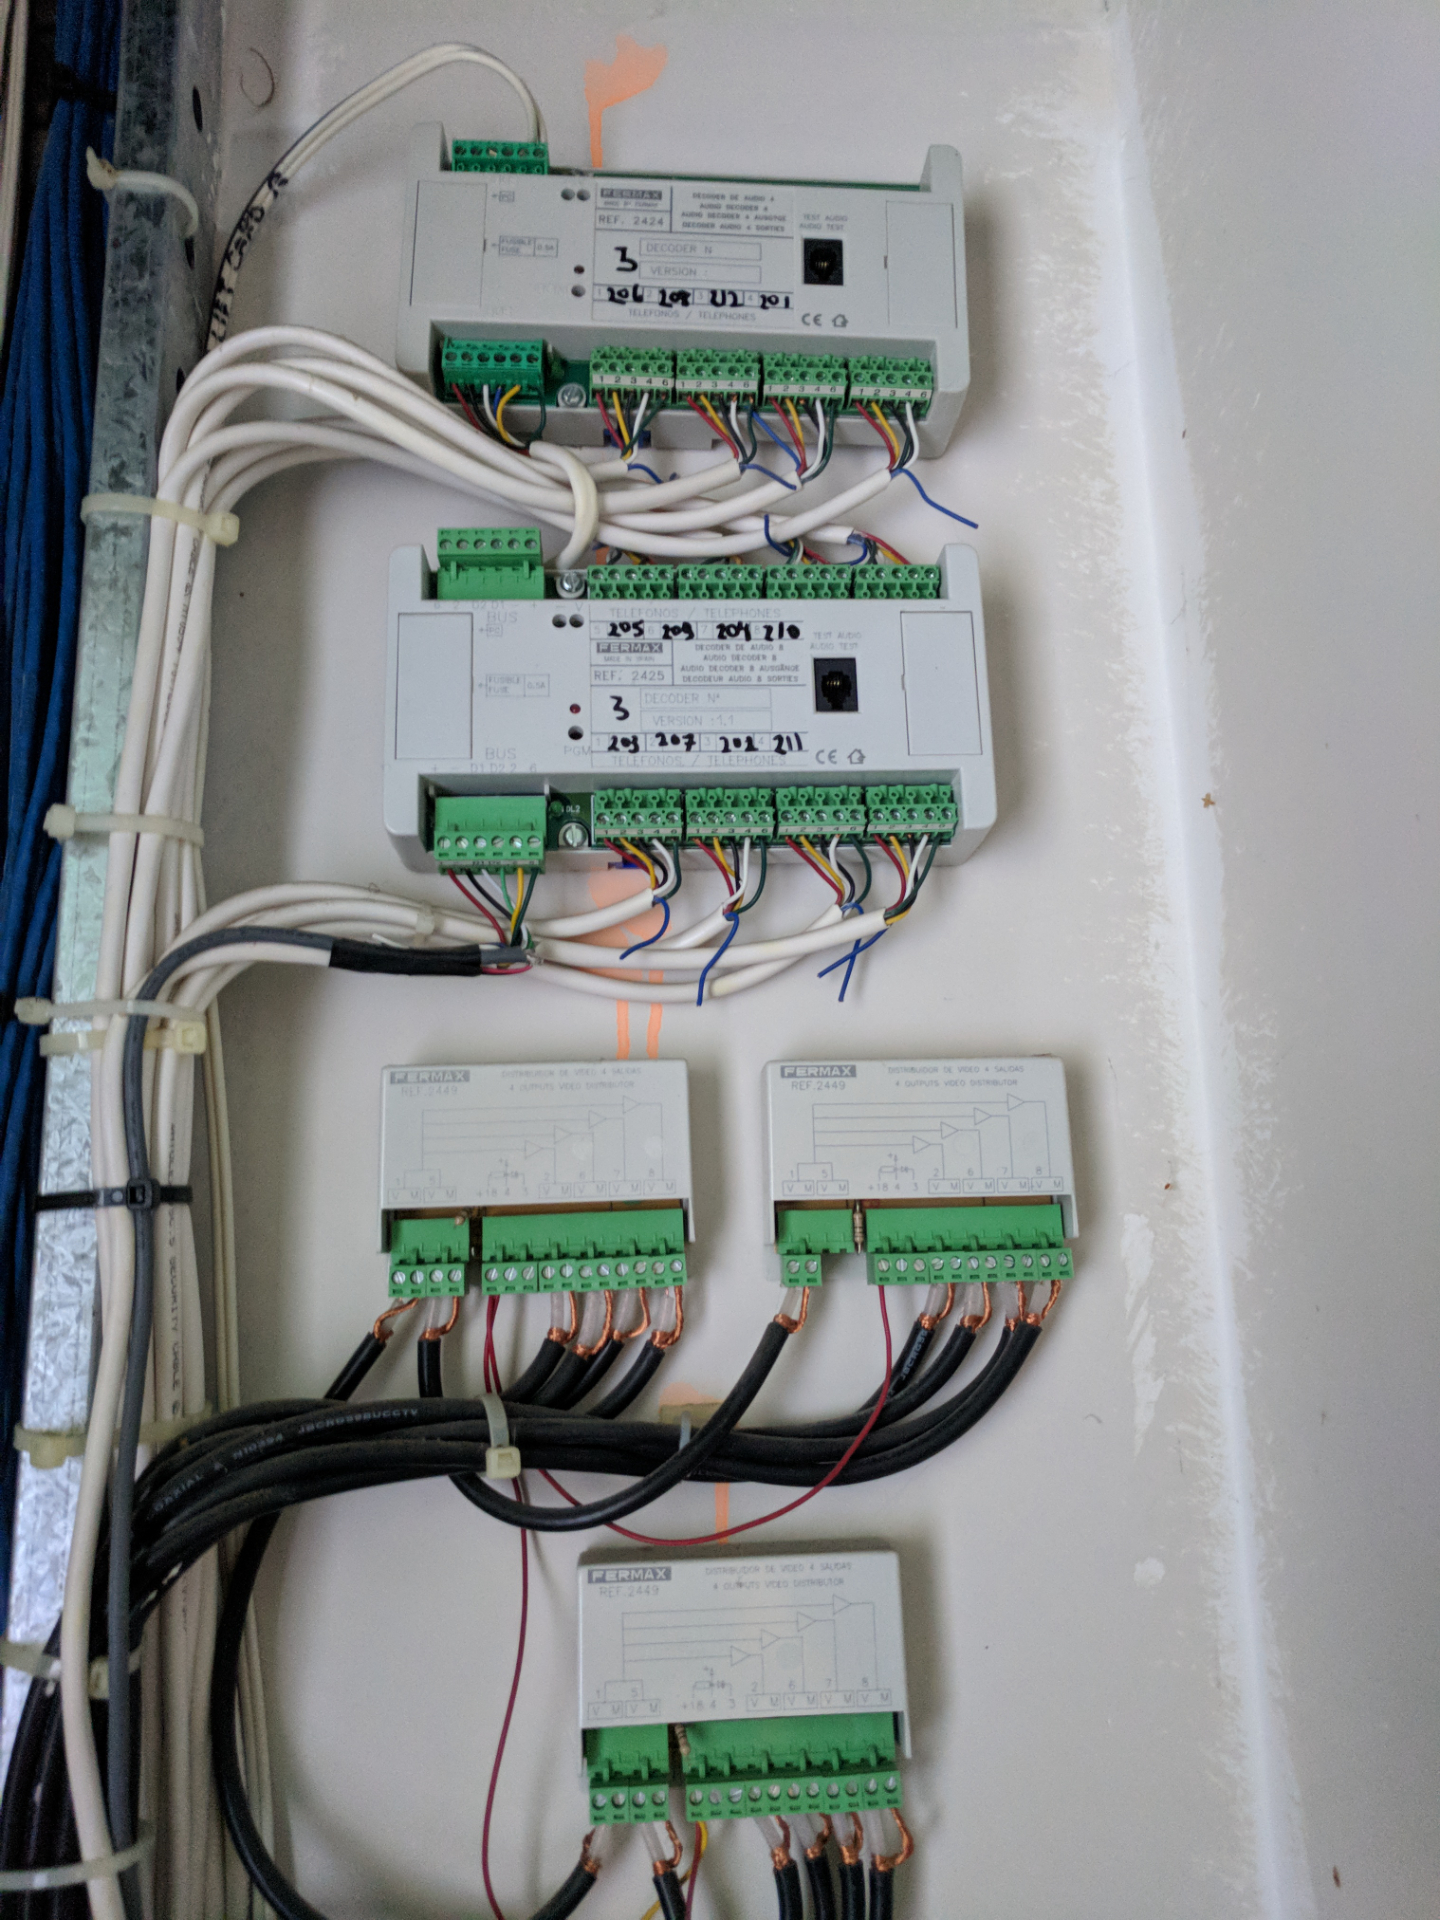
We’ve actually had partial remote control for some time. We opened up the intercom phone and added a relay in parallel for the unlock button. We also added a USB composite capture card to a Pi to stream the video feed. What we learned from this is our intercom system uses a system called Fermax VDS which amplifies the video signal to all apartments. You receive the video regardless of which apartment was called! It’s also in colour, which we didn’t know before since our existing Fermax phone uses a black and white CRT.
Fermax sells a unit which connects a VDS system to wifi : Wi-Box. Great - I have VDS system, but I don’t want to use their cloud service. Luckily some people have patched some functionality and rooted the box. I purchased one, patched it, along with doing a little reverse engineering along the way for fun.
Then I went to wire it in and I suddenly realised my mistake. VDS is one of Fermax’s ways of performing video distribution. VDS can be used with multiple types of audio/intercom solutions like MDS and 4+N. The Wi-Box is designed for MDS system and while it says it supports 4+N, it requires an additional N+4 to MDS converter box - $$$. We had 4+N. This is when I started going down a research sink hole of understanding far too much about the inner workings of many of the Fermax systems and their respective interoperability.

So what the heck 4+N. It’s a wiring/protocol that allows keeping the intercom phones super simple. There are 4 common (as in common to all apartments) wires and then 1 wire per apartment. A total of 5 wires per apartment + the video signal.
| Number | Purpose (simplified) |
|---|---|
| 1 | Door / Microphone |
| 2 | Microphone |
| 3 | Common |
| 4 / Call | Ring (AC) |
| 6 | Speaker |
4+N is really dumb. There’s no commands or fancy signalling. This means we can’t send a command like “unlock this specific door”. Additionally our apartment system uses Fermax privacy modules which disconnects the “common” wires when the apartment isn’t being actively called.
So what options are there for us to interface with this thing?
Ring (Amazon)
- Not available in Australia
- Cloud based / Closed source
- Probably works ? Impossible to search for.
- Video apparently wouldn’t work?
Nuki Opener
- Probably works
- Documentation on forum posts and vague :/
- Local access after setup with app
- Not open firmware / closed source
- Also not sold in Australia
ESPBell-LITE
- Opensource
- ESP8266 based
- Supports 4+N systems
So the ESPBell-LITE looked pretty appealing to me, especially with its optocoupler system. And writing this now I can’t remember why I didn’t go with this option… Maybe it was out of stock? Maybe it was because I wanted cabled ethernet? Maybe I found this after?
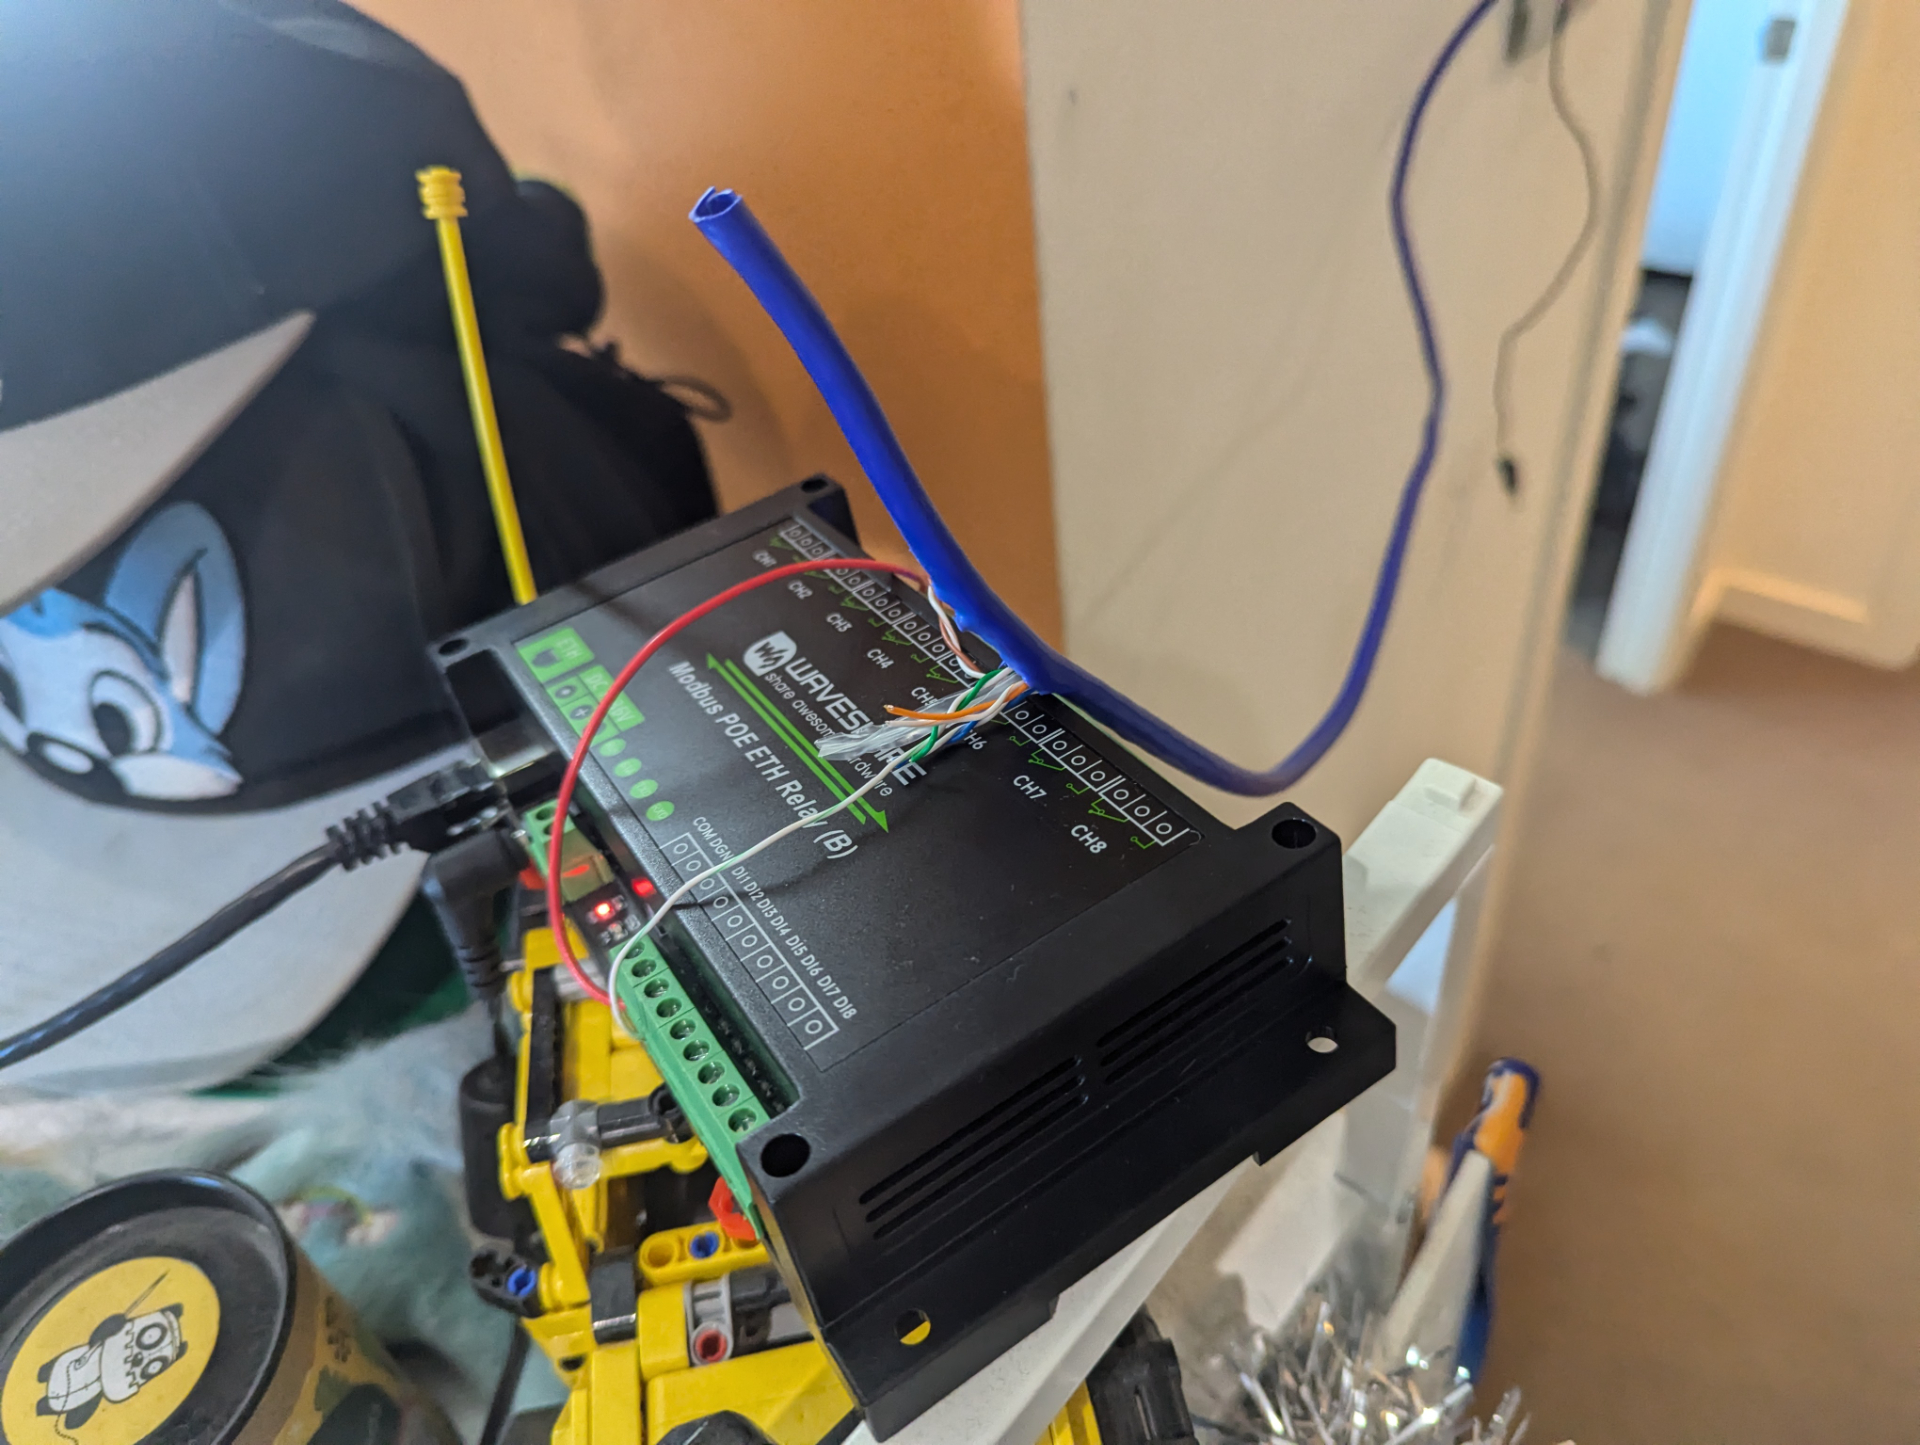
What I ended up getting was a Waveshare 8-ch Ethernet Relay Module (B). This is a ModBus to digital IO gateway. What makes it unique compared to most is that it contains optoisolated inputs that don’t share a common ground with the rest of the unit. I wanted to ensure that I wasn’t adding a new ground reference to the intercom system - hence relays and optoisolated inputs. Surprisingly a lot of units I saw with optoisolated inputs had the input grounds/commons tied together.
Fermax 4+N sends an AC signal on the 4 (ring) wire when a call is sent and shorts 1 (door unlock) to 3 (common) when the unlock button is pressed.
So wiring up to the Waveshare is:
| Fermax | Waveshare |
|---|---|
| 1 (unlock) | CH1 NO |
| 3 (common) | CH1 Common, DI “COM”2 |
| 4 (ring) | DI1 |

Home Assistant supports ModBus. This is the configure I used
modbus:
  - type: tcp
    host: WAVESHARE IP
    port: 4196
    name: "interccom"

    binary_sensors:
      - name: intercom_ring
        address: 0
        input_type: discrete_input
        slave: 1
        scan_interval: 1
    switches:
      - name: intercom_unlock
        address: 0
        write_type: coil
        command_on: 1
        command_off: 0
        verify:
           address: 0
           input_type: coil
           delay: 1
           state_on: 1
           state_off: 0
Annoyingly the ModBus protocol requires Home Assistant to constantly poll for the intercom to be ringing which can add a little latency on a call - but I think its acceptable. The other annoying thing is that the Waveshare supports “flashing” a relay - this would be useful for triggering the unlock command. However its implemented in a non ModBus compliant manner so isn’t accessible to us. Instead we have to tell HomeAssistant to perform the “flashing” function instead. As a safety feature I also have a automation to check the relay state and reset it if its on for too long.
As I mentioned we also have VDS video feed through a USB capture card. We use a Pi with ustreamer for this:
[Unit]
Description=uStreamer service
After=network.target
[Service]
User=ustreamer
ExecStart=/usr/bin/ustreamer --log-level 0 --device /dev/video0 --device-timeout=8  --quality 100 --resolution 640x480 --desired-fps=30 --host=0.0.0.0 --port=8080
[Install]
WantedBy=multi-user.target
Connecting it all together
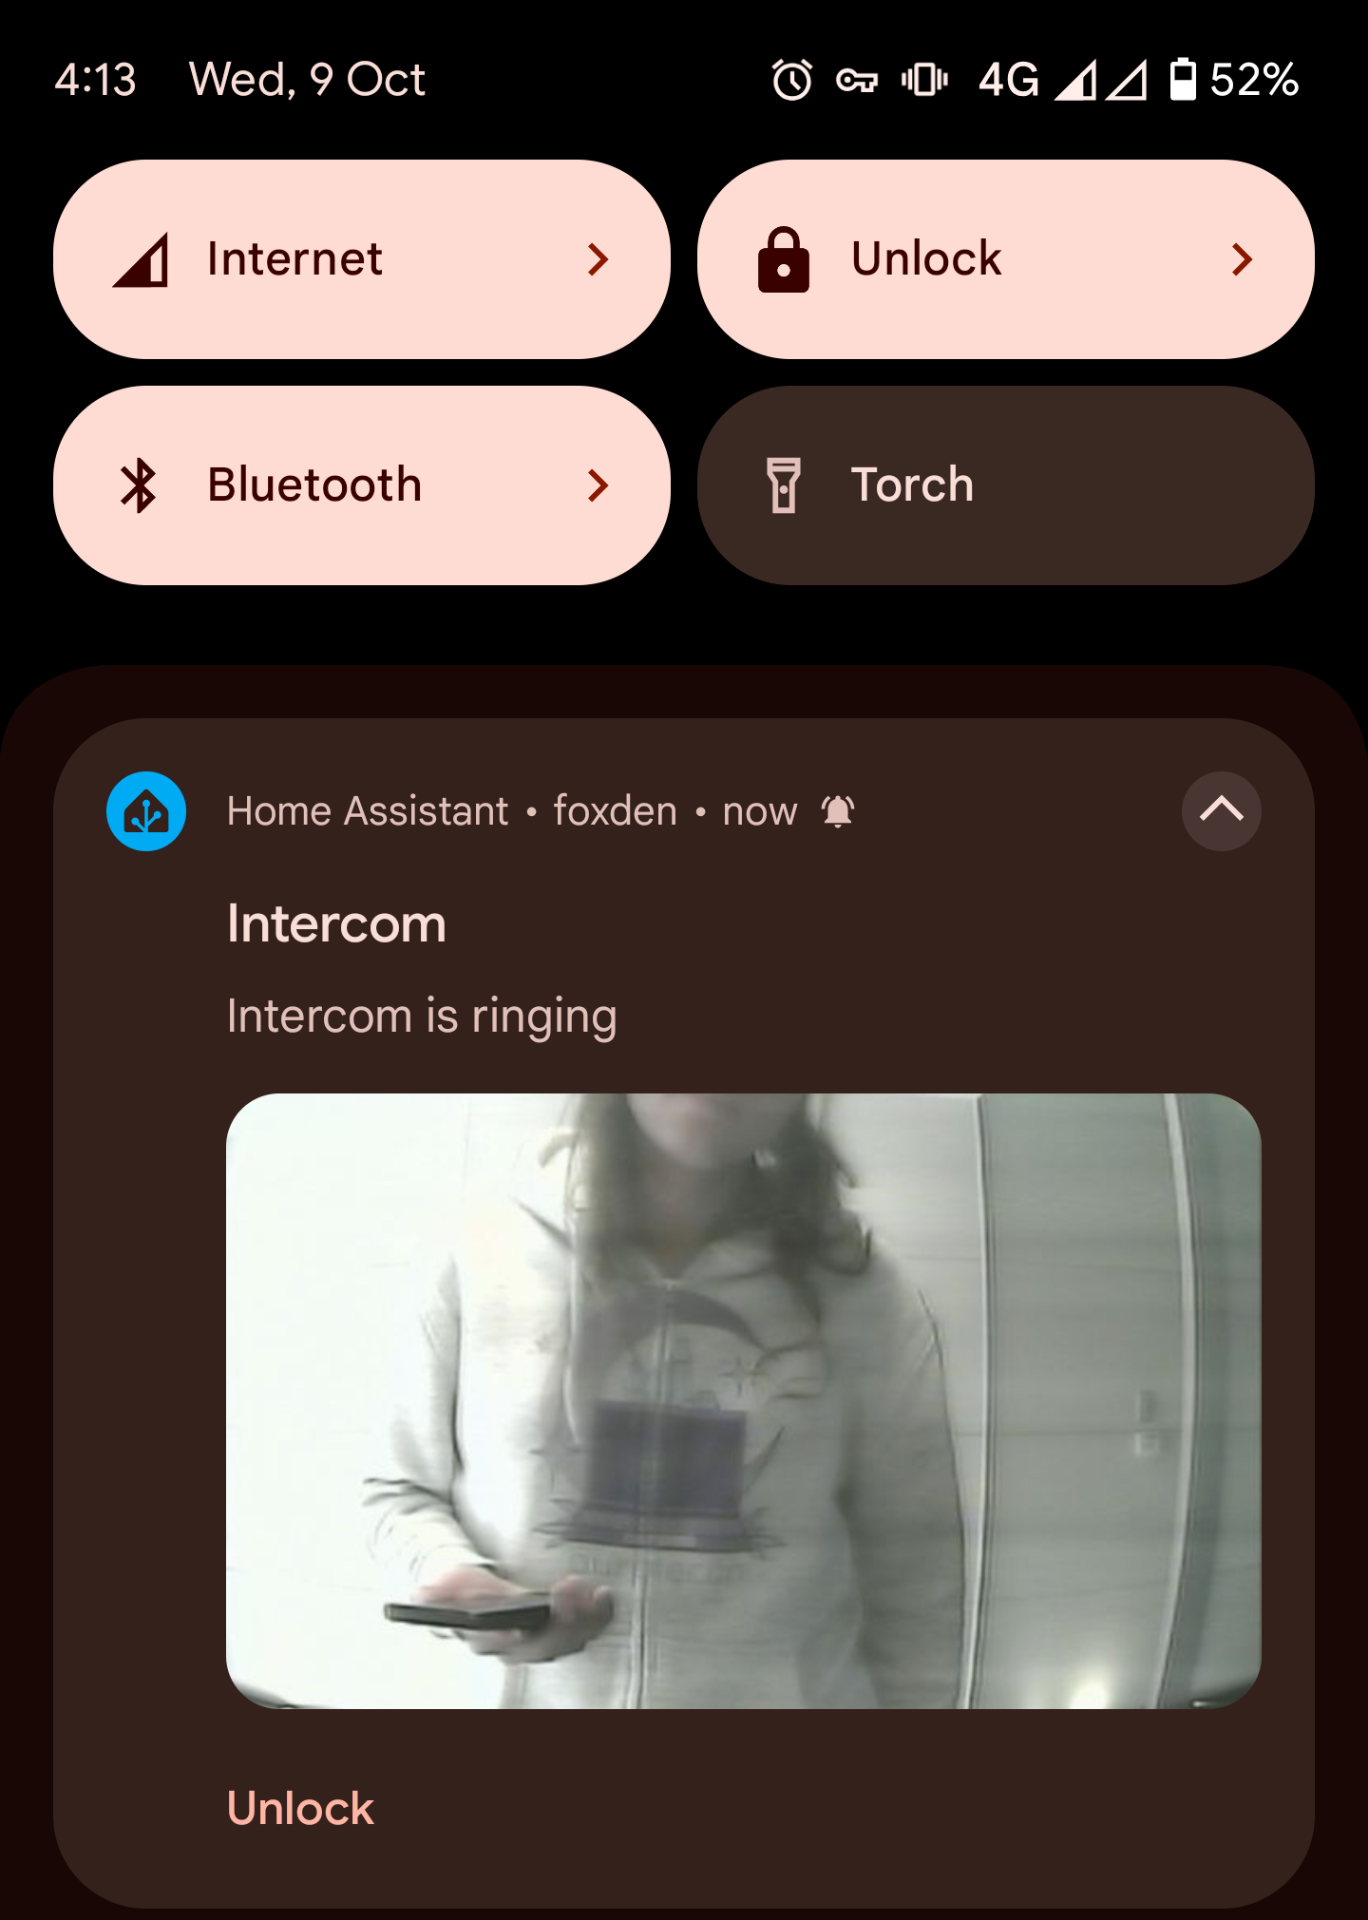
Finally to bring it all together there’s an automation to detect when the intercom is ringing:
platform: state
entity_id:
  - binary_sensor.intercom_ring
from: "off"
to: "on"
service: notify.mobile_app_pixel_6_pro
metadata: {}
data:
  message: Intercom is ringing
  title: Intercom
  data:
    entity_id: camera.intercom
    image: /api/camera_proxy/camera.intercom
    actions:
      - action: UNLOCK
        title: Unlock
        icon: sfsymbols:lock
Then from Android I can click “Unlock”.

This triggers an unlock automation which is configured to unlock the intercom:
platform: event
event_type: mobile_app_notification_action
event_data:
  action_1_key: UNLOCK
One thing I haven’t implemented is any sort of audio support. The thing is - audio kind of doesn’t work well on our intercom anyway, and very rarely do we actually need to talk to guests coming in. All in all I’m pretty happy to where we got to with this solution.
-
The system as a whole is on its last legs. Memory corruption is occurring on many of the panels displays and the audio has a significant buzz to it (I suspect this is crosstalk from a fire system which is abusing the copper network). ↩︎
-
DGND and COM are different on the Waveshare. DGND is shared with the rest of the Waveshare ground, while COM is floating. ↩︎